Installing alp using a configuration file – Grass Valley Aurora Playout v.7.0 User Manual
Page 65
Description
Name
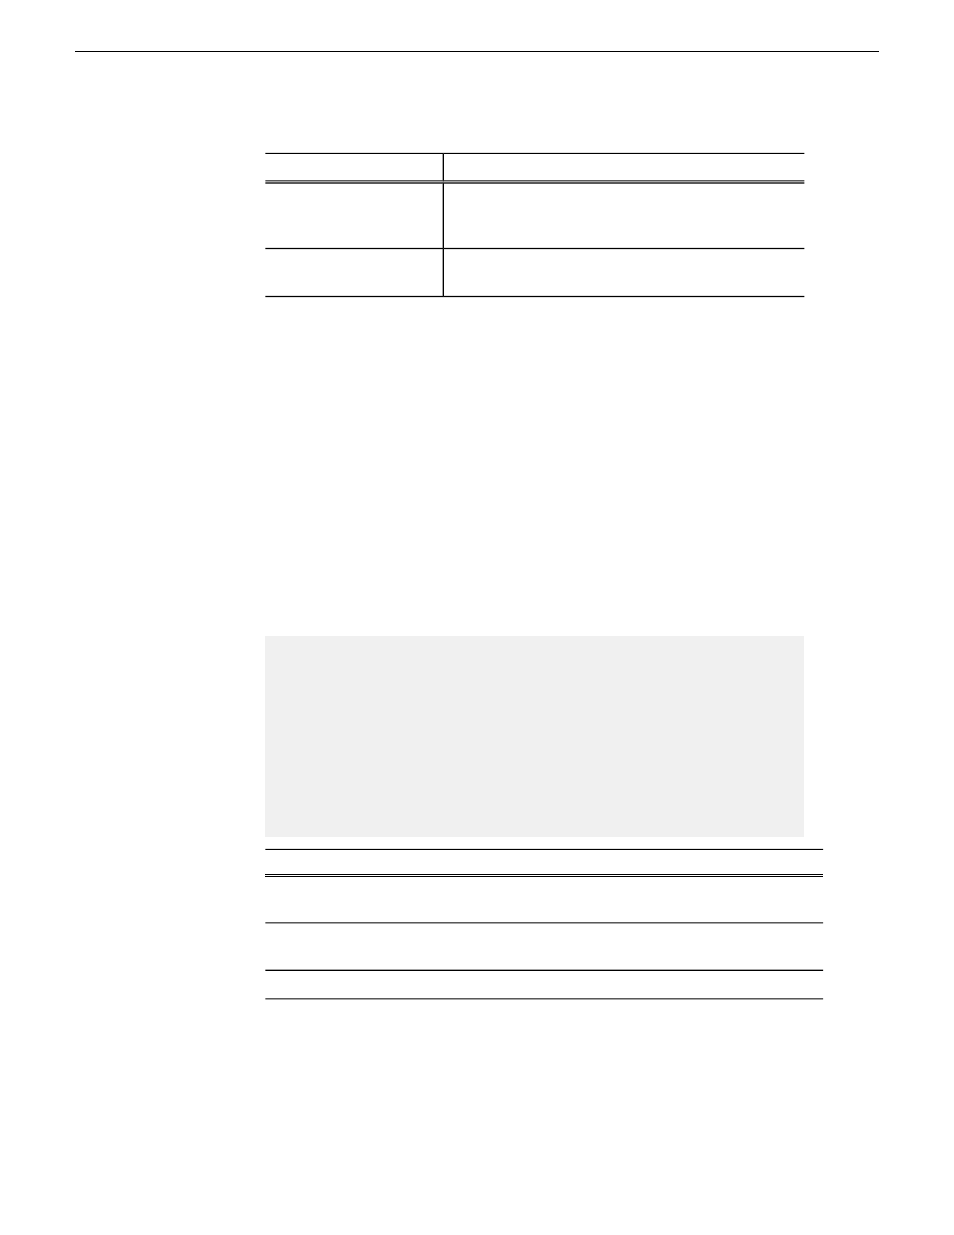
Check the box if you want to enable trim capability of
placeholder in the Asset Preview window of
MediaFrame.
Enable Trim Capability
Check the box if you want to allow placeholders to be
deleted via the Assignment List Plug-in.
Allow Placeholder Delete
7. Click
Next
.
8. Click
Finish
to complete the installation.
You can view or change configuration settings by clicking the Options button within the
Assignment List Plug-in.
Installing ALP using a Configuration File
If you want to install the Assignment List Plug-in on multiple computers with the
same configuration, you can create a network installer.
1. Copy the Aurora Playout software installation file,
SetupAuroraPlayout.exe
, from
the CD onto your network.
2. Using a text editor such as Notepad, create a file called setup.ini similar to this
example:
[AssignmentListPlugin]
DatabaseServer=localhost
BackupDatabaseServer=
MosID=gvg.nqp.mos
ThumbnailPath=C:\AuroraPlayout\thumbnails
XMOSServer=localhost
DisplayMode=2
AddTypeToObjSlug=0
UnicodeDragDrop=1
EnablePlayerTrim=0
EnableDelete=1
Description
Name
The name of the server hosting the Aurora Playout database
(primary SDB Server).
DatabaseServer
The name of the server hosting the hot standby Aurora Playout
database (backup SDB Server).
BackupDatabaseServer
Your MOS ID.
MOSID
The full path to the shared thumbnail directory on the computer
where thumbnails are stored, in the format \\server\foldername;
Thumbnail Path
e.g., if you have a shared folder named “thumbnails” on your
playout system named “Playout1”, the path would be
\\Playout1\thumbnails.This path needs to match the path set
14 April 2010
Aurora Playout User Guide
65
Managing Software