Overlap / glueborder, Advanced paneling, Glueing marks – KIP Graphics Pro User Manual
Page 51: Origin, Kip graphics pro
KIP Graphics Pro
No part of this publication may be copied, reproduced or distributed in any form without express written permission
from KIP. 2015 KIP. v1.
- 51 -
the panels just click on the desired panels.
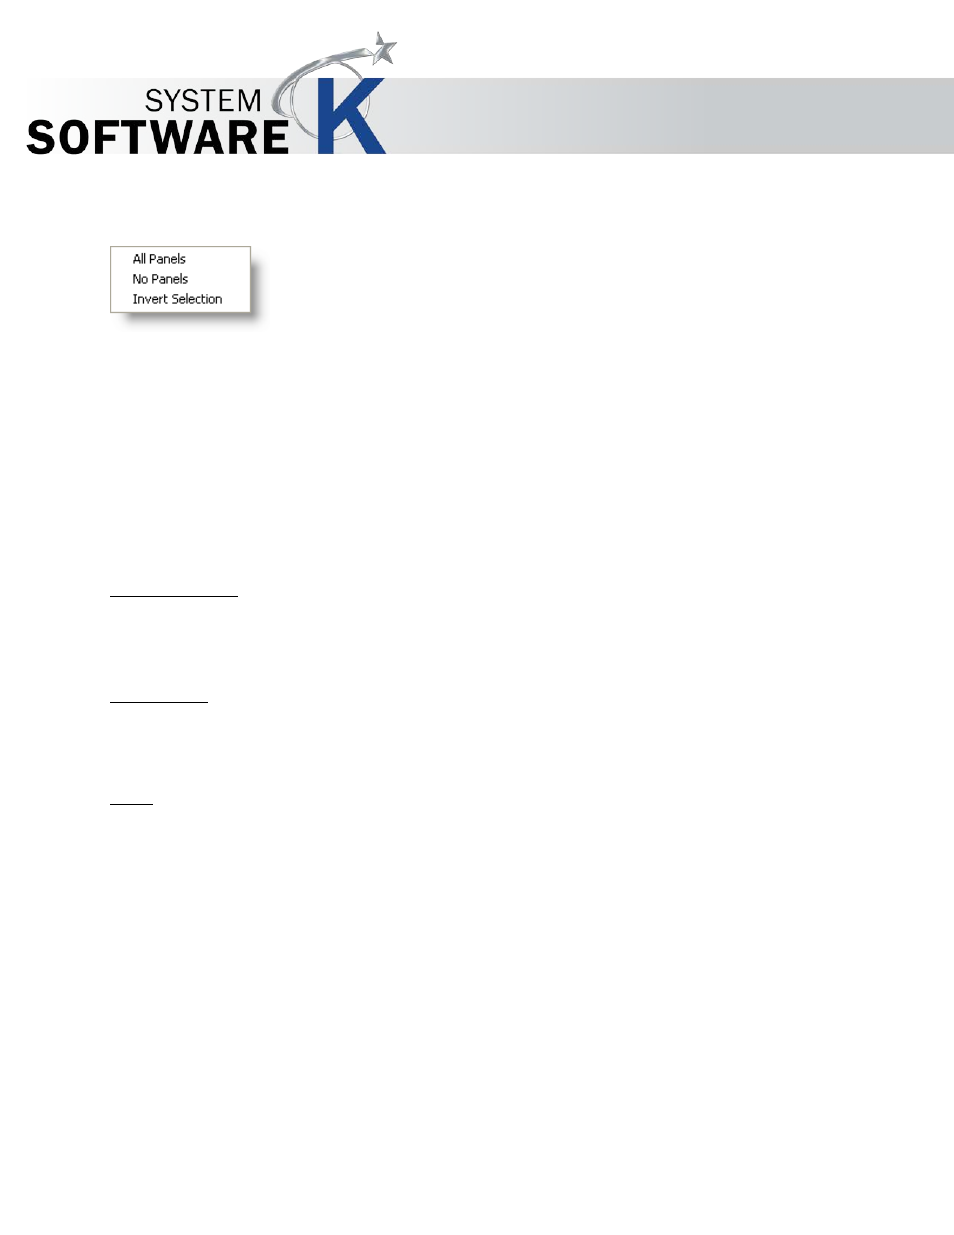
Right-clicking on the Panel Preview image opens a context menu which provides other ways to select panels for printing:
A L L
P A N E L S
– activates all panels.
N O
P A N E L S
– deactivates all panels.
I N V E R T
S E L E C T I O N
– turns activated panels into deactivated and vice versa.
Overlap / Glueborder
You can print with overlaps or glueborders. Overlaps are filled with the image where as the glueborder will add white areas.
Note: If you set the maximal print width of the printer under
S
I Z E
G
I V E N
, it is reduced by the selected overlap.
Advanced Paneling
For further customizing please tick
A
D V A N C E D
P
A N E L I N G
and click
C
H A N G E
. Here you can change the size of each panel
individually.
Glueing Marks
If you check the box
G
L U E I N G
M
A R K S
, a mark will be set at the beginning of the overlap.
Origin
Define the first panel. The image will be printed row by row.