Adding a display, Proceeding to create a message, Adding a display -3 – Daktronics Venus 1500 Ver 2.x User Manual
Page 17: Proceeding to create a message -3
box. Select Galaxy (LED). The fields in the lower half of the dialog box will adjust based on
the selected type of technology.
4. Use the drop-down menus to select “64” for the Height, “120” for the Width and “Tricolor”
for the Color Depth. Only valid sizes and colors for the current display technology will be
available for selection.
5. Click on [
OK
] to save the settings.
3.3
Adding a Display
We will assume a Galaxy display of the type setup in Section 3.2 will be added in front of the office
building. The address of the sign (as shown in the display’s boot up initialization information [refer to
the display’s maintenance and troubleshooting manual]) is eight (8). The sign will be placed on the
network configured in Section 3.1.
Configuring the Venus 1500
3-3
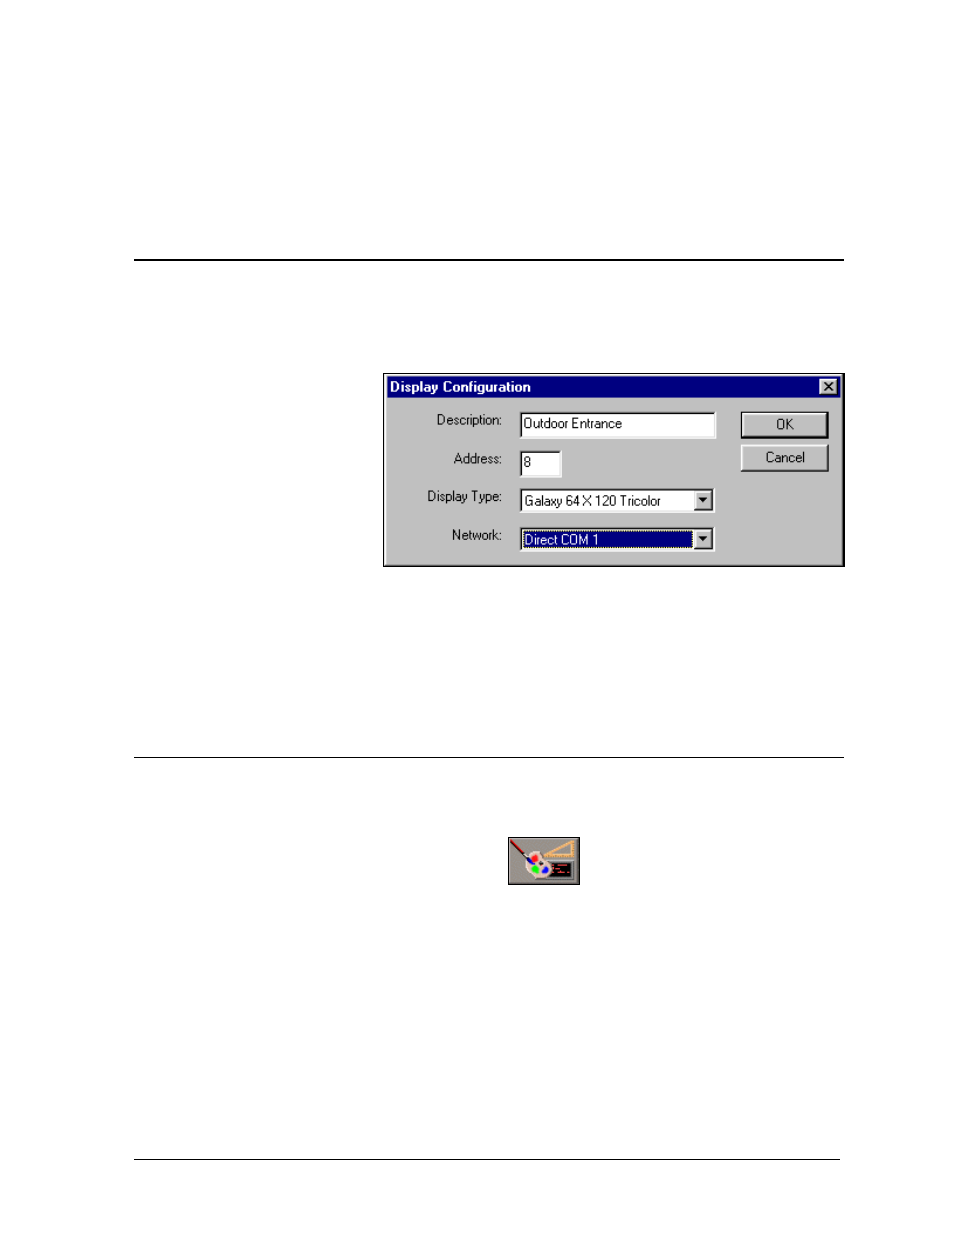
1. Be sure the Display
Configuration button is
selected in the Venus
1500 Administrator.
2. From the Edit pull-down
menu, select New and
then Display, The
Display Configuration
dialog box appears.
3. Enter a Description for
the display. It can be a number or a brief description of its location. In the example, the sign
was named “Outdoor Entrance.”
4. Enter “8” for the display’s network Address.
5. From the drop-down menu for Display Type, select “Galaxy 64x120 Tricolor.”
6. Select the Direct network configured in Section 3.1.
7. Click on [
OK
] to save the new display configuration.
3.4
Proceeding to Create a Message
Once the steps outlined in Sections 3.1, 3.2 and 3.3 are complete, close the Venus 1500 Administrator
by selecting Exit from the File pull-down menu.
Return to the Venus 1500 Shell program and click on
to activate the Venus 1500 Message
Studio to create a message (refer to Section 5).
Controller for First Time Use