4 control section, 5 edit section – Analog Way VERTIGE - Ref. VRC300 User Manual User Manual
Page 36
36
5.4 Control section
5.4 Control section
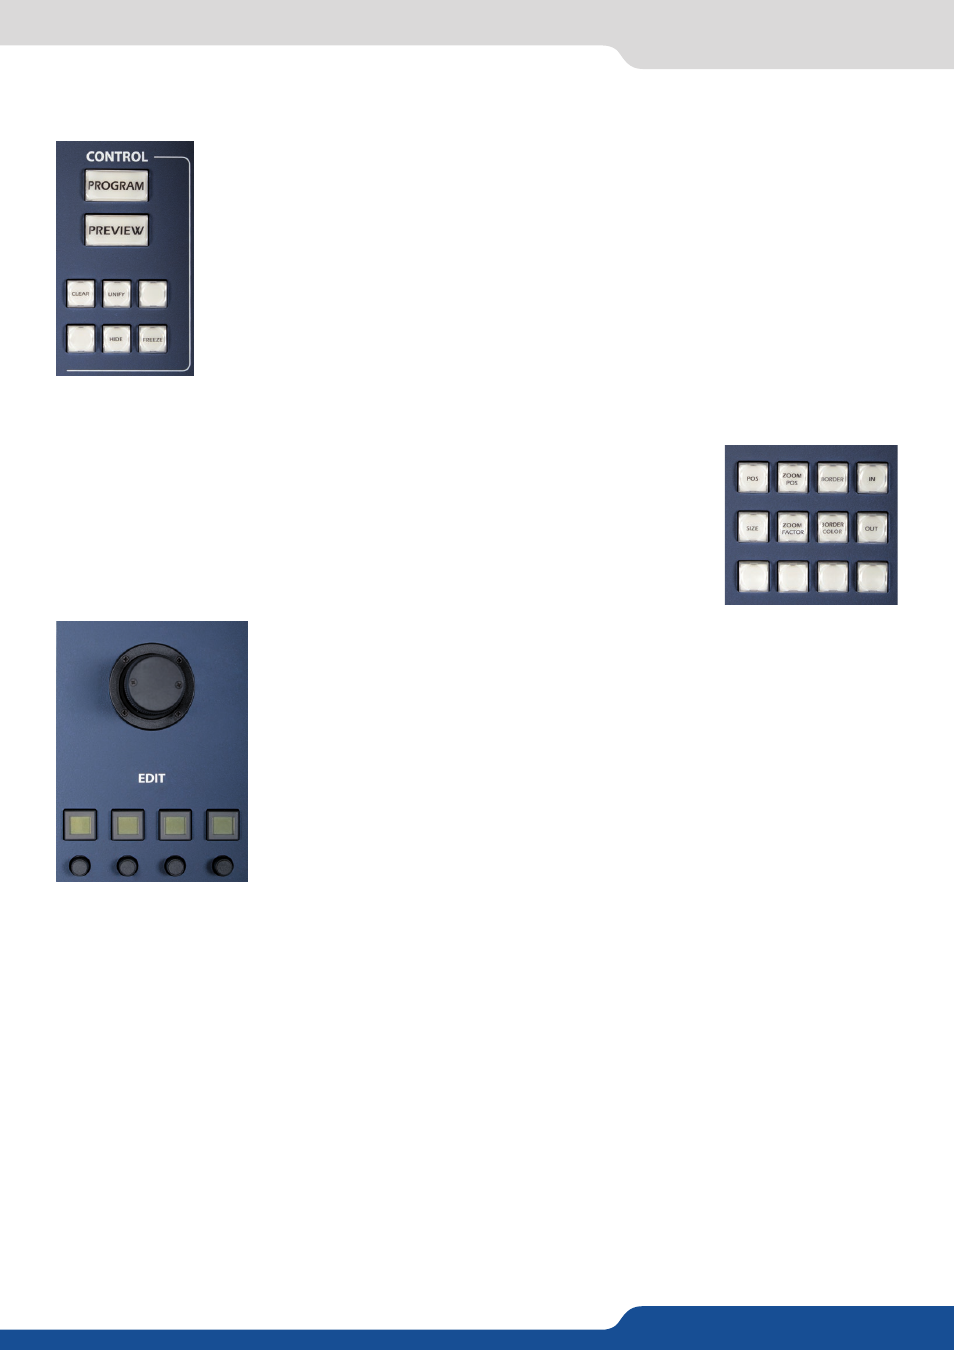
5.5 Edit section
Into the control section, you can choose to work on Program or Preview. Simply press
the Program or Preview button to choose where to work. Remember that the Program/
Preview control change when you press a layer on the touchscreen.
Within the EDIT section you will find all the layers attributes, including position,
size, border, transparency, etc... When making selections, the new attributes will be
applied to all your current layer selection. Attributes can be edited on Program or on
Preview, at any time, even during a take.
The block containing the numeric keypad is contextual and also provides access to
pages of shortcuts, tools, layer presets (Position, Size, Border, Effect …).
For all numerical settings, you can choose to update
them roughly via the Joystick, finely via the encoders, or directly via the numpad.
If you need a specific value, please press the button above the encoder, and it will
enable a numeric entry keypad on the contextual EDIT buttons. Use the numpad
to enter the desired value and press
ENTER
.
Remember that you do not need to operate layer by layer but that you can give
the same attribute to several layers at the same time. You will save time and win
productivity.
• POS button:
Pressing the
POS
button turns the contextual button into a layer position selection. Selecting
TOP LEFT
or
MIDDLE
will automatically give this position to the selected layers.
You can use the Joystick to manually move the PIP.
The encoder will help you to finely adjust the position to the right pixel
You can also enter the exact value by pressing on the desired attribute button to enable the numpad for direct
numeric entry.
• SIZE button:
Using the size attributes, you can adjust the size of your PIP using the X, Y or Z (keep the H&V ratio) axes of
the joystick or giving to the PIPs the right aspect ratio thanks to the contextual menu.
You will also find three convenient shortcuts: Screen Size (full screen), Quad Size (1/4 of the screen) and
Source Size (1:1).
If you are making fine adjustments, there is an H&V control to make size changes without changing the aspect
ratio of your PIP.
• CLEAR button:
Press the
CLEAR
button twice to clear all
selected layers. It will remove the source
and at the same time reset the selected
layers.
• UNIFY button:
Press the
UNIFY
button twice to
homogenize all selected layers settings
from one destination (Program/Preview)
to the other.