2 source section, 1 making live switches directly to program, 2 switching between plugs on the device inputs – Analog Way VERTIGE - Ref. VRC300 User Manual User Manual
Page 34
34
5.2.1 Making live switches directly to Program
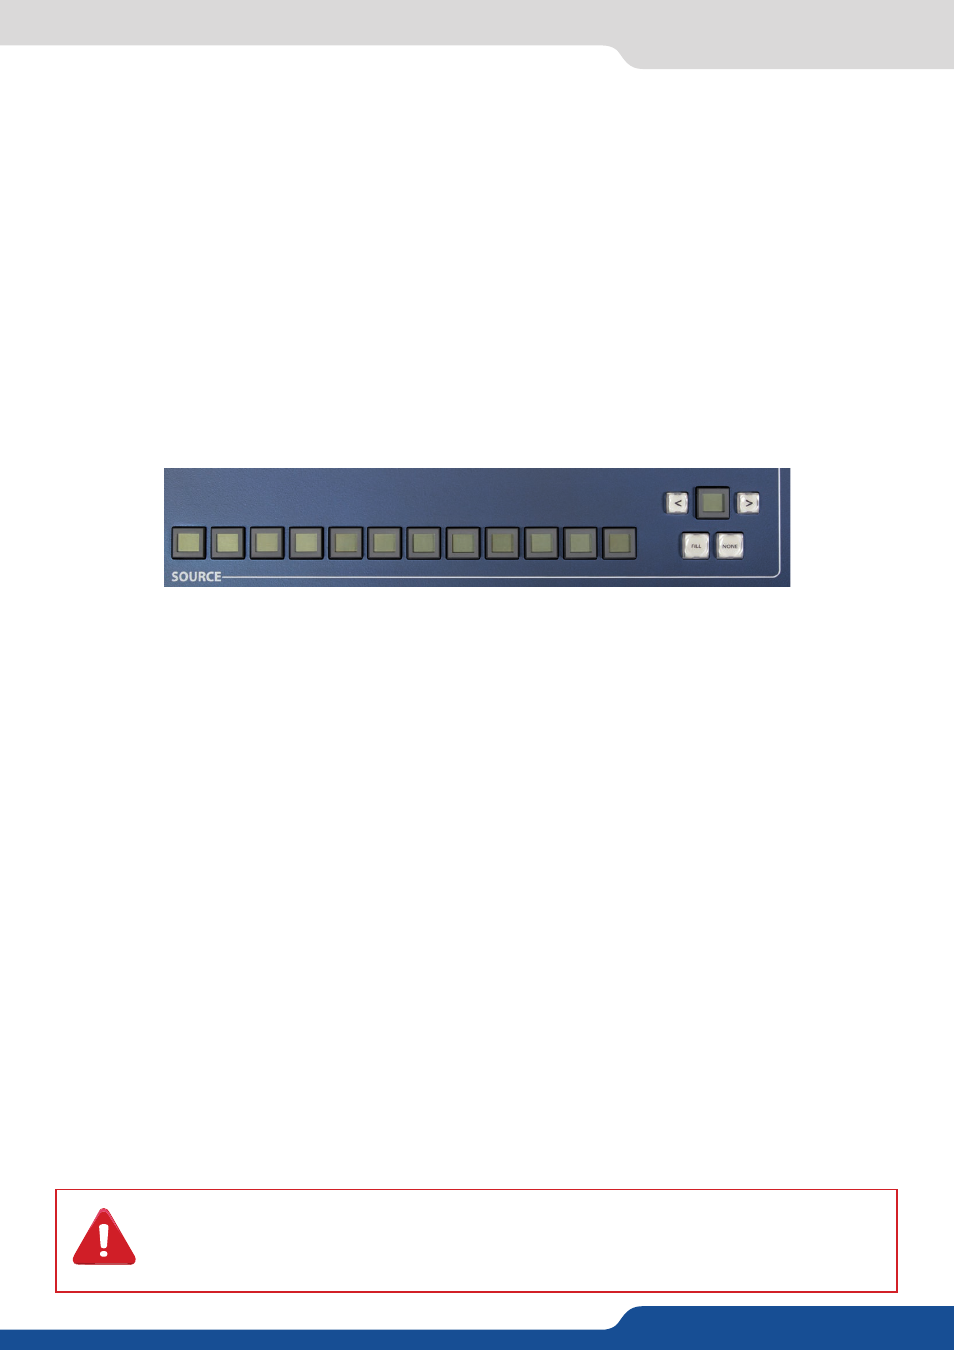
The Source section allows you to:
• fill the selected standard layers with a source.
• fill the selected native layers with a native source.
All sources and native sources have to be defined before.
(See 4.1.9 Source configuration and 4.1.10 Native
Source Configuration chapters)
Use the left/right arrow to navigate into the source page. Then simply press the desired source in order to fill
the layer(s).
Available sources will have a blue button and the selected source will be yellow. A source can be affected to
several layers at the same time.
The
NONE
button clean the source from the layer(s), your layer(s) will be empty.
5.2 Source section
Be careful when you try to use a source where the input is already used in Program with
another plug, the source selection will enable the new plug and the result will be a change of
the source into your Program (with a cut effect).
5.2.1 Making live switches directly to Program
In many cases, it is preferred to make all of your selections and edits on the Preview, and use the
TAKE
or
T-bar to transition your Preview to Program. The Vertige™ will allow you to work on Preview, or directly on
Program.
To work directly on Program, select a layer on Program using the touchscreen, or press the
PROGRAM
button.
While working on Program, you can switch inputs in any selection of layers instantly with a cut. When switching
cameras for live entertainment, you may wish to utilize the instant cut between sources by switching directly
on Program.
You can also load presets or make any other layer parameter adjustments directly on Program.
5.2.2 Switching between plugs on the device inputs
The Vertige™ will allow you to create streams and sources to select each of the different input plugs. These
should be created in the Assembly setup, and assigned to the keys in the Source setup. However, use this
with caution.
Select all PIP layers on side screen
To select the PIP layers (layers 2 and 3 in this example) on the side screens (screens 1 and 3 in this example),
there are several options, depending on your preferred work style:
You could select the first layer using the touchscreen, then press and hold the
[+]
and select the additional
layers using the touchscreen.
You could select Layer 2
[+]
Layer 3, and then
[-]
screen 2, which would result in only layers 2 and 3 on screens
1 and 3 being selected.