6 assembly configuration – Analog Way VERTIGE - Ref. VRC300 User Manual User Manual
Page 19
19
Wizard Step 2:
Select the total number of screens wired
to your devices. Rename each screen
if necessary. If some of the screens
will be used for a blend, adjust their
size accordingly. When ready, press
the
Create
button to start creating
automatically the assembly as well as
the related devices, screens, streams,
sources and front panel key bindings
(with predefined default values). Once
completed, the Wizard returns to the
first page and the above area is updated
to reflect the latest changes and the
newly created screens.
If your event requires setting up more devices and screens, use the wizard as many times as necessary. After
using the wizard, you may have to adjust some default settings in the assemblies, screens or sources: Select
the
ASSEMBLY
tab in the top bar then select an assembly that has just been created by the Wizard (it should
be named “Assembly #X” where X is the index of the assembly). In the left menu, select
CONFIGURE
then
select the
INPUT
option and press the
All Inputs
button (Auto Set panel) to set up automatically all the inputs.
Back to the upper menu level, select
STREAMS
then select the
STANDARD
option to display the standard
streams automatically created for this assembly. Make sure each ‘Live’ stream matches the correct input
plug. When done, select the
NATIVE
option to configure native streams if necessary. Then you can go to the
Preset page and start assigning sources to the screen layers
(see chapter 5. Operating the Vertige™)
.
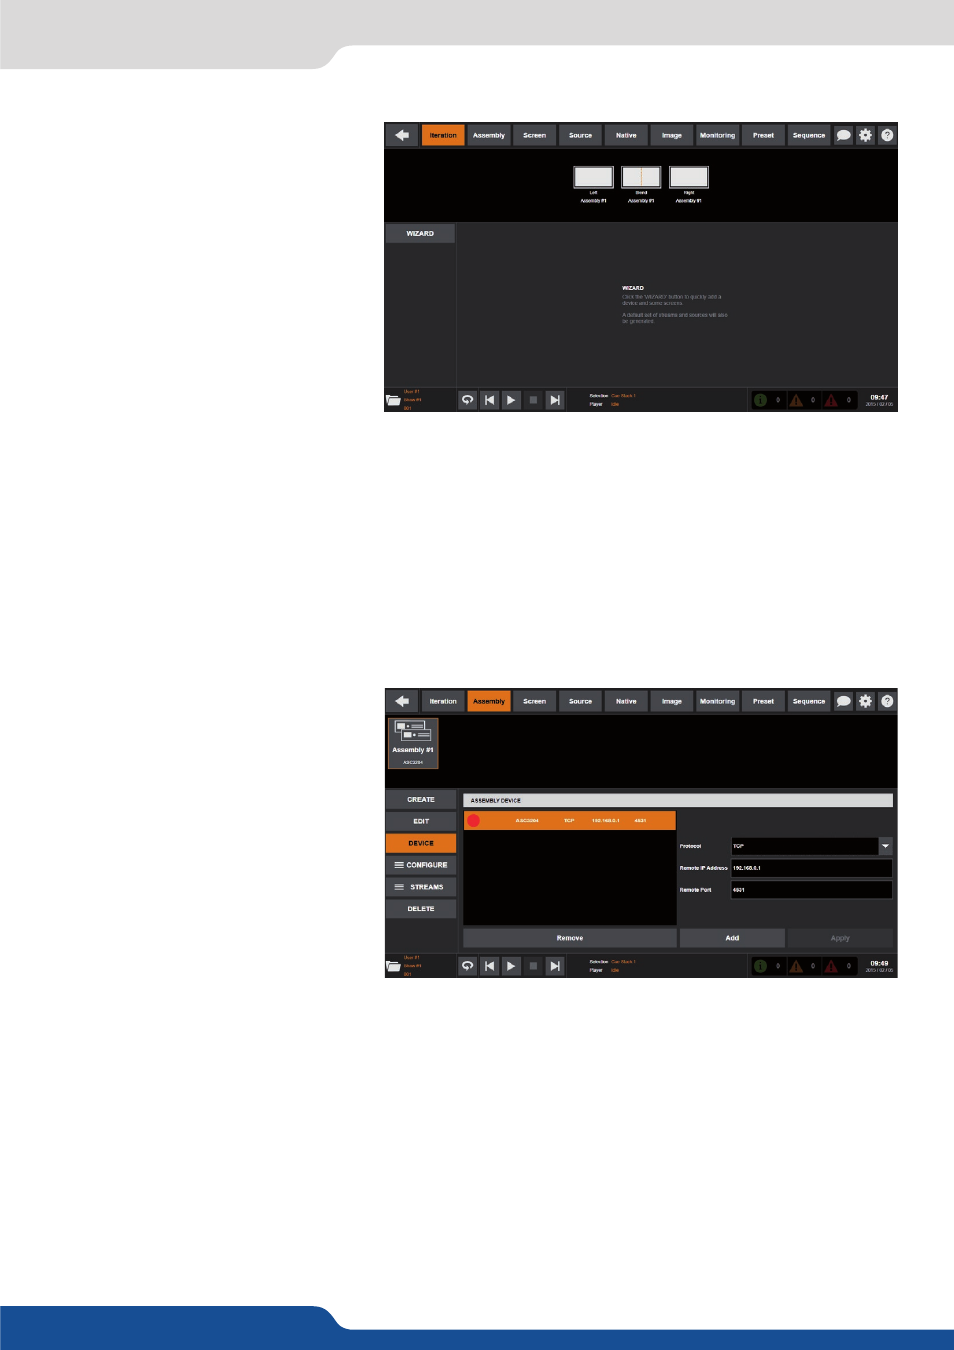
4.1.6 Assembly configuration
The
Assembly
page allows you to
manage device assemblies.
• Creating a new assembly:
Select the
CREATE
option in the left
menu and then enter the name of the
assembly. Select the type of device that
will be handled by this assembly then
press the
Create
button to create an
empty assembly.
• Configuring assembly devices:
In the left menu, select the
DEVICE
option then select the assembly for which you want to configure the
devices. To add a new device into the assembly, select the communication protocol, adjust the LAN settings
to match the device you are trying to connect to, and press the
Add
button.
The Vertige™ will automatically try to connect to the device. Once the device is successfully connected, the
icon next to the device will turn green.
To edit existing device properties, select a device in the list and adjust the desired properties. When done,
press the
Apply
button to save your changes. To delete a device, simply select the corresponding item in the
list and press the
Remove
button.
4.1.6 Assembly configuration