16 services management – Analog Way ASCENDER 16 (LIVECORE) - Ref. ASC1602 User Manual User Manual
Page 66
66
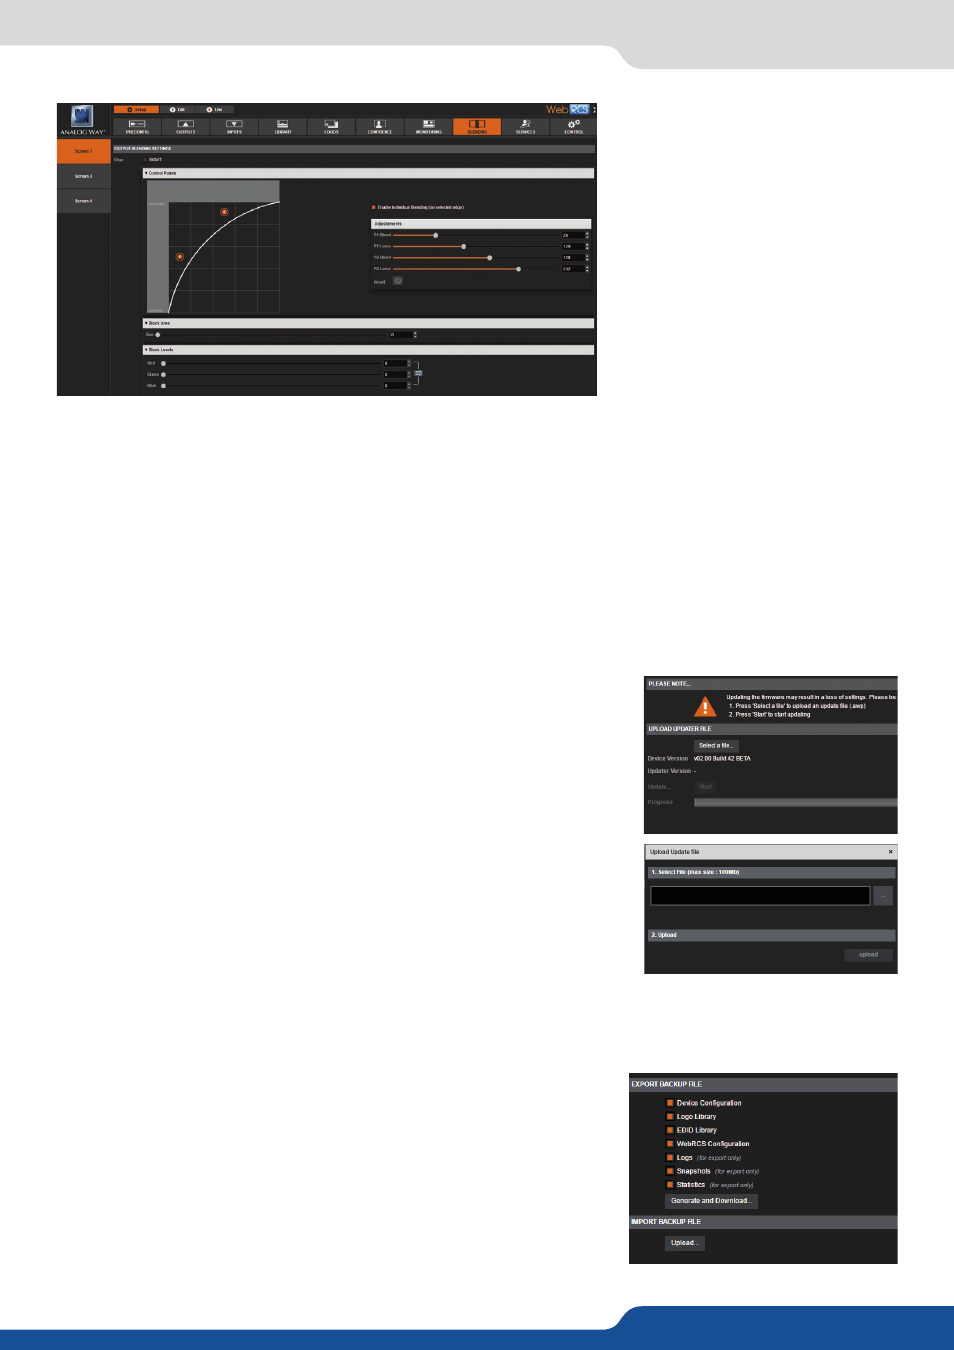
7.3.16 Services management
Click on the left/right side into the
overview of your Soft Edge, some
settings will appear. Then adjust
the black levels for each side using
the R,G,B level to make each non-
overlapping part of the projection as
bright as the overlap zone.
The goal here is to have your Soft
Edge area with the same level of
black on left, right and overlap zone.
For best results, you should darken
the room as much as possible when
making this adjustment.
The Black Area adjustment can be used to remove the occasional few pixels of white band that can appear at
the border of the overlap zone.
At the top of the page, select the overlap zone, then click on “Enable blending” in order to activate the
blending curves on both adjacent edges. (If you are selected on a non-overlap zone, you will be offered to
“enable individual blending” on only one edge. You can edit the curve by moving the 2 points. Typically this
curve does not need to be adjusted from the default settings.
UPDATE:
You have several way to update your LiveCore™ unit:
• by using the upload updater:
Click on “Select a file on your disk” button in order to open the directory
file on your computer. Simply select the file you take from Analog Way’s
servers and click ok. Then click on GO to launch the update.
• by USB key:
Please note that you also can update the device through the USB Port,
please refer the
chapter 8.1.1 Front panel update.
7.3.16 Services management
IMPORT/EXPORT:
The export section allows the user to generate and download on a
computer a backup file. This file can be customized; it can include the
device configuration and the logo library (that also can be loaded), the
device logs, snapshots and statistics (only for the export).
The import section allows the user to upload a backup file. Push upload
button then choose the directory on your computer. The file size is
limited to 400Mb when using the WebRCS.