Epson PERFECTION V600 PHOTO User Manual
Page 66
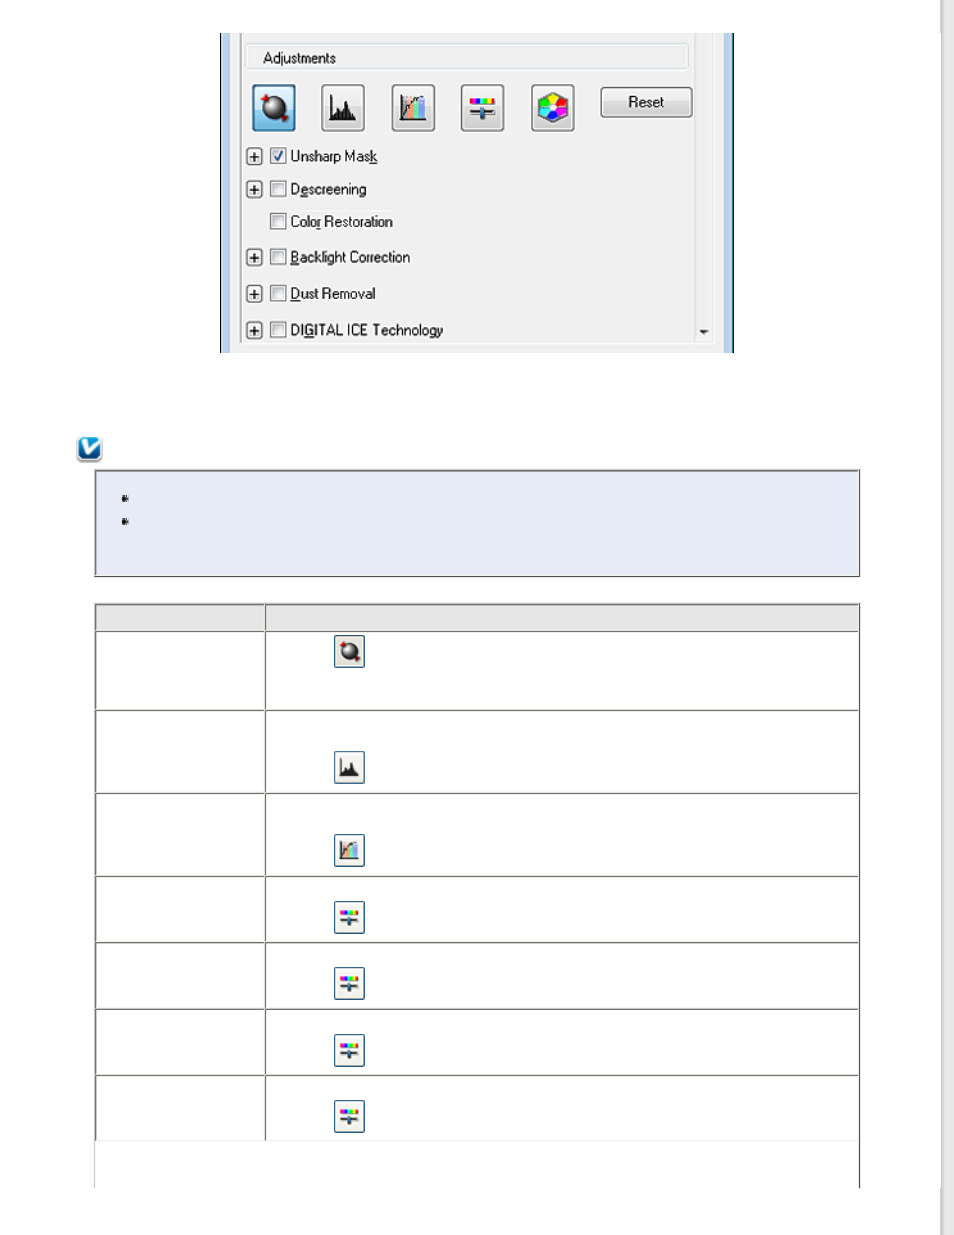
The table below describes the settings available in Professional Mode. For details on adjusting these settings, see Epson
Scan Help.
Note:
You may need to scroll down to view the Adjustments area of the Professional Mode window.
If you are scanning multiple images at the same time and you want to apply the image
adjustments to all of your images or scan areas, click All in the Preview window before you begin
making your adjustments.
Setting
Description
Auto Exposure
Click the
Auto Exposure icon. To turn it on continuously, click Configuration,
click the Color tab and select Continuous auto exposure. You can adjust the
level of exposure adjustment using the slider.
Histogram
Provides a graphical interface for adjusting highlight, shadow, and gamma levels
individually. For advanced users only.
Click the
Histogram Adjustment icon to access the Histogram setting.
Tone Correction
Provides a graphical interface for adjusting tone levels individually. For advanced
users only.
Click the
Tone Correction icon to access the Tone Correction setting.
Brightness
Adjusts the overall image lightness and darkness.
Click the
Image Adjustment icon to access the Brightness setting.
Contrast
Adjusts the difference between the light and dark areas of the overall image.
Click the
Image Adjustment icon to access the Contrast setting.
Saturation
Adjusts the density of colors in the overall image.
Click the
Image Adjustment icon to access the Saturation setting.
Color Balance
Adjusts the balance of red, green, and blue colors in the overall image.
Click the
Image Adjustment icon to access the Color Balance settings.