Exporting a class roster as a text file, Exporting a class roster as a cps database/package – Turning Technologies ExamView User Manual
Page 28
ExamView Assessment Suite
28
1
Open or create a class in Test Manager.
2
PC: Click File from the menu bar, mouse over Import and select Class Roster from CPS Database.
Mac: Click File from the menu bar, mouse over Import and select Class Roster from CPS Package.
3
Select the CPS database (CPS file) and click Open.
4
If more than one roster is detected in the database file, a list will open showing the roster names and number of students
in each roster. Select the roster to import and click OK.
5
The roster is imported and a summary of the number of imported student records is displayed. Click OK.
Exporting a Class Roster as a Text File
ExamView Test Manager easily allows you to export your student roster for use in other programs.
At a minimum, the exported file will include the student names. Other information fields such as student ID, password, student
alias, and device ID may also be included.
1
Click File from the menu bar, mouse over Export
and select Class Roster as Text.
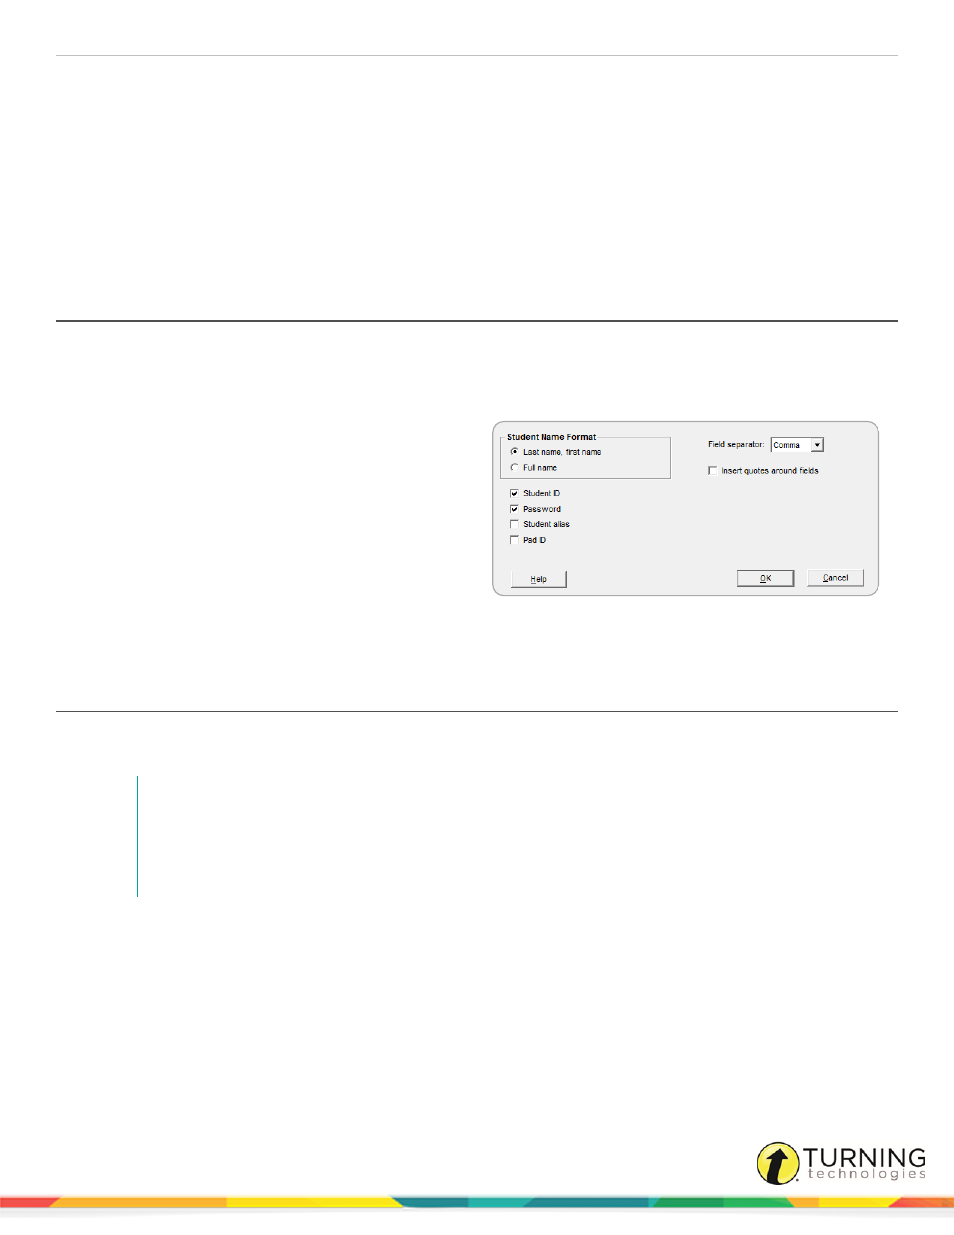
2
Depending on the requirements of the program into
which you wish to import the file, select the
appropriate name format, data, field separator,
and quote option.
3
Click OK.
4
Enter a file name for your text file and select an
appropriate save location.
5
Click Save.
Exporting a Class Roster as a CPS Database/Package
Test Manager allows you to quickly export your class roster as a CPS database (PC only) or CPS package. This ability gives
you the flexibility to use the best features of ExamView and CPS.
NOTE
CPS requires that a clicker ID is assigned to every student. Either assign clicker IDs manually or
select the option to automatically add clicker IDs to the exported roster. Automatic clicker ID
assignments will be made by assigning the lowest number clicker available to students
alphabetically.
1
Click File from the menu bar, mouse over Export and select Class Roster as CPS Database.
2
Enter a file name for your CPS database (CPS file) and select an appropriate save location.
The class information is also exported, including: class name, instructor name, school name, city, state, and other
optional class information if provided.
The roster exports as much of the student information as possible, including: student name, student ID, device ID,
gender, ethnicity, and economically disadvantaged status.
3
Click Save.
turningtechnologies.com/user-guides