Importing a responsecard anywhere session, Pairing an auto session to a participant list – Turning Technologies TurningPoint Cloud User Manual
Page 119
TurningPoint Cloud
119
8
Click OK.
The import summary displays the status of each session or sessions selected for import.
9
Click OK.
The session or sessions are now displayed in the left panel. Select the session to view the file location, dates and an
overview of the session contents.
TIP
The icon to the left of the session information displays the polling environment that generated the
session file.
Importing a ResponseCard AnyWhere Session
ResponseCard AnyWhere session files can be imported into TurningPoint Cloud versions 5.2 and higher.
1
Open TurningPoint Cloud and sign in to your Turning Account.
2
Connect ResponseCard AnyWhere to the computer via a mini USB cord.
3
From the Manage tab, click the Session drop-down menu and select ResponseCard AnyWhere.
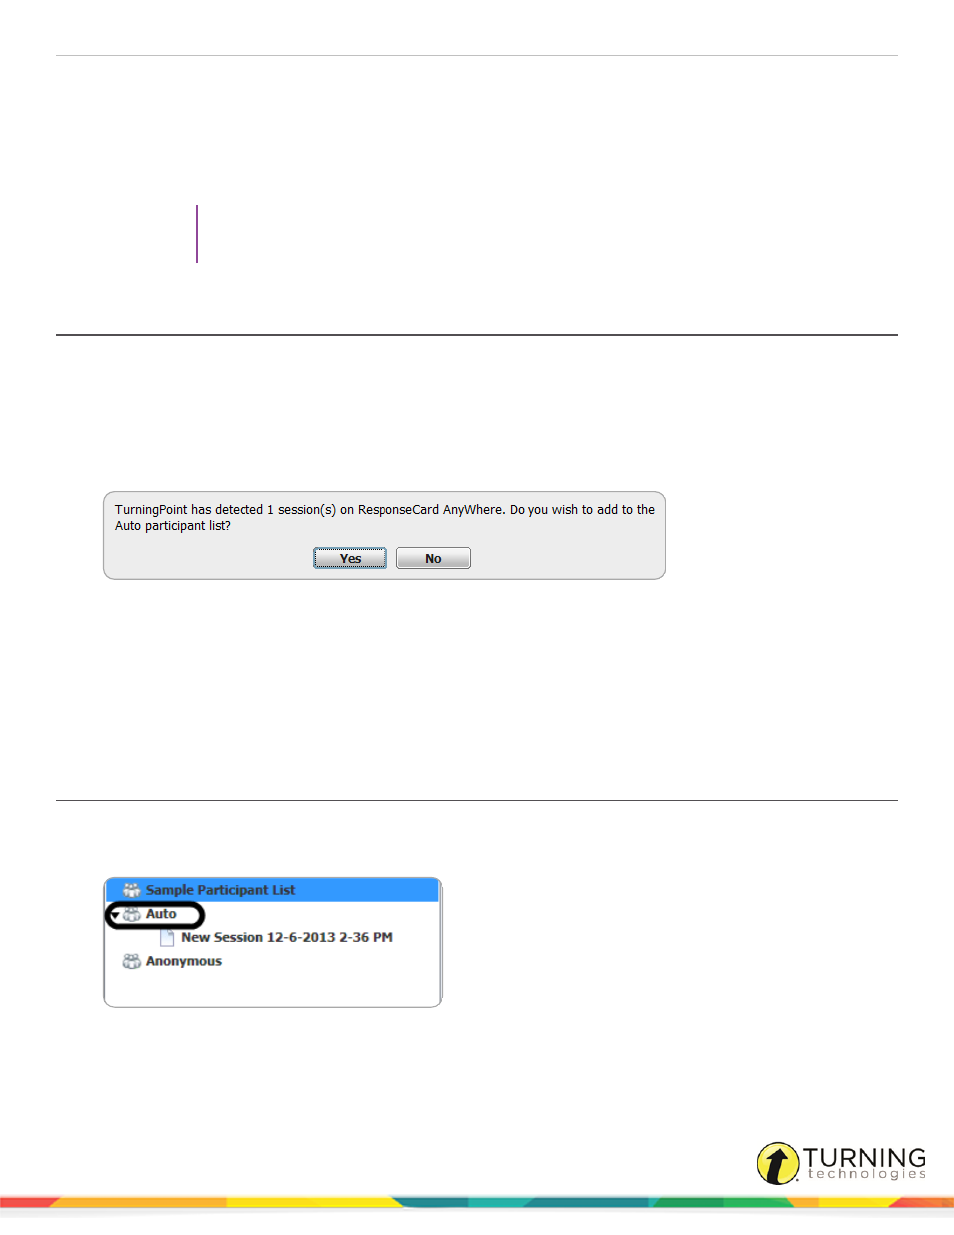
The following prompt is displayed.
4
Click Yes.
The session is displayed under Auto in the left panel.
Next Steps
Now that the ResponseCard AnyWhere session has been uploaded, it can be edited. For more information on editing a
session, see
Pairing an Auto Session to a Participant List
1
Open TurningPoint Cloud and click the Manage tab.
2
Expand Auto from the left panel.
turningtechnologies.com/user-guides