Evidence sync software (online) – Taser Evidence-Sync User Manual
Page 23
Page 23 of 86
TASER CAM Records to EVIDENCE.com Services and Adding Categories to Videos
with
EVIDENCE Sync Software (Online).
11. Keep the recorder connected to the computer during the upload process.
12. After the uploads are completed, unplug the cable from the recorder. After unplugging
the cable from the recorder, remember to replace the dataport plug on the recorder to
prevent damage from any debris or moisture.
Uploading TASER CAM Records to EVIDENCE.com Services and Adding
Categories to Videos with EVIDENCE Sync Software (Online)
1. Perform steps 1–7 of Previewing TASER CAM Videos with EVIDENCE Sync Software
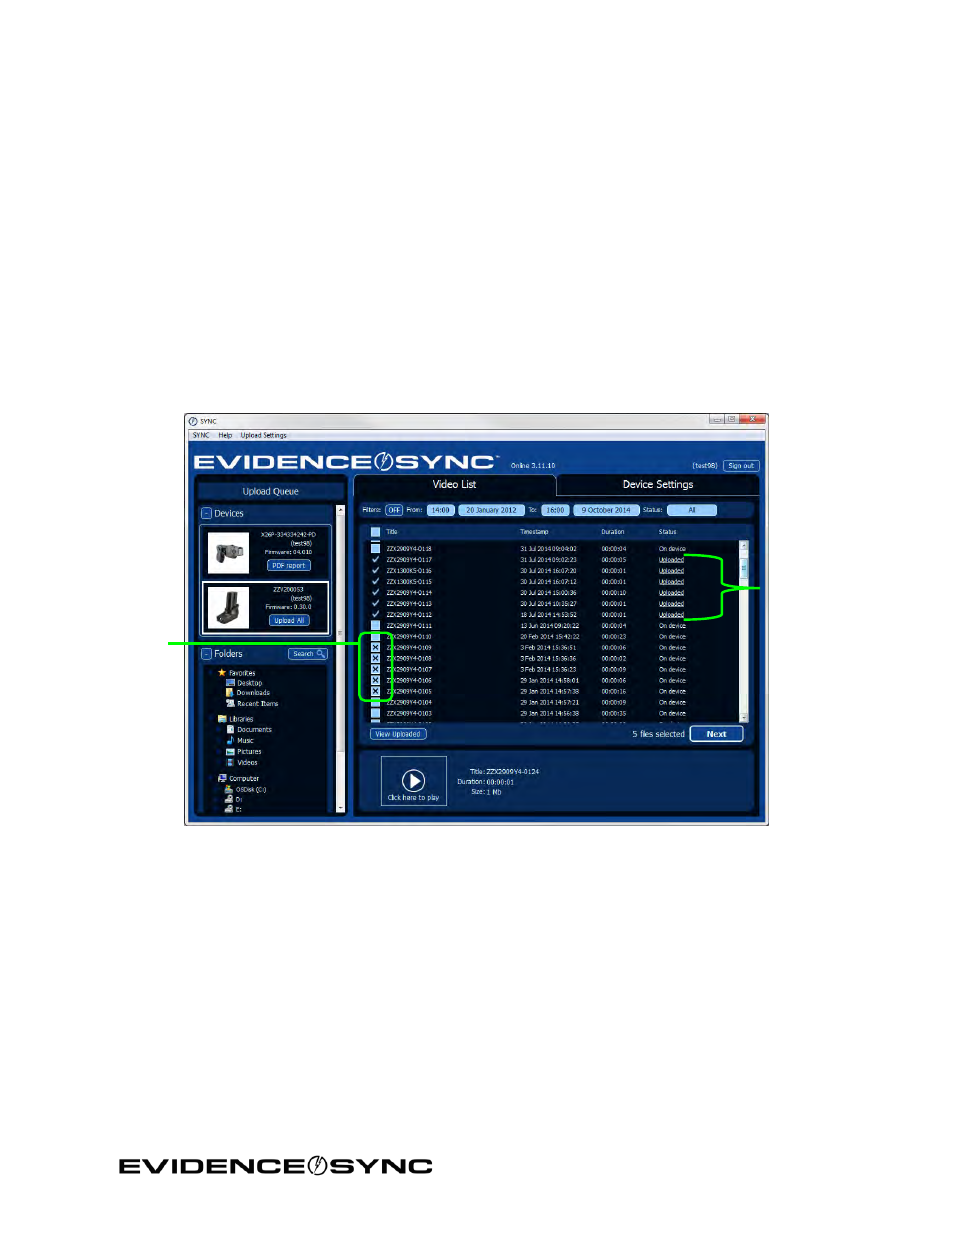
2. Click the check boxes to select the videos you want to upload (Figure 25).
3. Click
Next.
Figure 25
• If you want to update the categories, go to step 4.
• If you want to upload the files, go to step 5.
4. Add the categories.
You have several options for categorizing TASER CAM videos (Figure 26).
• Replace the system-generated title with a new one.
• Apply an appropriate ID for a video by typing it in the
Edit ID box. If appropriate, you
can add the same ID to all videos on this screen by clicking
Bulk Edit ID first.
• Add your agency’s case categories for a field by clicking
Edit Categories and
selecting the appropriate categories from the drop-down menu.
Videos
selected
for upload
Videos that
have
already
been
uploaded