Vwv i wwvw, 1 stitch balance, 1 equilibrage du point – SINGER 1425 User Manual
Page 36: Equilibrio del punto, 2 reverse stitching, 2 piqûre en marche arrière, Punto hacia atrás
Attention! The text in this document has been recognized automatically. To view the original document, you can use the "Original mode".
1
VWV I wwvw
1 stitch Balance
To correct the appearance of a Flexi-Stitch
pattern, adjust the stitch balance. Before
you move the stitch balance dial from its
neutral position, make a test sample using
two layers of scrap fabric. If adjustment
is required, stitch slowly and move the
stitch balance dial as you sew.
For example: The correct stitch appear
ance of Fagotting (Featherstitch) ,,S’’ is
shown in illustration a.
• If your sample looks like illustration
b,
turn the dial slowly to left (\/\/\/symbol)
to open up the pattern.
• If your sample looks like illustration c,
turn the dial slowly to right (V^lW'symbol)
to close up the pattern.
1 Equilibrage du point
Pour corriger l’aspect d’un point exten
sible, réglez l’équilibrage du point. Avant
de déplacer le cadran de sa position
neutre, faites un essai sur un échantillon
en utilisant deux épaisseurs de tissu. Si
un réglage s’avère nécessaire, piquez len
tement et déplacez le cadran pendant que
vous cousez.
Par exemple: L’apparence correcte du
point d’épine ”S” est montrée sur l’illus
tration a.
• Si votre échantillon ressemble â l’illus
tration
b,
tournez lentement le cadran
vers la gauche (symbole
VWV
) pour
élargir le point.
• Si votre échantillon ressemble â l’illus
tration c, tournez lentement le cadran
vers la droite (symbole WWWftWW) pour
fermer le point.
1. Equilibrio del Punto
Para corregir la apariencia de un modelo
Flexi-Stitch, ajuste el equilibrio del punto.
Antes de mover el disco que controla el equi
librio del punto de su posición neutral,
efectúe una prueba con dos trozos de
material-. Si el ajuste es necesario, haga el
punto lentamente y mueva el disco que con
trola el equilibrio mientras que está efectuan
do la costura.
Por ejemplo: La apariencia correcta del
punto de pluma “S” figura en la
ilustración a.
• Si su muestra corresponde a la ilustración
b,
gire el disco lentamente hacia la izquier
da (símbolo VWV) para abrir el diseño.
• Si su muestra corresponde a la ilustración
c, gire el disco lentamente hacia la derecha
(símbolo
) para cerrar el patrón.
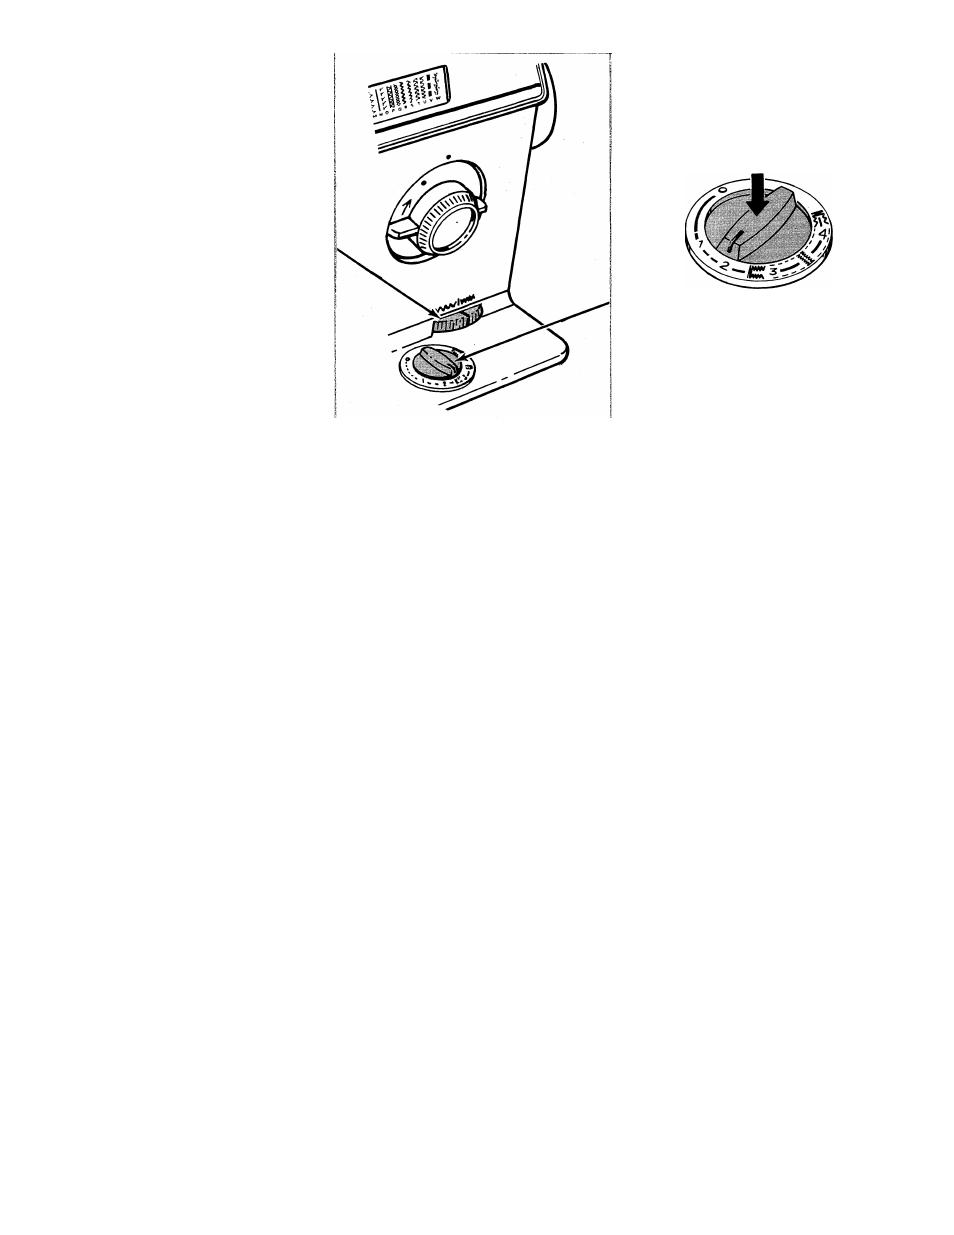
2 Reverse Stitching
The reverse dial is located on the stitch
length dial. To stitch in reverse, press the
dial all the way down and hold in place.
The machine will sew in reverse until the
pressure on the dial is released.
Reversing at seam start, see page 39.
2
Piqûre en marche arrière
La commande de marche arrière est située
sur le cadran de longueur de point. Pour
piquer en marche arrière, appuyez sur le.
cadran et maintenez-le enfoncé. La ma
chine piquera en marche arrière jusqu’à
ce que vous relâchiez votre pression.
Pour la piqûre en marche arrière en début
de couture voir page 39.
2. Punto hacia atrás
El disco para punto hacia atrás está situado
en el disco que controla la longitud del punto.
Para efectuar el punto hacia atrás, apriete el
disco totalmente y manténgalo en esta posi
ción. La máquina coserá hacia atrás hasta
que se suelte el disco.
Para el punto hacia atrás al iniciar una costu
ra, véase la pàgina 39.
35