Good luck and great flying, Caution – Top Flite TOPA0120 User Manual
Page 55
case of a “flame-out.” When you first advance the
throttle and the tail begins to lift, the plane will start
to turn left (a characteristic of all “tail draggers.”)
Be ready for this, and correct by applying sufficient
right rudder to hold it straight down the runway.
The left-turning tendency will go away as soon as
the tail is up and the plane picks up speed. Be
sure to allow the tail to come up. Depending on
the surface you are flying off of, you will need to
apply very little to no up elevator until flying speed
is obtained. CAUTION: holding the tail on the
ground with too much up elevator will cause the
Warhawk to become airborne prematurely at an
angle of attack at which the wing is stalled.
When the plane has sufficient flying speed, lift
off by smoothly applying up elevator (don’t “jerk” it
off to a vertical climb!), and climb out gradually.
FLYING: We recommend that you take it easy
with your Warhawk for the first several flights and
gradually “get acquainted” with this realistic warbird
as your engine gets fully broken-in. Add and
practice one maneuver at a time, learning how she
behaves in each. For ultra-smooth flying and
normal maneuvers, we recommend using the “low
rate” settings as listed on page 51. “High rate”
elevator may be required for crisp snap rolls and
spins. “High rate” rudder is best for knife edge.
LANDING: When it’s time to land, fly a normal
landing pattern and approach. The Warhawk will
probably bleed off airspeed more rapidly than the
sport planes you are used to. For this reason,
keep a few clicks of power on until you are over the
runway threshold. For your first landings, plan to
land slightly faster than stall speed and on the
main wheels, as this is the easiest way to land your
Warhawk. Later, with a little technique, you will
find you can make slow, 3-point landings.
If you have flaps, lower them on the downwind
leg of your approach. Full flaps make the P-40
very steady in the landing pattern. Just carry a
little extra power to make up for the extra drag.
The extra drag of the flaps also allows you to make
shorter, steeper approaches. Touch-and-go’s and
go-arounds can be accomplished with full flaps, but
be ready to use a little more up elevator. It is
preferred to have the flaps raised for takeoffs and
climb outs because the plane will accelerate and
climb better. If you have to go around, and your
flaps are lowered, it is better to gain some altitude
and airspeed before raising the flaps.
Have a ball! But always stay in control
and fly in a safe manner.
GOOD LUCK AND
GREAT FLYING!
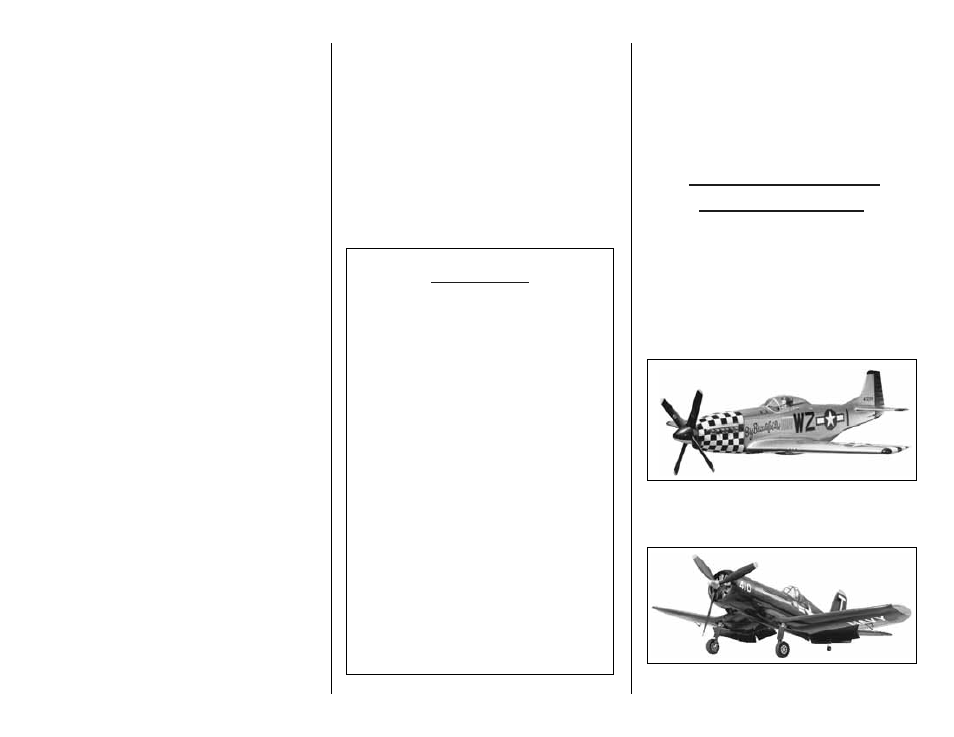
If you enjoyed building the Top Flite P-40E, try one
of these other Gold Edition kits as your next
project.
(TOPA0110) Top Flite P-51D Mustang
(TOPA0101) Top Flite F4U Corsair
CAUTION
(THIS APPLIES TO ALL R/C AIRPLANES):
If, while flying, you notice any unusual sounds,
such as a low-pitched “buzz,” this may be an
indication of control surface “flutter.” Because
flutter can quickly destroy components of your
airplane, any time you detect flutter you must
immediately cut the throttle and land the
airplane! Check all servo grommets for
deterioration (this will indicate which surface
fluttered), and make sure all pushrod linkages
are slop-free. If it fluttered once, it probably
will flutter again under similar circumstances
unless you can eliminate the slop or flexing in
the linkages. Here are some things which can
result in flutter: Excessive hinge gap; not
mounting control horns solidly; sloppy fit of
clevis pin in horn; elasticity present in flexible
plastic pushrods; side-play of pushrod in guide
tube caused by tight bends; sloppy fit of
Z-bend in servo arm; insufficient glue used
when gluing in the elevator joiner wire or
aileron torque rod; excessive flexing of aileron,
caused by using too soft balsa aileron;
excessive “play” or “backlash” in servo gears;
and insecure servo mounting.
- 55 -