Top Flite TOPA0120 User Manual
Page 19
❑ ❑
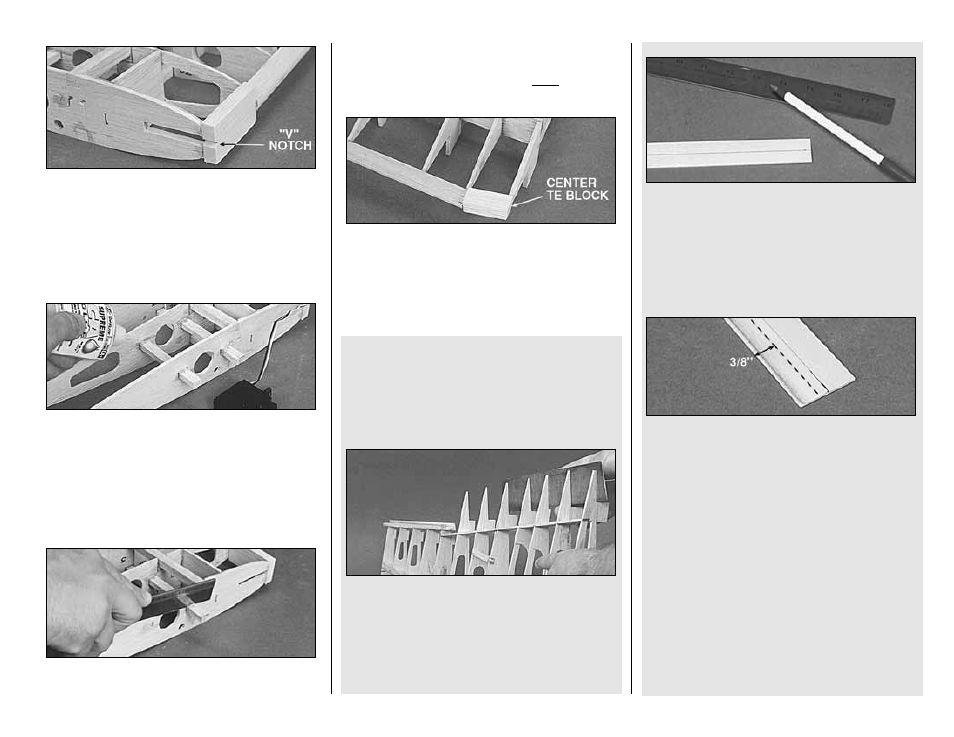
33. Glue the 3/8” x 1-3/16” x 2-1/2” balsa
Center LE Block to the front of W-1 and the LE.
Cut a V-notch in the Center LE Block centered on
the dowel notch in W-1. This notch will assist you
in drilling for the dowel later.
❑ ❑
34. Insert the 1/4” x 3/8” balsa Servo
Mount Rails (left over from the wing spars) into
the slots in W-1 and W-2. Adjust the aft rail's
position to allow the servo you will use to fit
comfortably. Glue the rails in place.
❑ ❑
35. Trim the spars, the servo mounts, and
the LE Block flush with W-1.
INSTALL THE CENTER TE BLOCK
Do steps 1 and 2 if you are NOT building
operating flaps.
❑ ❑
1. Glue the 3/8” x 1/2” x 1-1/4” Center TE
Block to the TE of rib W-1 and the Flap TE.
❑ ❑
2. Trim off the end of the Center TE Block
flush with W-1. The block should be shaped after
the wing is joined and sheeted.
PREPARE THE WING PANELS
FOR THE FLAPS
Do steps 1 through 14 if you are building
operating flaps.
❑ ❑
1. Remove the wing panel from the
building board. Use a T-bar with fresh 220 grit
sandpaper to blend away any unevenness from
the structure. Pay special attention to the trailing
edge of the wing. It is important to make the
trailing edge as straight as possible so the split
flaps will fit well.
❑ ❑
2. Draw a centerline down the 1/16” x 1” x
19” plywood TE Strip.
❑ ❑
3. Use a T-bar with sharp 150 or 220 grit
paper to bevel the aft 3/8” of the TE Strip. This will
allow the TE to be only 3/32” thick when the flaps
are shut. See the cross-section on the plans for
the correct thickness and angle.
❑ ❑
4. Locate the two 3/32” x 5/8” x 18” balsa
TE Jig Strips. Check the straightness of these
jigs by holding them up on edge on a flat table.
True them up with a knife and a metal straight
edge if required.
- 19 -