Top Flite TOPA0120 User Manual
Page 25
❑
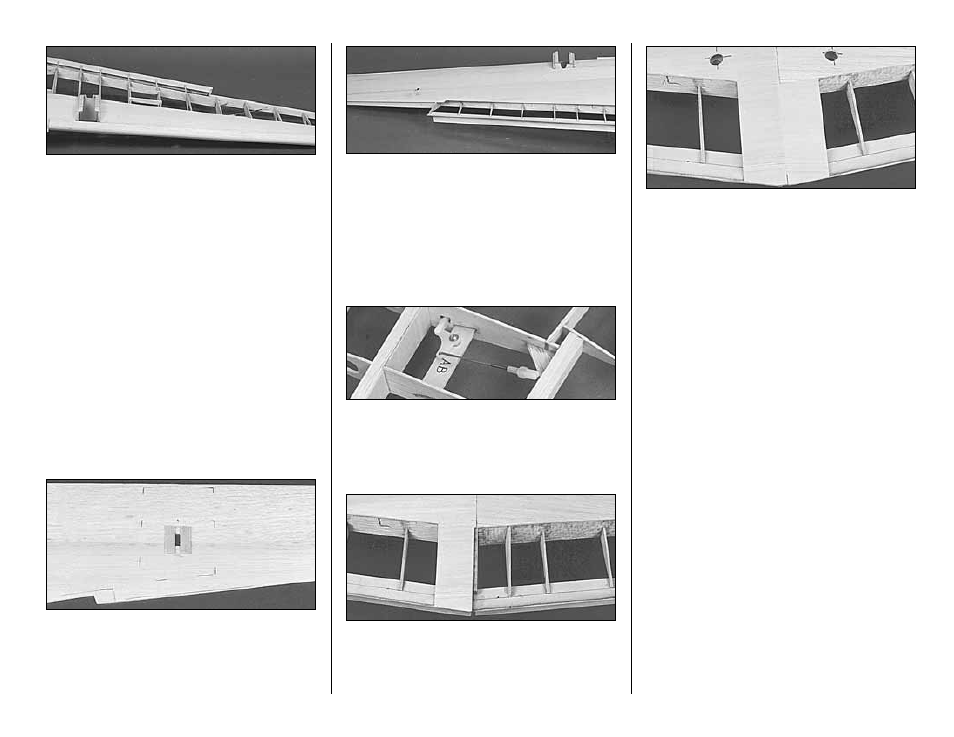
7. Use the leftover sheet from the previous
step to sheet the forward portion of the wing
outboard of W-4.
❑
8. Edge glue three (or four for fixed flaps)
1/16” x 3” x 30” balsa wing sheets together and
sand the seams. Tape the sheet to the bottom
surface of the wing along the edge created by the
forward sheeting. Mark the perimeter of the sheet
from the inside with a pen. Cut the sheet down
close to the correct size.
❑
9. Use the plans to help you locate the aileron
pushrod exit. Cut out an opening and reinforce the
skin from the inside with two small strips of 1/16”
scrap balsa.
❑
10. Tape the skin to the bottom of the wing
structure so it is aligned along the spar. Make sure
it fits well, especially at the root rib (W-1). Remove
the skin from the structure.
❑
11. Apply a bead of CA+ to all of the structure
the skin will touch.
❑
12. Attach the aileron pushrod to the bellcrank
and position the skin onto the structure. Gently
press the wing skin down onto the wing structure.
❑
13. Sheet any remaining openings in the
bottom wing skin such as the Trailing Edge
between the flaps (for the operating flap option).
❑
14. Use a punch to mark the hole locations in
the bottom wing skin for the wing bolts. Start these
holes so you can find the location later, after the
top wing skin is applied.
SHEET THE TOP OF THE WING
NOTE: This kit includes a special wing
jig to hold the wing at the proper
washout angle while you apply the final
wing skin. Twisted wings are a major
cause of bad flight characteristics.
Dihedral angles can vary slightly; so if
your tip jigs require adjustment, just be
sure that both tip jigs are modified the
same, and are therefore identical. Be
careful not to change the washout
angle (the angle of attack of the tip ribs)
if you adjust the jigs.
❑
1. Make the skins for the top of the wing
forward of the spar using the same method that
you used on the bottom of the wing (Page 24,
Step 6.)
❑
2. Trim the remaining jig tabs of W-1 and W-
12. Blend any inconsistencies in the top wing
surface away with a T-bar and 220 grit paper.
❑
3. Temporarily place the 5/16 x 3-1/8” Wing
Dowel into the hole you drilled into the LE (do not
glue it yet).
- 25 -