Great Planes Piper J-3 Cub 20 Kit - GPMA0158 User Manual
Page 4
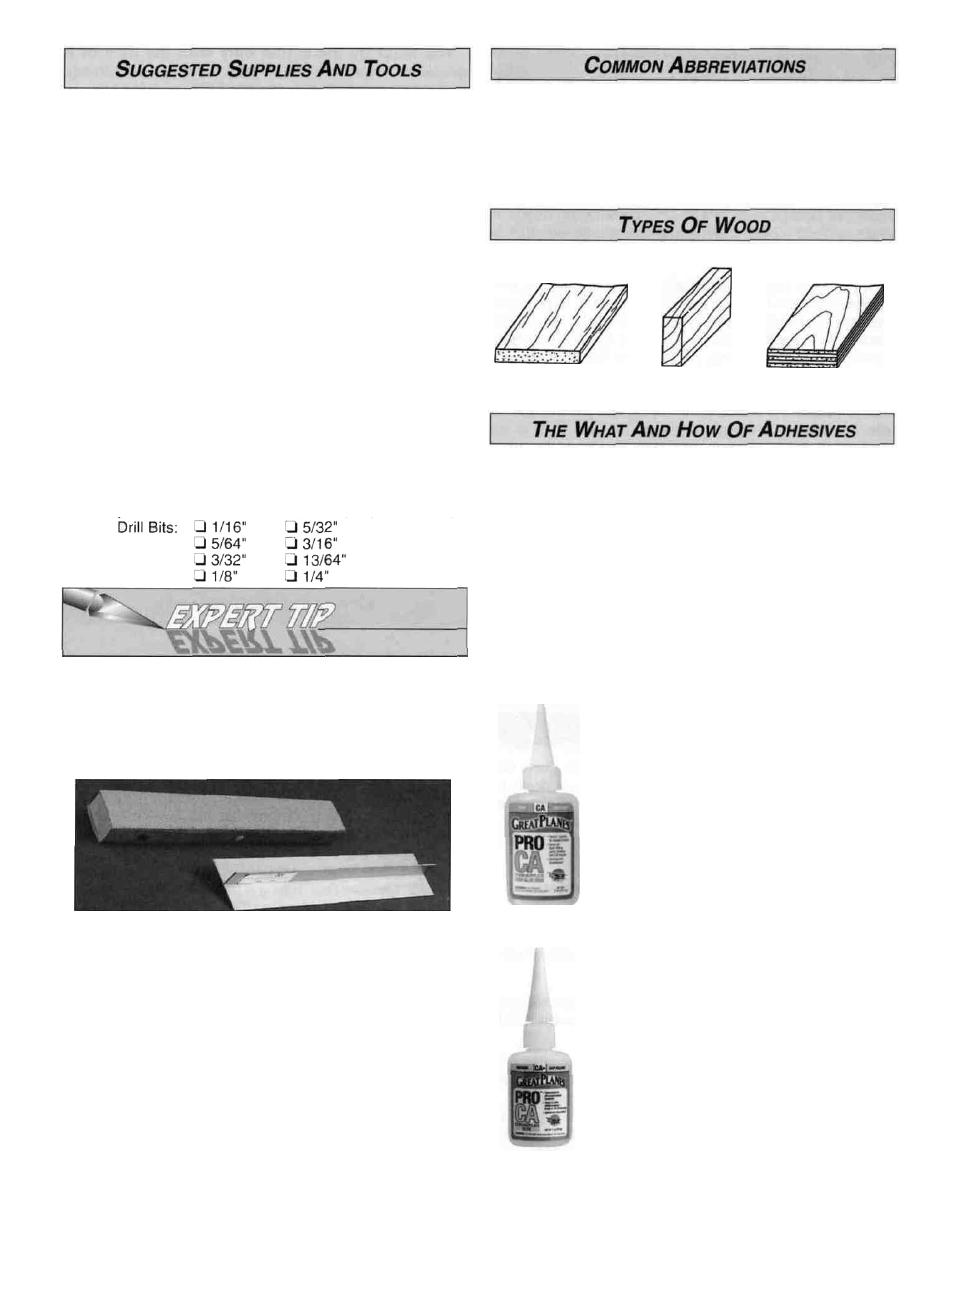
We recommend Great Planes Pro™ CA and Epoxy
D 2 oz Thin CA Adhesive - (GPMR6003)
D 2 oz Medium CA+ Adhesive - (GPMR6009)
D 1 oz. Thick CA- Adhesive - (GPMR6014)
D 6-Minute Epoxy - (GPMR6045)
D 30-Minute Epoxy - (GPMR6047)
D Pacer Formula 560 Canopy Glue
D Hand or Electric Drill
D Sealing Iron - (TOPR2100)
D Heat Gun - (TOPR2000)
D Hobby Saw - (X-acto® Razor Saw)
D Hobby Knife with #11 Blades
D Razor Plane - (Master Airscrew®)
D Screw Drivers - (Phillips and Slot tip)
D Flat File
D T-Pins Medium - (HCAR5150)
D String
D Straightedge with Scale
D Masking Tape - (required for construction)
D Sandpaper- (coarse, medium, fine grit)*
D T-Bar Sanding Block - (or similar)
D Lightweight Balsa Filler- (HCAR3401)
D #10-24 Tap and Tap Wrench
D IsopropyI Rubbing Alcohol - (70%)
D Dremel® Moto-Tool® or Similar - (optional)
D Kyosho® Curved Scissors (optional) - (KYOR1010)
*0n our workbench, we have four 11" T-Bar sanders,
equipped with #50, #80, #150 and #220-gnt sandpaper
This setup is all that is required for almost any sanding
task Custom sanding blocks can be made from balsa
for sanding hard to reach spots We also keep some
#320-grit wet-or-dry sandpaper handy for finish sanding
before covering.
T-Bar sanding tools are made from lightweight extruded
aluminum and can be found at most hobby shops A
2" x 11" strip of sandpaper is attached to the T-Bar by
gluing it on with rubber cement. Apply the rubber
cement to both the bottom of the T-Bar and the back of
the sandpaper When both surfaces are dry, press the
sandpaper firmly onto the T-Bar Spray adhesive can be
used for this purpose but it's harder to remove the
sandpaper when you need to replace it Wooden
sanding blocks can be made from straight 11" lengths
of 1" x 2" scrap lumber Start on one side, then wrap a
sheet of sandpaper completely around the wood,
ending on the same side as the one you started on.
Push 3 or 4 thumbtacks into this side, then trim off the
excess material.
Fuse = Fuselage
LG = Landing Gear
Stab = Stabilizer
" = Inches
Elev = Elevator
LE = Leading Edge (front)
Ply = Plywood
TE = Trailing Edge (rear)
Balsa Basswood Plywood
Cyanoacrylate: or CA glue has changed the way models
are built more than any other advance in modeling
technology In the good ol' days, model cement like
Ambroid, Duco, Comet and Sigment were the glues of
choice They all had a strong odor that could cause
dizziness, dried slowly (compared to CA) and became
brittle with age CA, on the other hand, is stronger, works
almost instantly and is bottled in three different viscosities
(thicknesses) CA is used for most glue joints, except where
epoxy is specified CA does emit rather strong fumes (some
say it's like tear gas) as it cures, so rule number one is to
work in a well ventilated area. All CA glues work best if the
joints are smooth and fit well.
Thin CA is also known simply as CA This
is the adhesive that has revolutionized
model building because it allows you to
assemble the parts first, then apply the
adhesive The thin formulation flows or
"wicks" into the joints and sets almost
instantly, eliminating the need to use pins to
hold things together while the glue dries.
You will often use thin CA for the initial
bond, but then follow with medium or thick
CA for extra strength, especially when
gluing plywood or hardwood.
CA+ is also known as medium or gap
filling CA CA+ is used for surface gluing,
filling small gaps between poorly matched
parts and for general purpose applications.
It cures slower than thin CA, allowing you to
apply a bead to two or three parts before
assembly Curing time without accelerator is
20 - 30 seconds.
4