Great Planes Piper J-3 Cub 20 Kit - GPMA0158 User Manual
Page 39
D 5 Install a 3/32" wheel collar on the tail gear wire Slide
the tail wheel on and secure it to the tail gear wire with
another 3/32" wheel collar.
the landing gear fairing and the fuselage in two locations
where the CA hinges will be attached to the fuselage Make
sure both marks on the fuselage are behind the landing
gear rail
D 1 Lightly sand a strip approximately 1/8" wide along the
inside of the windshield (around the perimeter) Note: To
avoid sanding more than you want, it is helpful to first apply
strips of masking tape on the inside of the windshield, 1/8"
in from the edge
D 2 Hold the windshield in place on the fuselage Use a
fine tip marker to trace a line directly onto the covering
around the windshield Remove the windshield and use a
sharp #11 blade to cut the covering just inside the line you
drew A sharp blade is important so you don't have to use
much pressure and will allow you to cut only the covering
and not the underlying wood Decide how you are going to
treat the front deck behind the windshield One option is to
leave the yellow covering in place and paint it flat black — if
this is your plan, then just remove a 1/8"-wide strip of
covering in the area where the windshield will be glued to
the front deck If you want to recover this area with black
MonoKote film, then you should remove the yellow covering
behind the cut that you made in this step and recover this
area, leaving a 1/8" strip uncovered.
D 3 Cut out and apply the instrument panel decal to the
instrument panel.
D 4 Carefully glue the windshield in place with "56"-type
Canopy Adhesive We do not recommend CA, as it may fog
the plastic Use masking tape to hold it in place while the
glue dries.
D 2 Cut four 1/4" x 3/4" pieces of CA hinge from the extra
hinge material Cut two slots 1/2" deep, centered at the
marks on the edge of the landing gear fairing and in the
edge of the fuselage Glue the CA hinge material half-way
into the slots in the landing gear fairing with thin CA.
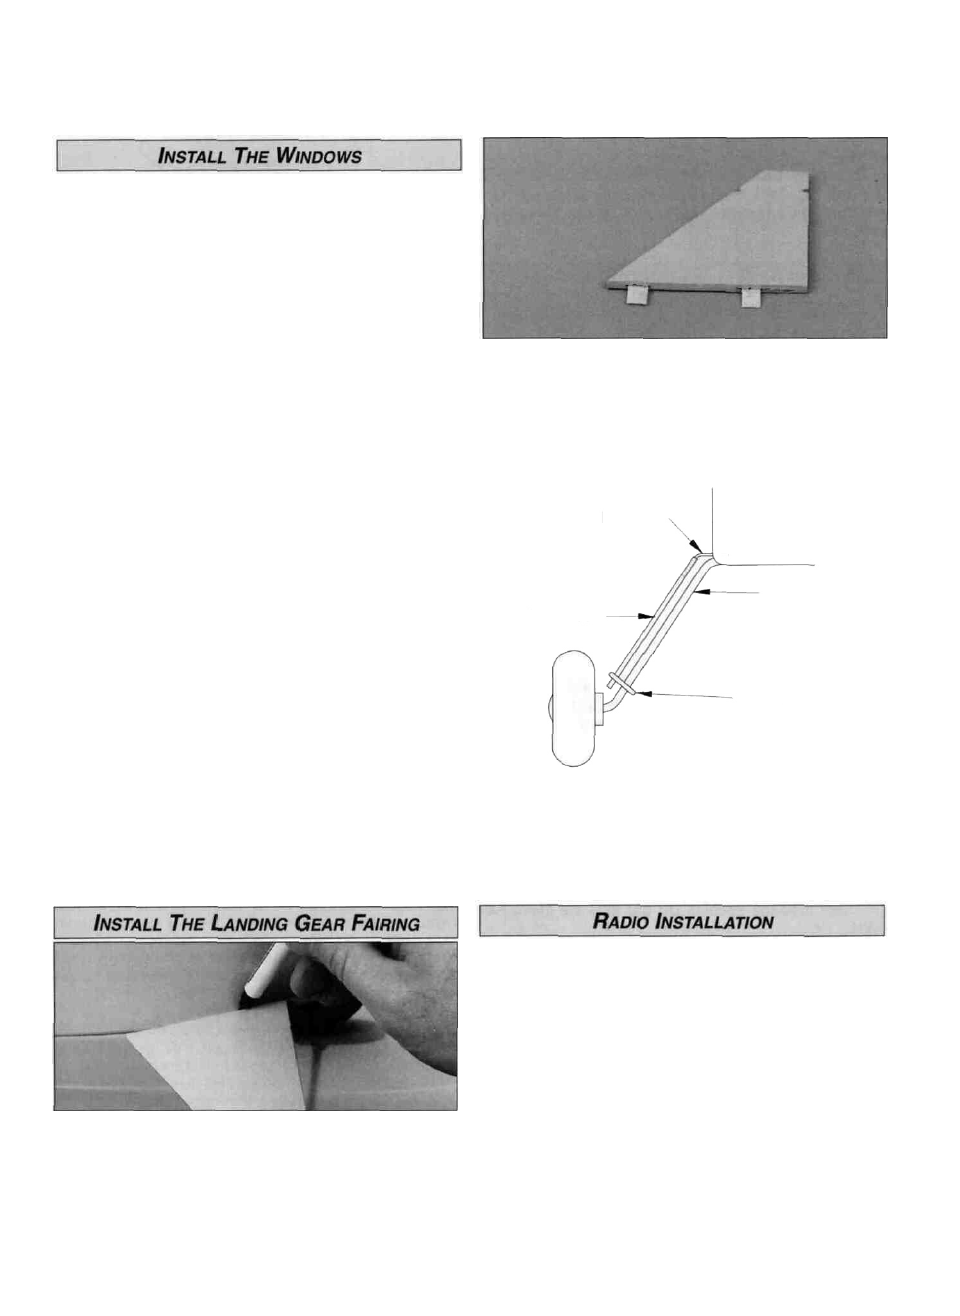
CA Hinge Materiel
Landing Gear
Fairing
Landing Gear
Wire
Rubber Band
D 5 The side windows are cut from the sheet of supplied
butyrate Use the fuselage plan as a guide to trim the
windows to fit along the inside of the cabin side After the
windows have been trimmed to fit, glue them in place with
"56"-type Canopy Adhesive.
D 3 Slide the CA hinges into the slots in the fuselage and
reattach the landing gear fairing to the landing gear with the
rubber band Glue the CA hinges into the fuselage with
thin CA.
D 1 Attach the 1/8" die-cut landing gear fairing to the
landing gear with a small rubber band Mark the top edge of
D 1 The receiver battery may be installed nearly anywhere
in the cabin area that allows for correct balance Wrap the
receiver battery with 1/4" foam rubber The recommended
battery location is underneath the fuel tank just ahead of
former F2
D 2 We have found the best place to mount the receiver
switch is on the bottom of the fuselage We used a Great
Planes Switch & Charge Jack Mounting Set (not included)
to mount the switch This allows us to charge the receiver
battery without removing the wing
39