Great Planes Learjet 40 Kit - GPMA0439 User Manual
Page 37
D 1. Use 6-minute epoxy to glue the assembled and
covered nacelle pylons into the slots you cut earlier. Double
check the forward edge distance from F-2 before the epoxy
cures - it should be 18-3/8".
D 2. Use 6-minute epoxy and a #2 x 3/8" sheet metal
screw to fasten each nacelle to its pylon. Make sure both
nacelles are at the same height.
D 3. Attach the two tip tanks to the wing tips with a 4-40 x
3/4" cap screw.
D 4. Lift the model at the balance point. If the tail drops
when you lift, the model is "tail heavy" and you must add
weight* to the nose to balance If the nose drops, it is "nose
heavy" and you must add weight* to the tail to balance.
NOTE: Nose weight may be easily installed by using a
Heavy Spinner Hub or gluing lead weights into the fuel
compartment Tail weight may be added by using Great
Planes (GPMQ4485) "stick-on" lead weights applied inside
the servo compartment.
*lf possible, first attempt to balance the model by changing
the position of the receiver battery and receiver If you are
unable to obtain good balance by doing so, then it will be
necessary to add weight to the nose or tail to achieve the
proper balance point.
NOTE: This section is VERY important and must NOT
be omitted! A model that is not properly balanced will
be unstable and possibly unflyable.
D 1. Before balancing, the model must be in "ready to fly"
condition with the tip tanks, nacelles, empty fuel tank,
wheels, propeller and spinner installed If you haven't
already done so, install these components now.
BALANCE YOUR MODEL
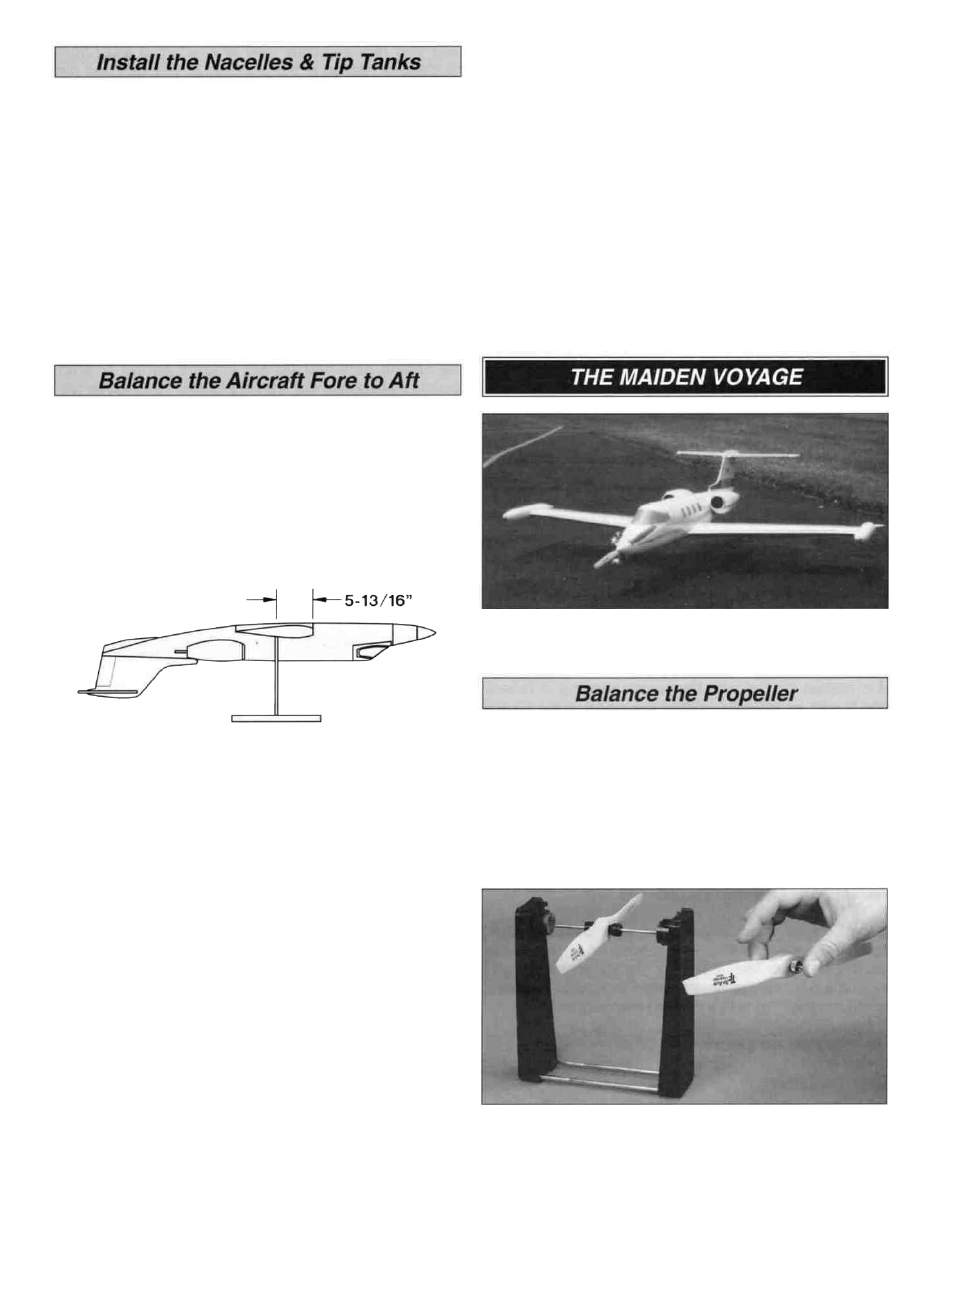
D 2. Accurately mark the balance point on the top of the
wing on both sides of the fuselage The balance point is
shown on the plan (CG), and is located 5-13/16" back
from the leading edge. This is the balance point at which
your model should balance level for your first flights. Later,
you may wish to experiment by shifting the balance up to
3/16" forward or back to change the flying characteristics
Moving the balance forward may improve the smoothness
and arrow-like tracking, but it may then require more speed
for takeoff and make it more difficult to slow down for
landing. Moving the balance aft makes the model more
agile with a lighter and snappier "feel" and often improves
knife-edge capabilities In any case, please start at the
location we recommend and do not at any time balance
your model outside the recommended range.
D 3. With the wing attached to the fuselage, all parts of the
model installed (ready to fly) and an empty fuel tank, hold
the model upside down with the stabilizer level.
Balance your propellers carefully before flying An
unbalanced prop is the single most significant cause of
damaging vibration Not only will engine mounting screws
and bolts vibrate out, possibly with disastrous effect, but
vibration will also damage your radio receiver and battery.
Vibration will cause your fuel to foam, which will, in turn,
cause your engine to run rough or quit.
We use a Power Point Precision Magnetic Balancer
(TOPQ5700) in the workshop and keep a Great Planes
Fingertip Balancer (GPMQ5000) in our flight box.
37