Great Planes Learjet 40 Kit - GPMA0439 User Manual
Page 32
D 1.Tail and nacelle junction strips as described in the
previous note
D 2.Rudder ends
D 3. Rudder right and left sides
D 4. Ends of both elevators
D 5. Bottom of elevators
D 6. Top of elevators
D 7. Stab bottoms
D 8. Stab top
D 9 Fin right and left sides
D 10. Fuse bottom
D 11. Fuse sides
D 12. Fuse top
D 13 Ends of ailerons
D 14. Bottoms of ailerons
D 15. Tops of ailerons
D 16 TE surfaces of wing at ailerons
D 17. Bottom of left wing panel (overlap covering 1/4" at
belly pan)
D 18. Bottom of right wing panel (overlap covering 1/4"
at belly pan)
D 19. Top of left wing panel (overlap covering 1/4" at
wing LE and center)
D 20. Top of right wing panel (overlap covering 1/4" at
the LE and center)
D 21. Nacelle pylons, bottom and top
D 22. MonoKote trim stripes and accents.
D 2. Thoroughly clean your airplane before applying
decals.
D 3. Trim the decals as close as practical. Carefully apply
the decals to the model. You can float the decals into
position by first applying soapy water (two or three drops of
dish detergent to a quart of water) to the model's surface,
then smoothing on the decal Squeegee out excess water
using a credit card wrapped with a tissue Blot the surface
dry and let the decals cure for at least 12 hours before
running the engine.
D 4. Most of the panel lines and access hatches are
included on your decal sheet. The two straight black lines
at the bottom of the sheet may be used to create an outline
of the door.
D 5 An identification label is also provided for your
convenience and complies with AMA guidelines. Be sure to
cover the label with the clear protective frame.
NOTE: Certain text decals are provided and may be used
at your discretion.
We recommend Top Flite LustreKote" primer and color coat
for all plastic parts.
Surface preparation
Spray the cowl, nacelles, canopy and tip tanks with a
thin coat of primer. Add a second coat of primer to areas
that need it It's best to allow the primer to dry overnight
before sanding Wet sand the primer with 320 and 400 grit
sandpaper Most of the primer should be sanded off.
Apply the colors
Spray the parts with several light coats of Top Flite LustreKote,
allowing each coat to dry before applying the next.
NOTE: The decal sheet gives you everything you need to
completely trim your model, except for the red stripes.
D 1. Study the photos on the box to decide where to place
the decals.
D 1. Plug the required servo extension leads and all
servos into the receiver, following the manufacturers'
instructions If using retracts, you need to install a "Y" cord
in the retract position as you will be using two servos Wrap
the receiver in a layer of 1/4" foam rubber (HCAQ1000),
then secure in place with scrap balsa and a couple of
rubber bands.
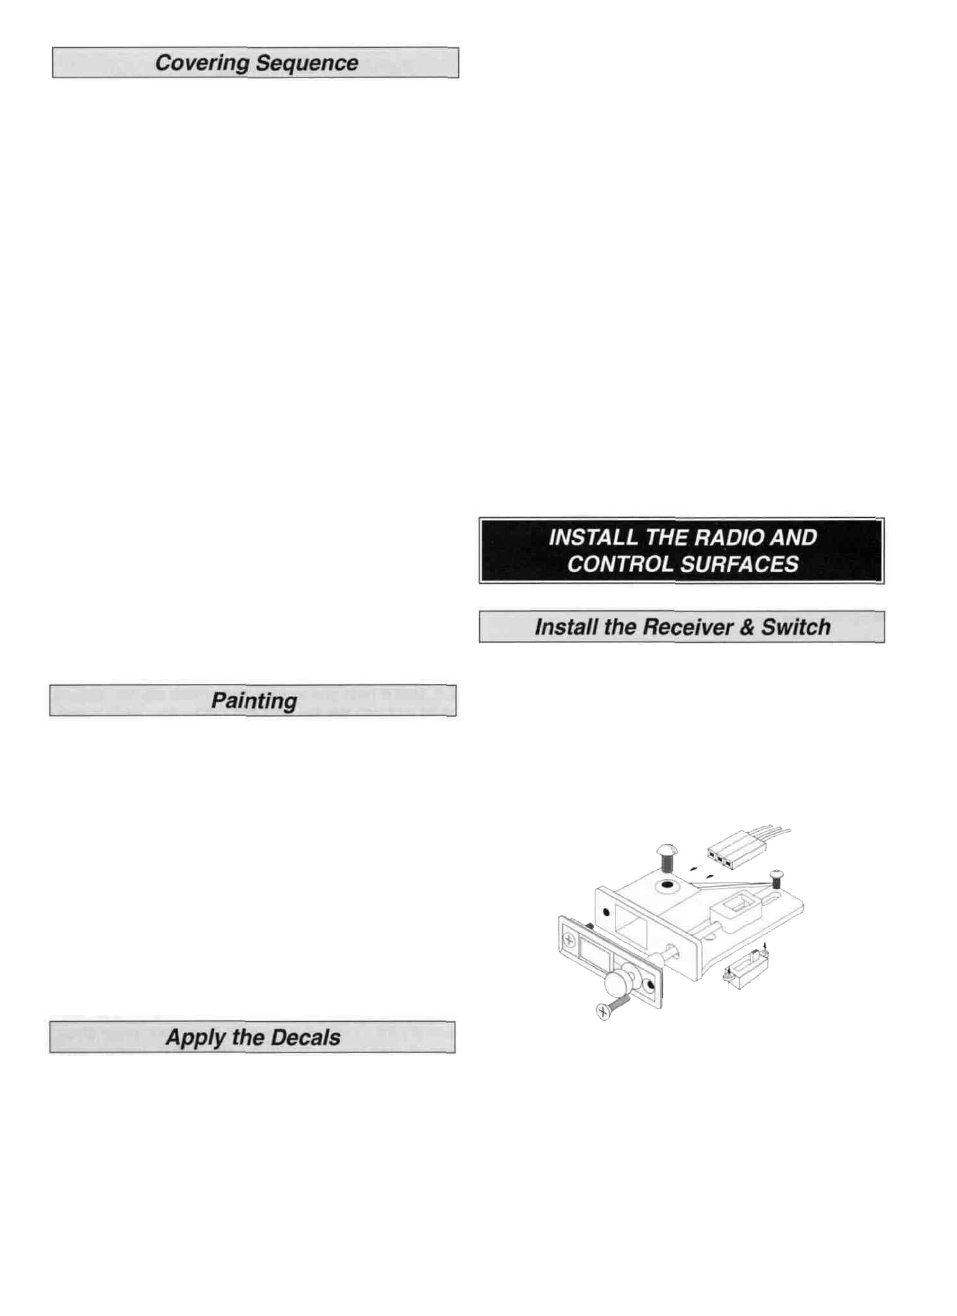
D 2. Install the receiver switch wherever you choose
between F-5 and F-6
Hint: The most inconspicuous location is below the nacelle
pylons. We used a Great Planes Switch/Charging Jack
(GPMM1000) as it offers both functions in one small unit.
Connect the switch to the receiver.
32