Great Planes Learjet 40 Kit - GPMA0439 User Manual
Page 30
D 1. Sheet both die-cut 1/8" plywood nacelle pylons on
both sides with 3/32" x 3" balsa. Be sure the grain direction
runs from the inboard edge to the tip. Trim and sand the
sheeting to the shape of the die-cut pylons.
D 5. Roughen the mating surfaces with coarse sandpaper
then glue the left, right and front pieces together with thin CA.
D 6. If you will be painting the nacelles, now would be a
good time to fill the joints with automotive body filler (Bondo).
Wet sand the seams smooth before priming and painting.
D 2. Insert the pylons into the slots in the fuse, then cut two
pylon trailing edge pieces from the remaining balsa rudder
stock to the shape shown on the plan. Sand the edges for a
nice fit with the fuse sides. Glue the TE pieces to the
pylons only. We will glue them to the fuse after the model
is covered.
NOTE: Do not confuse this procedure with "checking
the C.G." or "balancing the airplane fore and aft." That
very important step will be covered later in the manual.
Now that you have the basic airframe nearly completed,
this is a good time to balance the airplane laterally (side-
to-side). Here is how to do it:
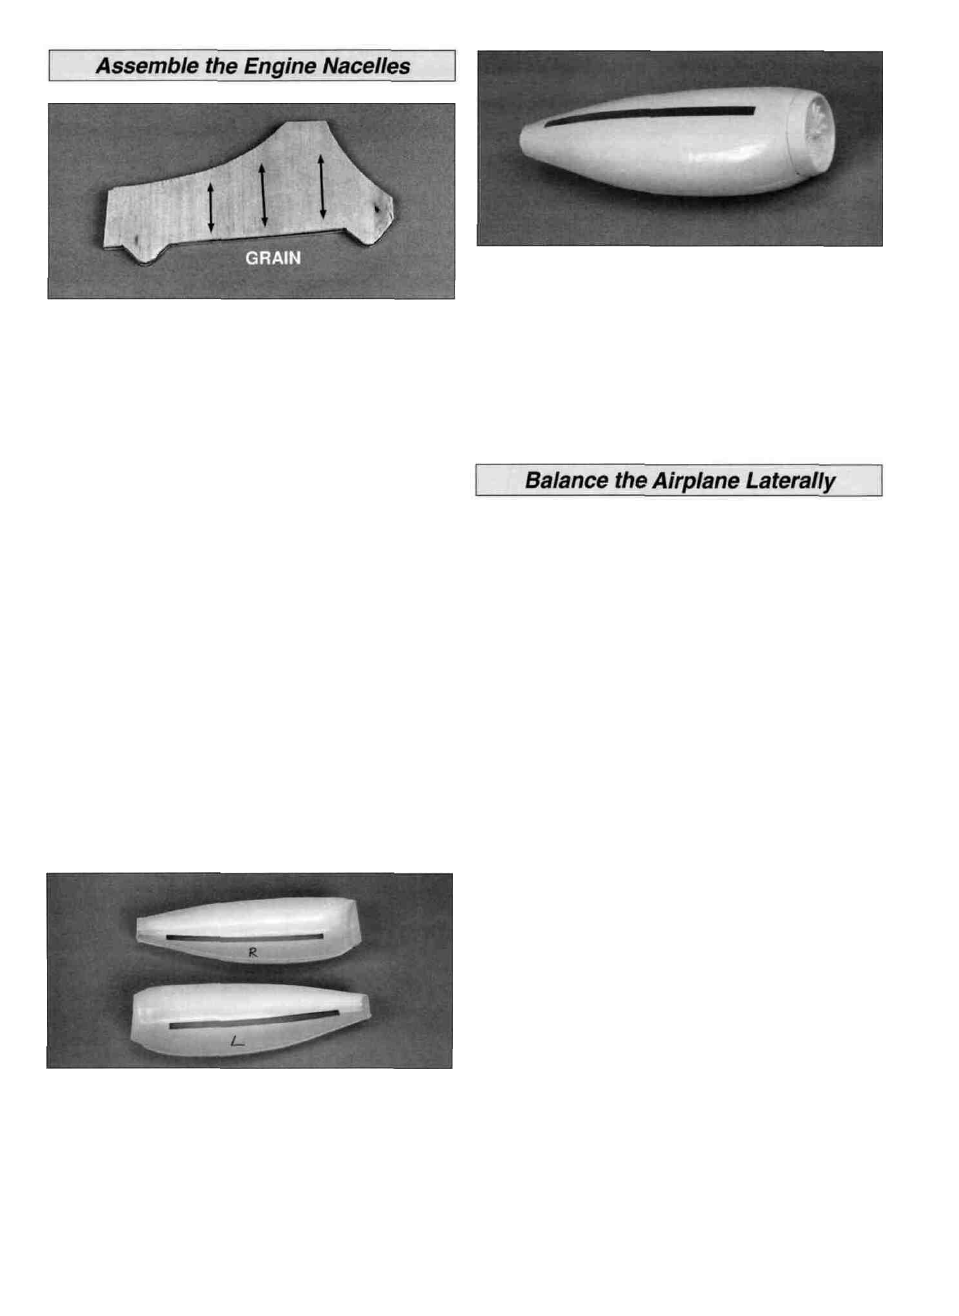
D 3. Trim the six pieces that comprise the dummy engine
nacelles to the embossed cut lines. Sand the edges smooth.
Without gluing, fit the parts together, then designate the left
and right nacelles. Open the two nacelles.
D 1. Temporarily attach the wing and engine (with muffler)
to the fuselage.
D 2. With the wing level, lift the model by the engine
propeller shaft and the fin post (this may require two
people). Do this several times.
D 4. Cut a pylon access slot in only the two pieces that
will be closest to the fuselage following the embossed cut
lines on the inside surface of the nacelles. Do not cut the
slots in all four pieces or you will have slots showing on
the outside of the nacelle.
D 3. If one wing always drops when you lift the model, it
means that side is heavy. Balance the airplane by gluing
weight to the other wing tip. NOTE: An airplane that has
been laterally balanced will track better in loops and
other maneuvers.
There. The assembly is done! If you have followed the
instructions and Expert Tips you should be looking at a
pretty spiffy Learjet airframe. From here on you should
work over a soft pad of foam or bathroom towels to prevent
creating new dings in the structure. Clean off your
workbench and vacuum up any balsa dust and wood chips
as they have a way of causing scratches on the covering as
you apply it.
30