2 date & time, 3 dst – COP-USA DVR2304SE-B User Manual
Page 25
Digital Video Recorder User Manual
19
Show time: If selected, the current time will be displayed during live monitoring.
Show wizard: If selected, the GUI would launch the startup wizard on every boot, allowing the user to do basic setup.
Max network uses: To set the max number of concurrent user logins in the DVR.
VGA resolution: The resolution of live display interface, range from: VGA800*600, VGA1024*768, VGA1280*1024, HDMI and CVBS.
Note: Switching between VGA and CVBS will change the menu output mode. Please connect to relevant monitor.
Language: setup the menu language.
Note: After changing the language and video output, the device needs to login again.
Logout After (Minutes): A user can setup the screen interval time (30s, 60s, 180s, 300s). If
there is no any operation within the setting period, the device will auto logout and return to
login interface.
No Image When Logout: If this item is selected, there will be no image showing when
logout.
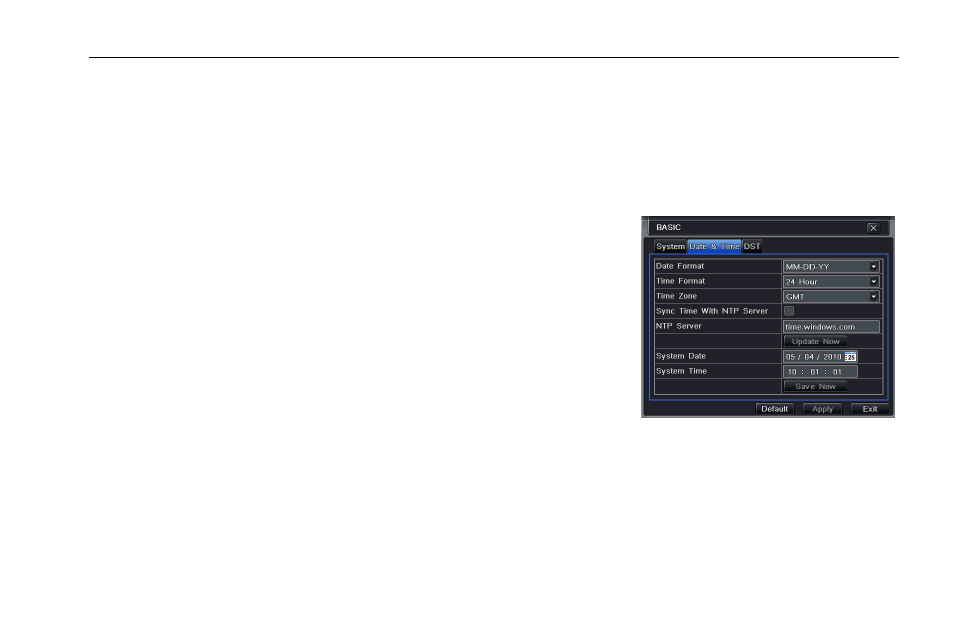
4.1.2 Date & Time
Step1: Enter into MenuSetupBasicDate & Time tab. Refer to Fig 4-4.
Step2: Set the date format, time format, time zone in this tab; checkmark “sync time with
NTP server” to refresh NTP server date; user can also adjust system date manually
Step3: Click “Default” button to restore default setting; click “Apply” button to save the
setting; click “Exit” button to exit the current interface.
Fig 4-4 Basic Configuration-Date & Time
4.1.3 DST
Step1: Enter into MenuSetupBasic DST tab (please refer to Fig 4-5).
Step2: In this tab, enable daylight saving time, time offset, mode, start & end month/week/date, etc.
Step3: Click “Default” button to restore default setting; click “Apply” button to save the setting; click “Exit” button to exit the current
interface.