Using image, Contrast control, Enable photo enhancement – Panasonic KX-P6100 User Manual
Page 23: Using 2 up/4 up, Draw frame border, Print modes (gdi mode), W____ m l-h 50, W """t'l |-»l 50
Attention! The text in this document has been recognized automatically. To view the original document, you can use the "Original mode".
Print Modes (GDI Mode)
Using Image
Click I Image | on the Panasonic KX-P6100 GDI window ( i®“ P 18)
The Image Options screen appears
Image Options
^ Brightness
Dark
Light
□ Enable Photo Enhancement
OK
W____ M
l-H 50
Cnritrast
Soft
Sharp
W """T'l
|-»l 50
Cancel
Default
The Image Options screen lets you adjust the appearance of your output These adjustments only apply to certain
types of images and grayscales, not to text or black line drawings Refer to page 29, TonrSavR, for information on
lightening the appearance of text and some line art
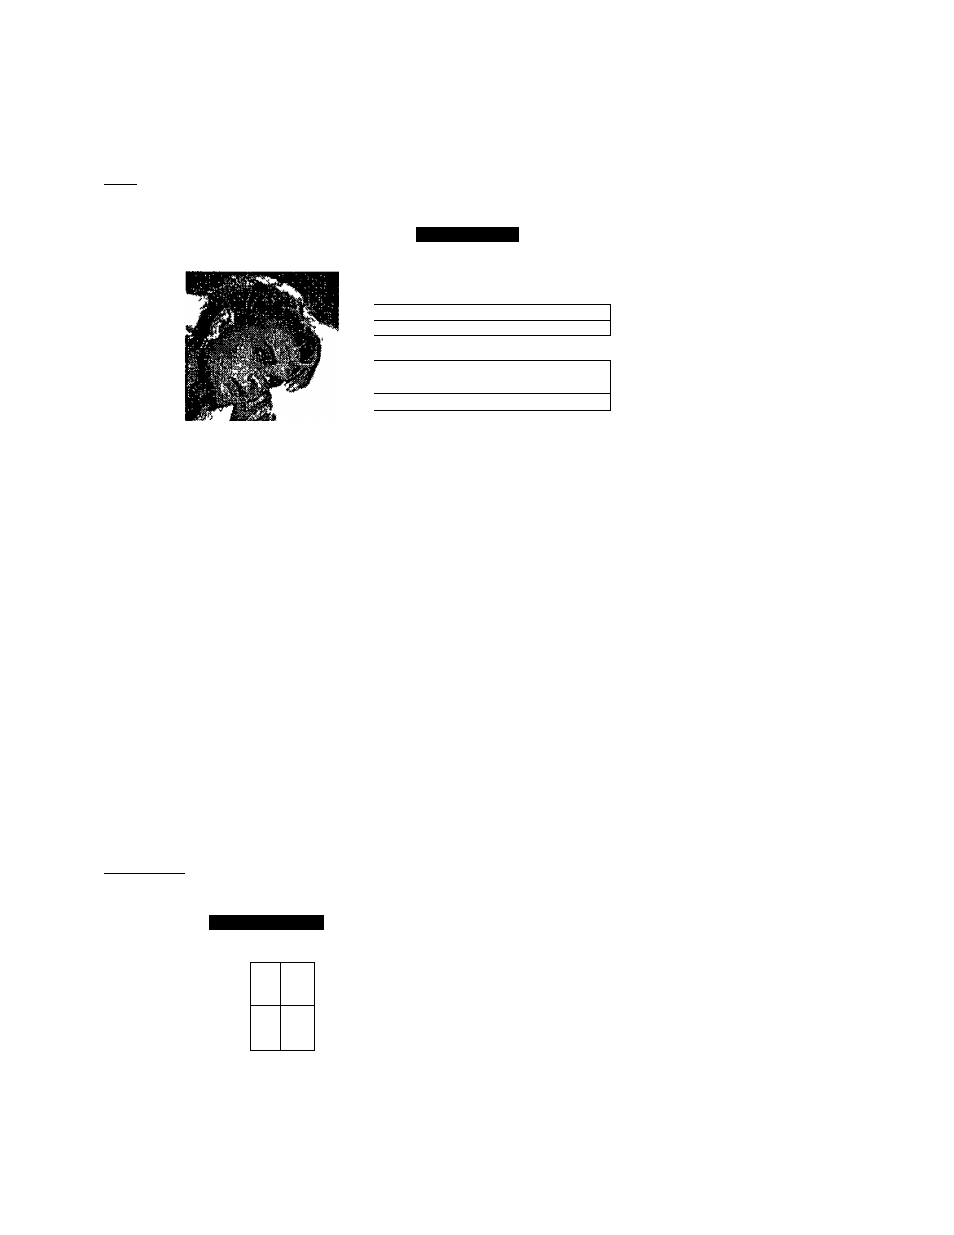
The figure at the left of the screen will change as you move the controls, giving you a rough idea of the effect of your
adjustments
Brightness Control
Drag the Brightness knob or click on the arrows to vary
the shades of gray, making the image output appear
lighter or darker
Contrast Control
Drag the Contrast knob or click on the arrows to make
the image output appear sharper or softer
Enable Photo Enhancement
Clicking on Enable Photo Enhancement will improve
the quality of the image output
X
I
"0
O)
o
o
o
a
o
a
Using 2 Up/4 Up
Click (2 Up/4 Up ) on the Panasonic KX-P6100 GDI window
The 2 Up/4 Up printing screen appears
2 Up/4 Up Printing
Q2Up
■ A
m
B
m e
■ D
OK
Cancel
O ^ n Frame Border
• 1 up prints normally
• 2 up prints two pages on one sheet of paper In
portrait mode, the pages display side by side as in a
book
• 4 up prints four pages on one sheet of paper
Draw Frame Border
If you click on Draw Frame Border, the printer will draw
a box around each page on the paper
23