Removing the display panel – Dell Latitude E4200 (Late 2008) User Manual
Page 19
1.
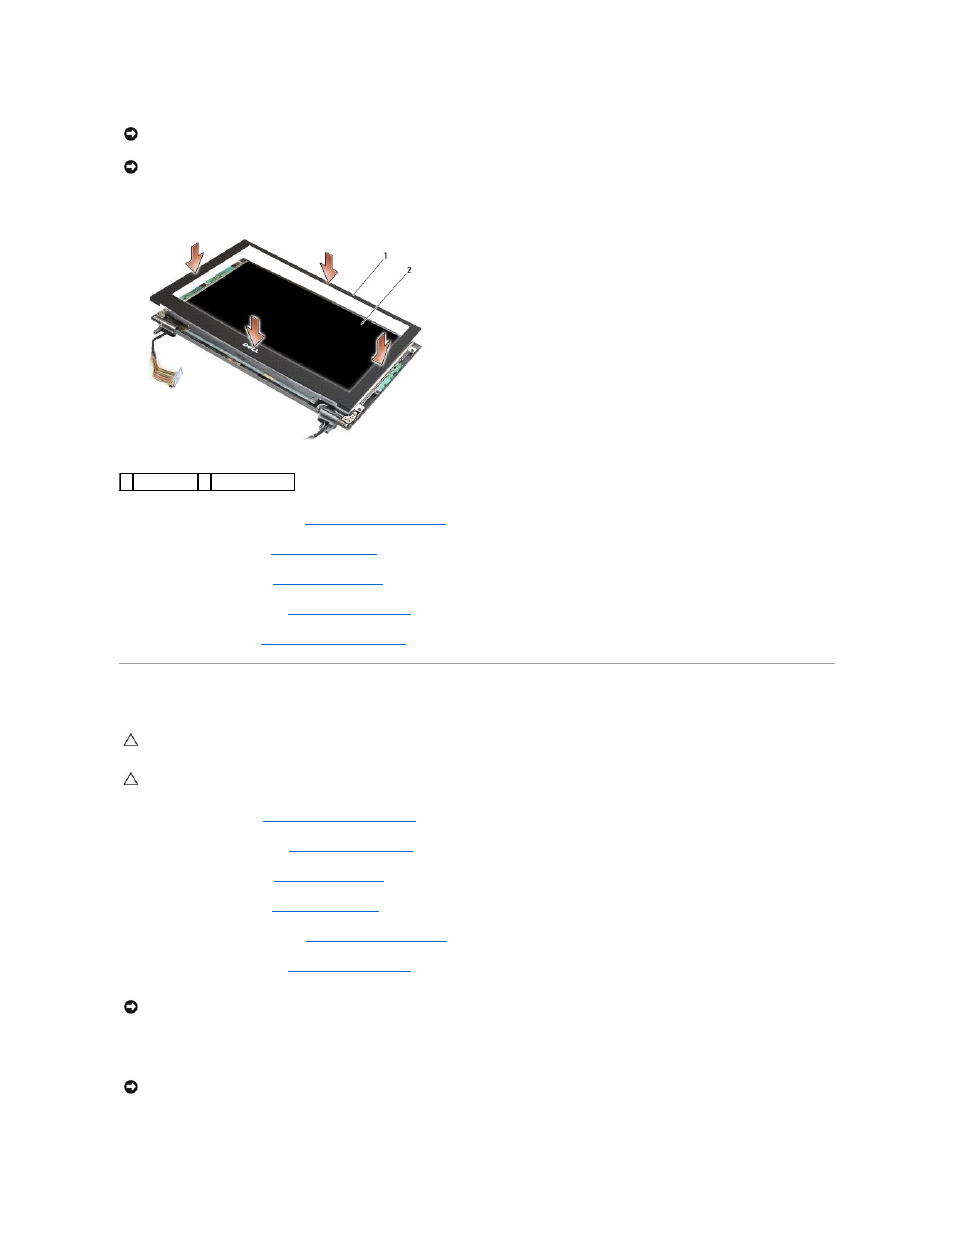
Align the bezel edges with those on the display assembly, and gently snap the bezel into place around the entire perimeter of the assembly.
2.
Replace the display assembly (see
Replacing the Display Assembly
3.
Replace the keyboard (see
Replacing the Keyboard
).
4.
Replace the LED cover (see
Replacing the LED Cover
).
5.
Replace the service panel (see
Replacing the Service Panel
).
6.
Follow the procedures in
After Working on Your Computer
.
Removing the Display Panel
1.
Follow the instructions in
Before Working on Your Computer
.
2.
Remove the service panel (see
Removing the Service Panel
).
3.
Remove the LED cover (see
Removing the LED Cover
).
4.
Remove the keyboard (see
Removing the Keyboard
).
5.
Remove the display assembly (see
).
6.
).
7.
Remove the four M2 x 3-mm screws from the display panel.
NOTICE:
To avoid permanent damage to the display panel, do not press or rub on the center of the panel.
NOTICE:
When replacing the display bezel, press only on the outer edges when snapping the bezel into place. Pressing on the inner edges could
cause the display panel to crack.
1 display bezel 2 display assembly
CAUTION:
Before working inside your computer, read the safety information that shipped with your computer. For additional safety best
practices information, see the Regulatory Compliance Homepage on www.dell.com at: www.dell.com/regulatory_compliance.
CAUTION:
The tabs on the outer edges of the display panel are made of very thin metal, and could cut the skin if not handled with care.
NOTICE:
To avoid permanent damage to the display panel, do not press or rub on the center of the panel.
NOTICE:
To avoid permanent damage to the display panel, lift the panel using both hands on the sides of the panel.