Camera, Removing the camera, Replacing the camera – Dell Latitude E4200 (Late 2008) User Manual
Page 12
Back to Contents Page
Camera
Dell™ Latitude™ E4200 Service Manual
If you ordered a camera with your computer, the camera is already installed.
Removing the Camera
1.
Follow the instructions in
Before Working on Your Computer
.
2.
Remove the keyboard (see
Removing the Keyboard
).
3.
Remove the display assembly (see
Removing the Display Assembly
).
4.
Remove the display bezel (see
Removing the Display Bezel
).
5.
Remove the display panel (see
Removing the Display Panel
).
6.
Remove the display hinges (see
Removing the Display Hinges
).
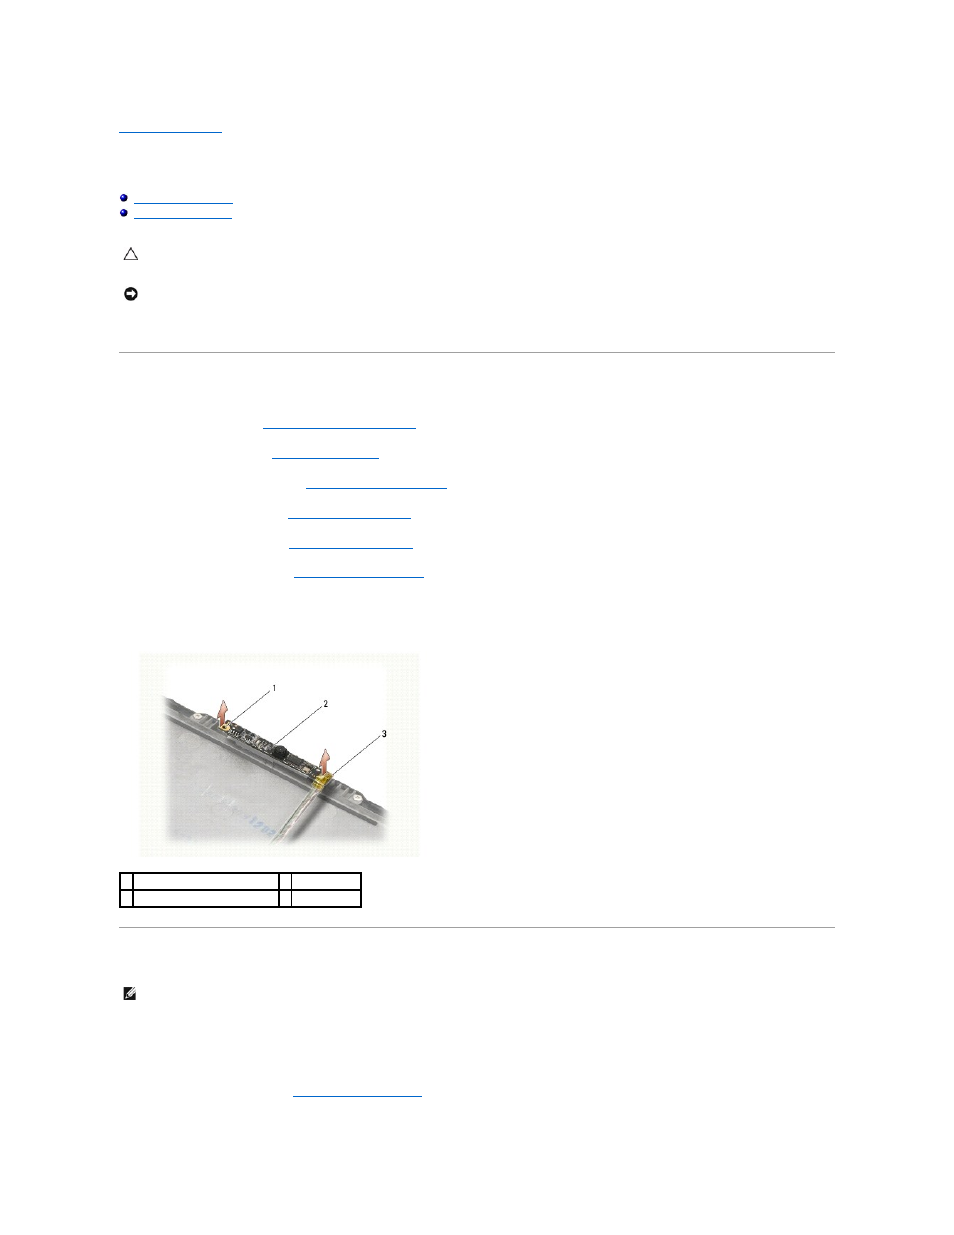
7.
Lift the camera board from the display back cover.
8.
Free the display/camera cable assembly from the display hinges.
Replacing the Camera
1.
Align the camera board to the alignment posts on the display cover.
2.
Re-thread the display cables through the hinges.
3.
Replace the display hinges (see
Replacing the Display Hinges
).
CAUTION:
Before working inside the computer, read the safety information that shipped with the computer. For additional safety best practices
information, see the Regulatory Compliance Homepage on www.dell.com at: www.dell.com/regulatory_compliance.
NOTICE:
To avoid electrostatic discharge, ground yourself by using a wrist grounding strap or by periodically touching an unpainted metal surface
(such as the back panel) on the computer.
1 alignment post (2)
2 camera board
3 display/camera cable assembly
NOTE:
This procedure assumes that you have completed the removal procedure first.