Fan assembly, Removing the fan assembly – Dell PowerVault 745N User Manual
Page 54
5.
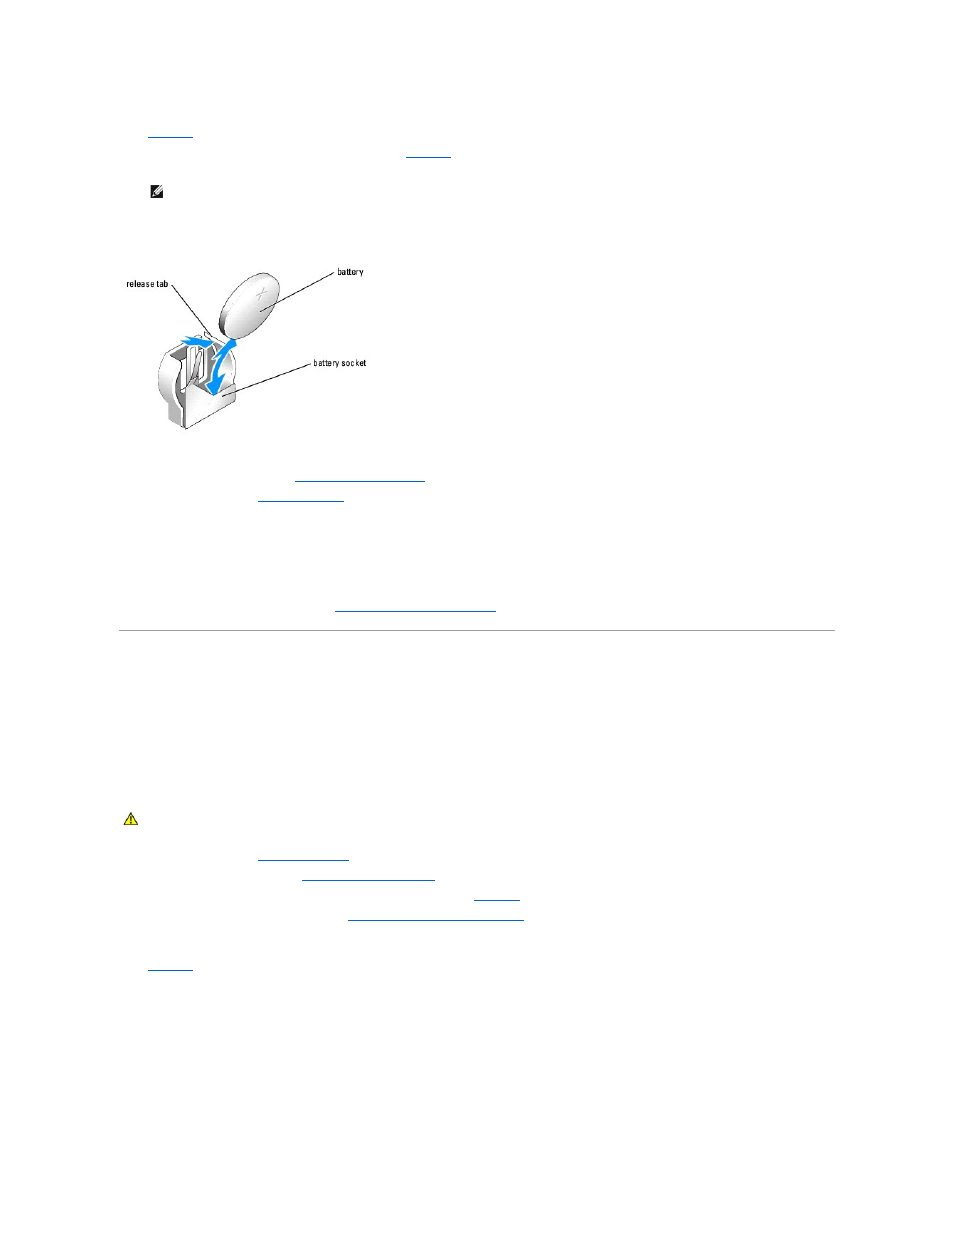
Grasp the battery socket release tab with your fingers and gently pull out away from the battery to remove the battery from the battery socket. See
.
6.
Place the new battery in the battery socket as shown in
.
Figure 6-3. Replacing the Battery
7.
Press the battery into the socket until it snaps into place.
8.
Install the cooling shroud. See "
9.
Close the system. See "
Closing the System
" in "Troubleshooting Your System."
10.
Enter the System Setup program to confirm that the battery operates properly.
11.
From the main screen, select System Time to enter the correct time and date.
Also, re-enter any system configuration information that is no longer displayed on the System Setup screens, and then exit the System Setup program.
12.
To test the newly installed battery, see "
Troubleshooting the System Battery
" in "Troubleshooting Your System."
Fan Assembly
The fan assembly contains three fans and provides cooling for the processor, memory modules, and expansion cards.
Removing the Fan Assembly
1.
Open the system. See "
Opening the System
" in Troubleshooting Your System."
2.
Remove the cooling shroud. See "
3.
Disconnect the fan assembly's power cable from the system board. See
4.
Remove the power distribution board. See "
Removing the Power Distribution Board
."
5.
Disengage the three forward-facing snaps on the fan assembly.
6.
While pressing the release levers on each end of the fan assembly, lift the fan assembly off the two securing posts and out of the chassis. See
.
Figure 6-4. Installing and Removing the Fan Assembly
NOTE:
The side of the battery labeled "+" must face toward the open side of the battery socket.
CAUTION:
See your System Information Guide for complete information about safety precautions, working inside the computer, and protecting
against electrostatic discharge.