Adjusting color registration, Performing auto adjust – Dell C1765NF MFP Laser Printer User Manual
Page 319
Maintaining Your Printer
317
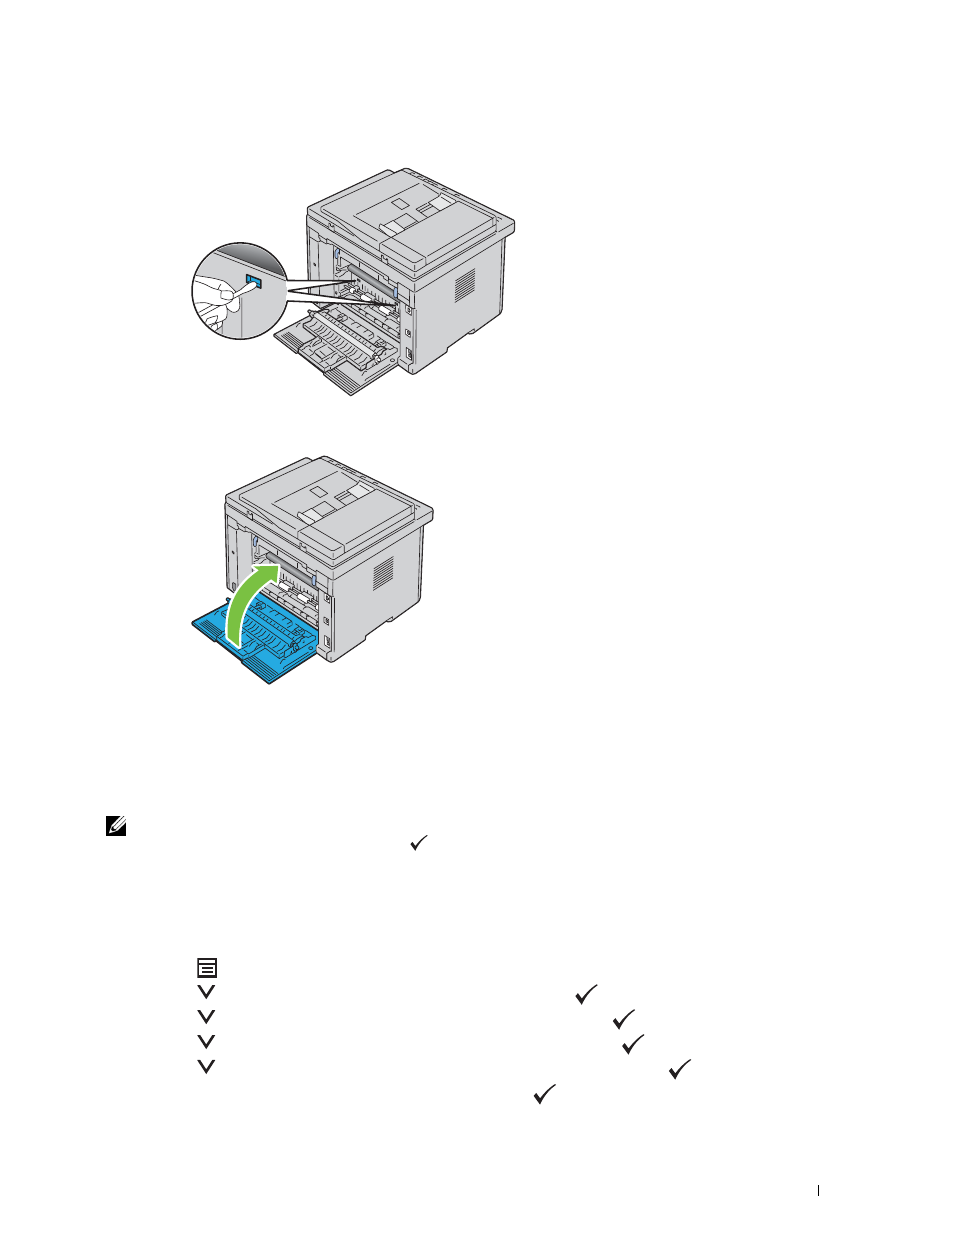
3 Clean the CTD sensor inside the printer with a clean dry cotton swab.
4 Close the rear cover.
5 Turn on the printer.
Adjusting Color Registration
This section describes how to adjust the color registration when you first install the printer or after moving it to a
new location.
NOTE:
A Password is required to enter the
Admin Menu
menu when
Panel Lock Set
is set to
Enable
. In this case,
enter the password you specified, and press the
(Set) button.
Performing Auto Adjust
Auto Adjust allows you to correct the color registration automatically.
The Operator Panel
1 Press the
(Menu) button.
2 Press the
button until System is highlighted, and then press the
(Set) button.
3 Press the
button until Admin Menu is highlighted, and then press the
(Set) button.
4 Press the
button until Maintenance is highlighted, and then press the
(Set) button.
5 Press the
button until Adjust ColorRegi is highlighted, and then press the
(Set) button.
6 Ensure that Auto Adjust is highlighted, and then press the
(Set) button.