Sending an e-mail with the scanned file – Dell C1765NF MFP Laser Printer User Manual
Page 268
266
Scanning
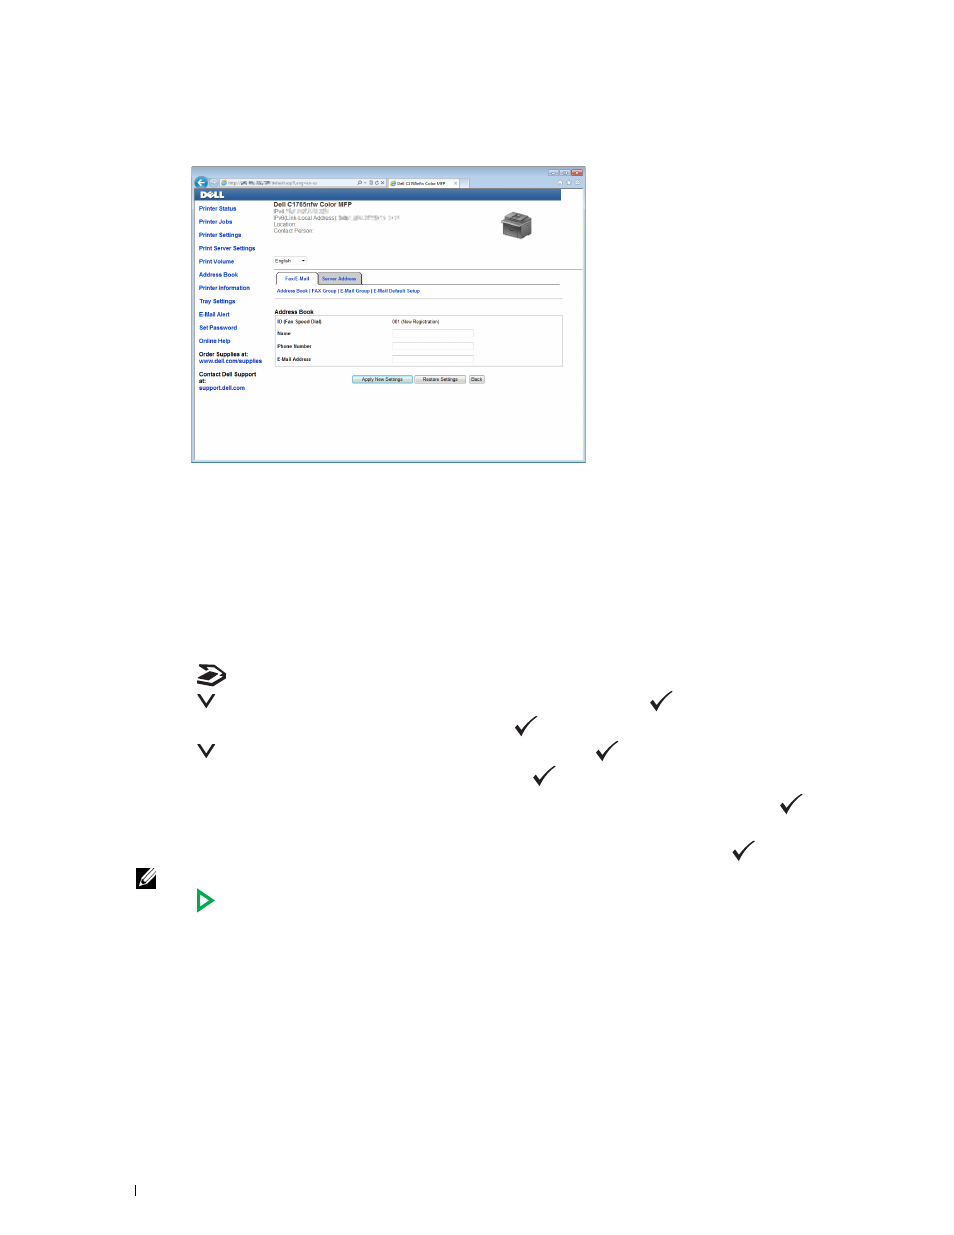
6 Click Create.
7 Enter a name and e-mail address in the Name and E-Mail Address fields.
8 Click Apply New Settings.
Sending an E-Mail With the Scanned File
1 Load the document(s) face up with top edge in first into the ADF.
OR
Place a single document face down on the document glass.
For details about loading a document, see "Loading an Original Document on the ADF" on page 272.
2 Press the
(Scan) button.
3 Press the
button until Scan to E-Mail is highlighted, and then press the
(Set) button.
4 Ensure that E-Mail to is highlighted, and then press the
(Set) button.
5 Press the
button to select the setting listed below, and then press the
(Set) button.
Keypad: Type the e-mail address directly and then press the
(Set) button.
Address Book: Select the e-mail address registered in the E-Mail Address Book, and then press the
(Set)
button.
E-Mail Group: Select the e-mail group registered in the E-Mail Groups, and then press the
(Set) button.
NOTE:
Users need to be registered before you can select
Address Book
on the operator panel.
6 Press the
(Start) button to send e-mail.