Deleting a specific slide, Slide rearrangement – Dako Autostainer User Manual
Page 44
44
Dako Autostainer
|
User Guide
Slide #
9. Select
the
FINISH ENTRY button to save changes. The PROGRAMMING GRID is
displayed.
Select the CANCEL button to undo any changes made to the slide identification record
and the PROGRAMMING GRID is displayed.
Deleting a Specific Slide
This method deletes one slide at a time.
1. On
the
PROGRAMMING GRID select the slide number on the row representing the slide.
A dialog box asks if you want to delete the selected slide.
2. Select
the
YES button and the selected slide is deleted from the current program and all
subsequent rows in the programming grid shift up one line.
Select the NO button to return to the PROGRAMMING GRID.
Slide Rearrangement
Slides can be rearranged into a user defined sequence. This feature is used to move a slide to a
different position on the grid.
NOTE: Adding slides to the grid is done using the Slides function in the menu bar or the SLIDE INFO
screen. Added slides are inserted at the bottom of the Programming Grid as blank rows of tiles.
Rearranging slide positions on the Programming Grid
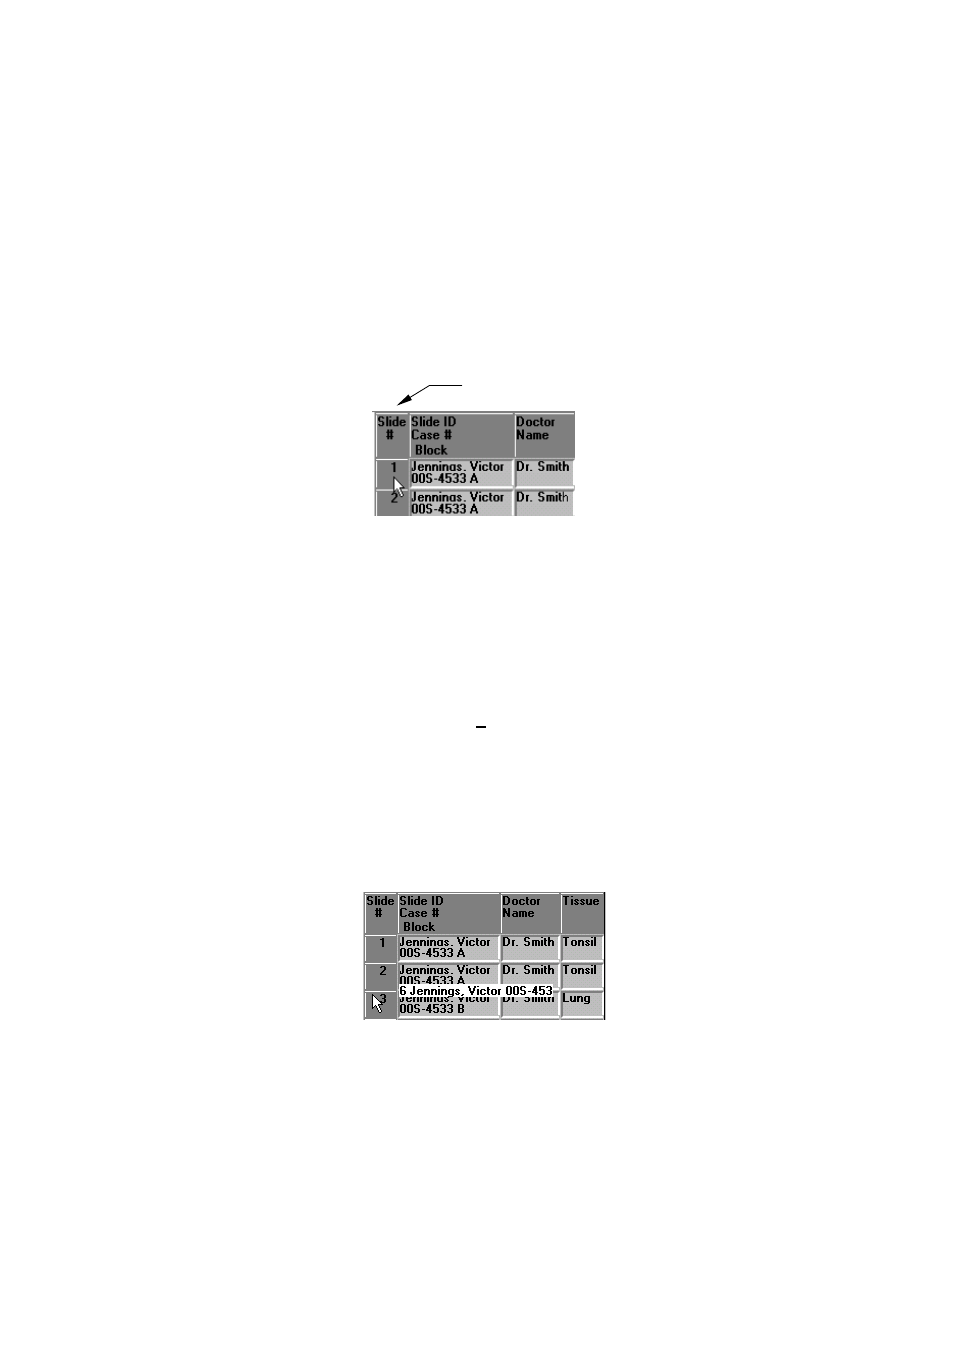
1. Right click on the Slide # located on the PROGRAMMING GRID for the slide to be
moved.
NOTE: When the mouse pointer is positioned on the Slide # and a right click is made the
slide number, Slide ID, Case #, and Block ID are displayed in a highlighted box. The
reagent tiles for the selected slide disappear from the grid.
2. Move the mouse pointer to the position where the slide is to be inserted and press the left
mouse button. The slide information is inserted in the new position.
NOTE: As the cursor is moved the highlighted box moves.