Entering default reagent information, Assigning default reagent dispense volumes, Assigning reagent drop zone – Dako Autostainer User Manual
Page 31
Dako Autostainer
|
User Guide
31
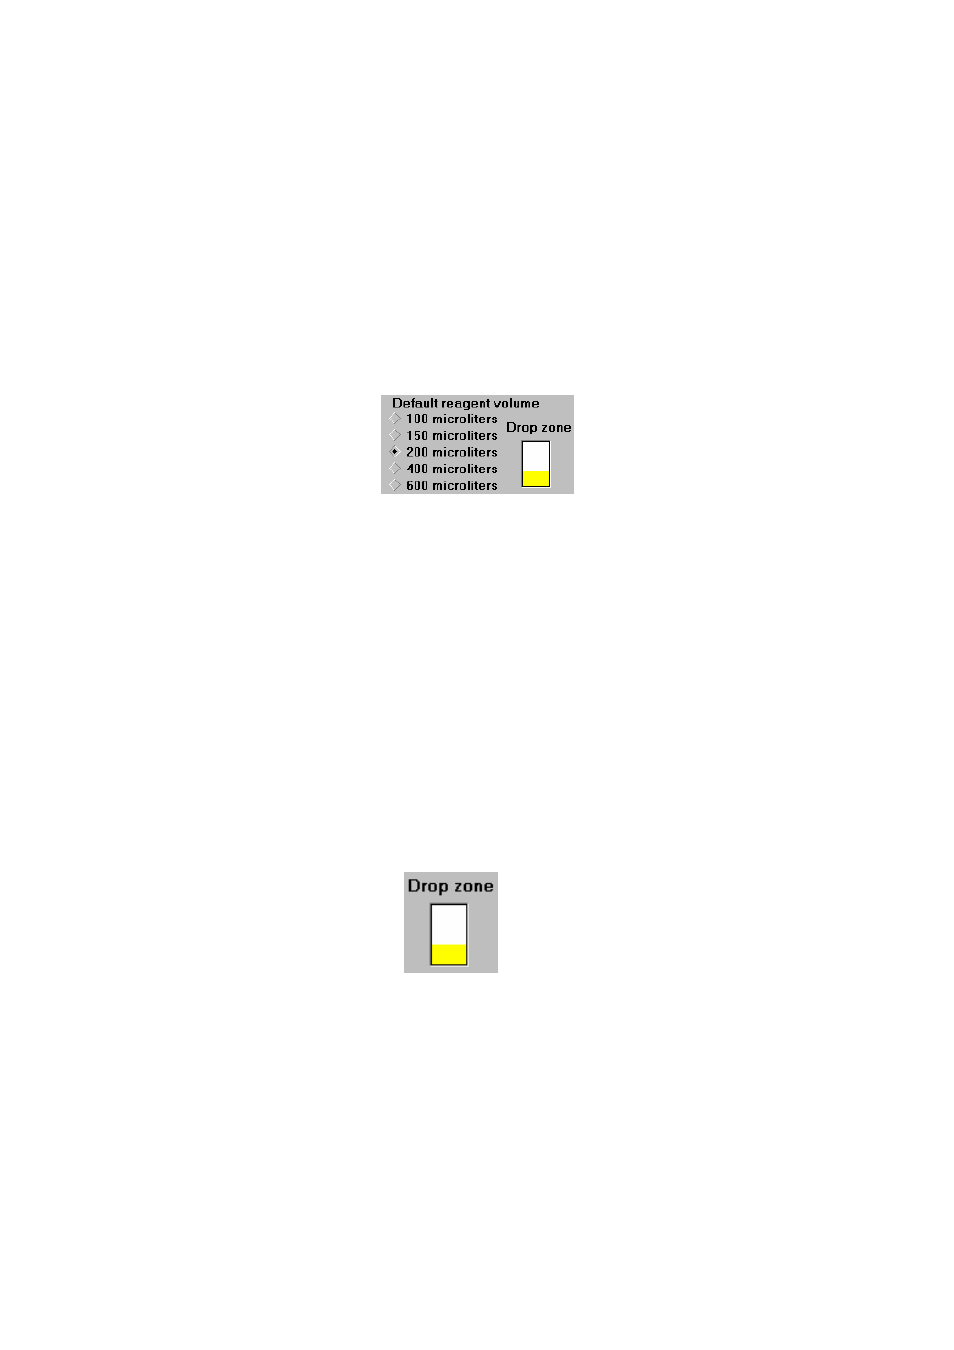
Entering Default Reagent Information
Assigning Default Reagent Dispense Volumes
1. Select
INITIALIZE on the MAIN MENU screen. The INITIALIZE screen is displayed.
2. Select a default reagent volume by clicking on a raised diamond next to the appropriate
volume. A smaller black diamond appears next to the selected volume.
3. Select
the
OK button to save. The MAIN MENU screen is displayed.
4. Select
the
CANCEL button to escape without saving.
The MAIN MENU screen is displayed.
NOTE: The dispense volume selected on this screen is the default volume assigned to
all reagents in any programmed staining run. The volume for all reagents as well as for
specific reagents applied to all slides in a particular staining run can be changed in the
Protocol Template Design screen. In addition, the dispense volume can also be changed
on an individual slide in the PROGRAM SLIDES screen. (See Programming Slides,
Section 9)
5. To change the Default Reagent Dispense volume, click on the raised diamond next to the
new volume. A smaller black diamond appears next to the selected volume.
Assigning Reagent Drop Zone
The area(s) on the microscope slide where the reagent is dispensed is defined as the Drop
Zone(s). The default drop zone information is used when a new Protocol Template is created.
1. Move the mouse pointer over the top, middle or bottom portion of the microscope slide
image and press the left mouse button. A yellow bar appears on the slide in the selected
position. During the staining run, the selected Default Reagent Volume is dispensed on
this zone of the slides for all steps of the protocol.
2. Multiple drop zones can be selected by clicking on multiple (2 or 3) areas while holding
down the CONTROL (CTRL) key on the keyboard. Multiple zones are colored yellow.
During the staining run the selected Default Reagent Volume is dispensed on each of the
selected zones.
3. Select
the
OK button to save and the MAIN MENU screen is displayed.
Select the CANCEL button to escape without changing the Drop Zone. The MAIN MENU
screen is displayed.
NOTE: The drop zones(s) are selected to correspond to the location of tissues on the
slide.