Rockwell Automation 20-750-DNET PowerFlex DeviceNet Option Module User Manual
Page 44
44
Rockwell Automation Publication 750COM-UM002B-EN-P - October 2012
Chapter 4
Configuring the I/O
b. On the website search screen in the Network entry field, enter the type
of network (for this example, DeviceNet), which enables the use of the
other search fields.
c. In the Keyword entry field, enter the type of PowerFlex 750-Series drive
(for this example, PowerFlex 755), noting that this field is space
sensitive.
d. Click Search.
Due to the large number of EDS files, this search may take seconds or
up to several minutes.
e. On the search results screen in the Details & Download Column, click
the ‘Download’ hyperlink for the EDS file.
f. Click Save on the File Download screen to save the EDS file to an
appropriate location on your computer.
g. Launch the EDS Hardware Installation Tool by clicking on the
Microsoft Windows Start button and choose Programs > Rockwell
Software > RSLinx Tools > EDS Hardware Installation Tool.
Then follow the screen prompts to add the EDS file for use with your
project.
h. Reboot the computer and repeat steps 1 through 7 at the beginning of
this subsection.
The Unrecognized Device icon in the RSNetWorx for DeviceNet
graph view window in step 7 should have been replaced by a drive icon
(for this example, the icon for a PowerFlex 755 drive).
9.
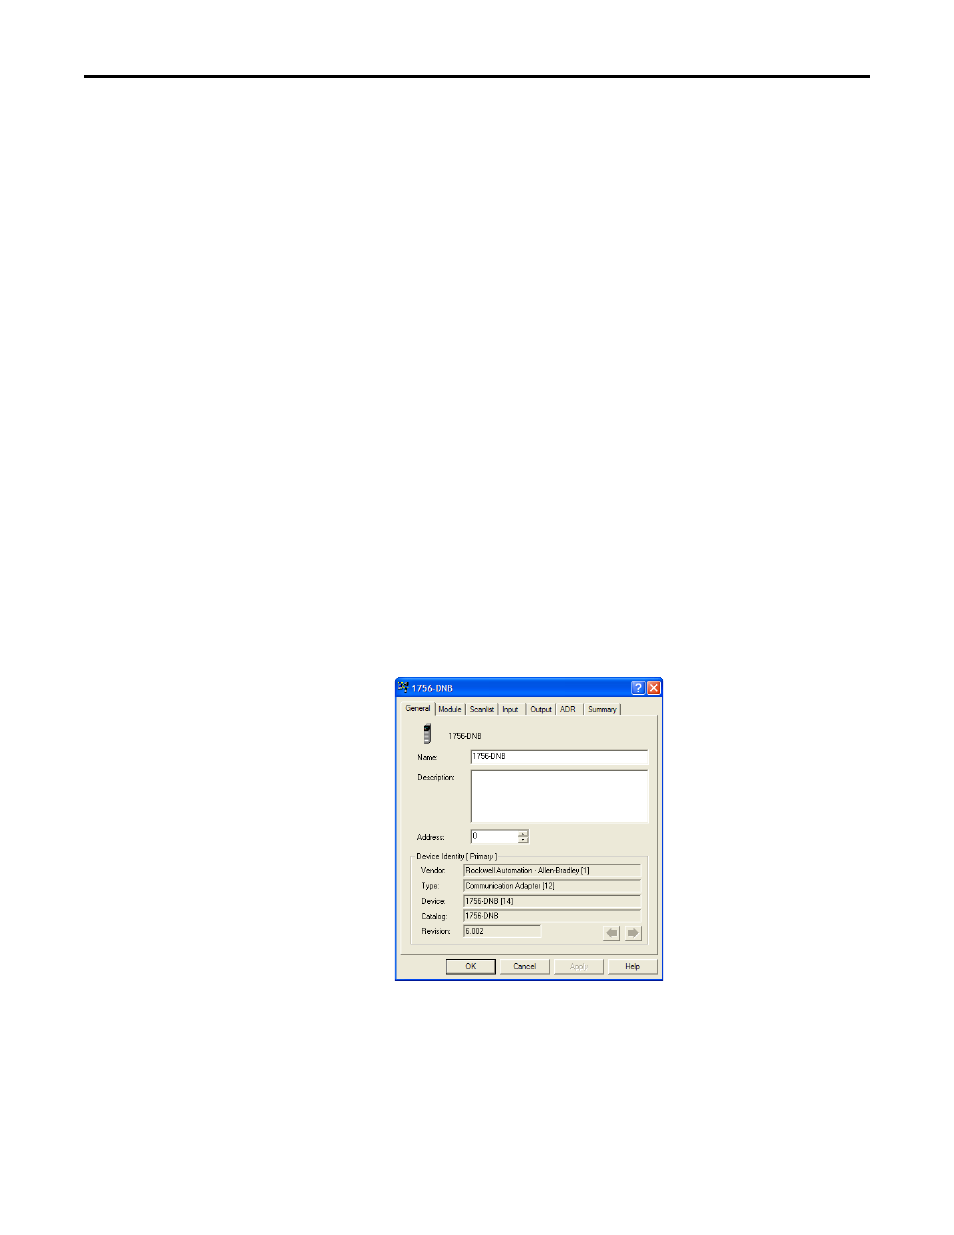
In the graph view window, right-click the 1756-DNB icon and choose
Properties to display its properties dialog box.
10.
Click the Module tab to display the Scanner Configuration dialog box.
11.
Click Upload to upload the 1756-DNB scanner configuration to the
RSNetWorx for DeviceNet project and display the 1756-DNB Module
Tab dialog box.