Controllogix controller example – Rockwell Automation 20-750-DNET PowerFlex DeviceNet Option Module User Manual
Page 38
38
Rockwell Automation Publication 750COM-UM002B-EN-P - October 2012
Chapter 4
Configuring the I/O
used to connect your computer to the network, and click Select to display
the Driver Configuration dialog box.
6.
Configure the driver for your computer and network settings and click
OK.
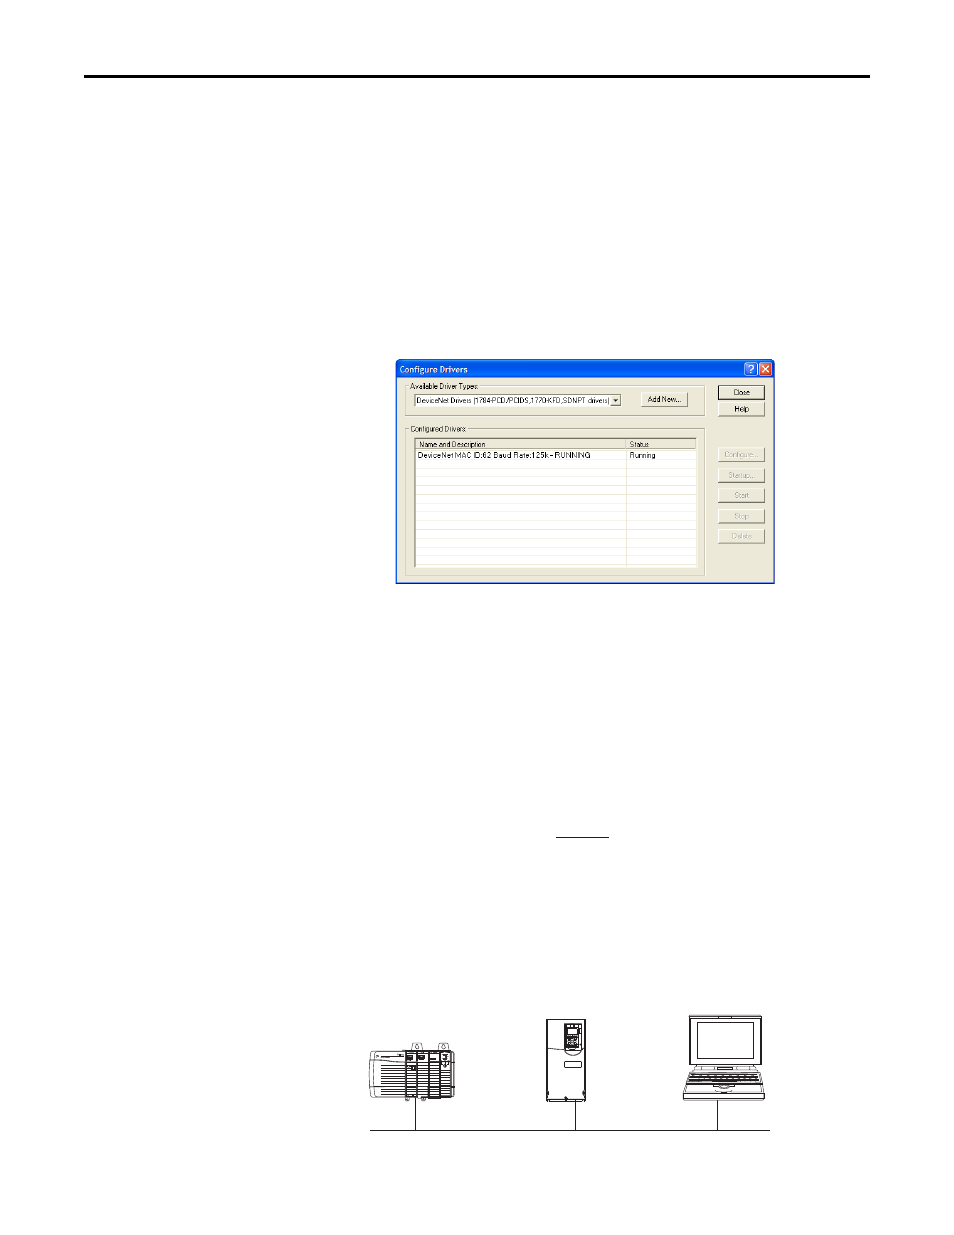
The Configure Drivers dialog box reports the progress of the
configuration.
7.
When the Add New RSLinx Driver dialog box appears, type a name (if
desired) and click OK.
The Configure Drivers dialog box reappears with the new driver in the
Configured Drivers list.
8.
Click Close to close the Configure Drivers dialog box.
9.
Keep RSLinx software running and verify that your computer recognizes
the drive.
a. From the Communications menu, choose RSWho.
b. In the menu tree, click ‘+’ next to the DeviceNet driver.
ControlLogix Controller
Example
After the option module is configured, the drive and option module will be a
single node on the network. This section provides the steps needed to configure a
simple DeviceNet network (see
). In our example, we will configure a
ControlLogix controller with 1756-DNB scanner to communicate with a drive
using Logic Command/Status, Reference/Feedback, and 32 Datalinks (16 to
read and 16 to write) over the network.
Figure 6 - Example ControlLogix Controller DeviceNet Network
Node 0
ControlLogix Controller
with 1756-DNB Scanner
Node 1
PowerFlex 750-Series Drive
(with 20-750-DNET Option Module)
Node 62
Computer with
DeviceNet Connection
DeviceNet Network