Link mode: configure se5001 as a tcp server – Atop Technology SE5001 Series User Manual
Page 33
User Manual Version 1.6
SE5001 Serial Device Server
Copyright © 2011 Atop Technologies, Inc.
All rights reserved. Designed in Taiwan.
32
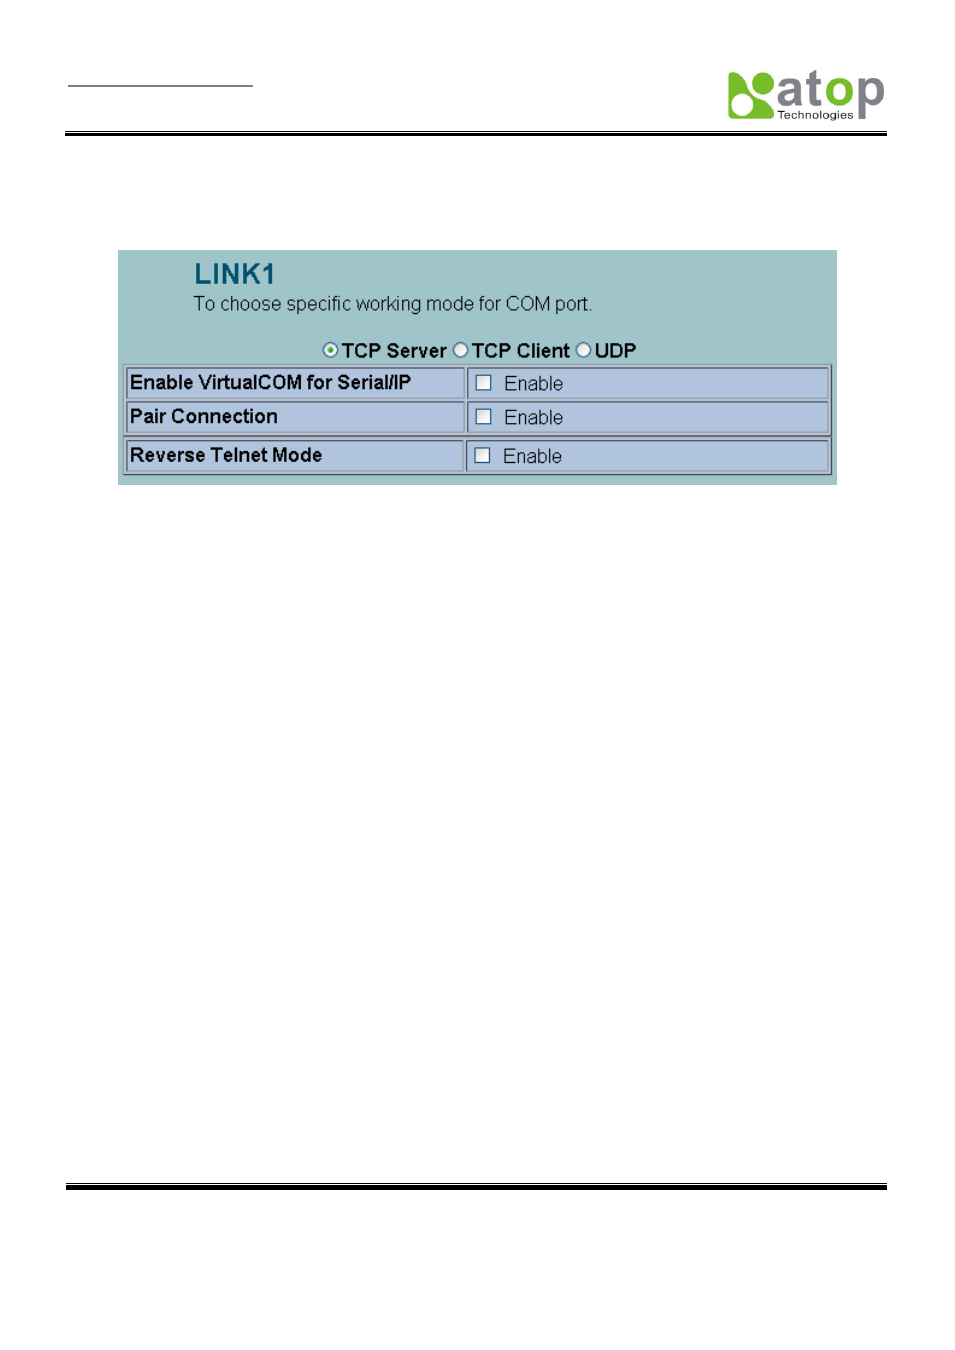
SE5001 supports different Link Modes, which are TCP Server, TCP Client, and UDP (Figure 3.25). Under the three
Link Modes, TCP Server can support Virtual COM, Pair Connection, or Reverse Telnet applications. TCP Client can
support Virtual COM or Pair Connection application. If none of the application is enabled, the SE5001 will run in
RAW mode. In the upcoming sections, we will discuss how to setup different Link Modes properly.
Figure 3.25 Link Modes
3.3.6. Link Mode: Configure SE5001 as a TCP Server
SE5001 defaults in TCP Server mode, there are additional connection settings that can be configured (Figure 3.26).
By selecting the TCP Server mode, a TCP Client program should be prepared to connect to SE5001.
Click on the
“COM1” link on the left hand side.
Select TCP Server. TCP Server is the default link mode.
Enter the Local Listening Port. This is the port specified in the TCP Client program connecting to the
serial device server. The default local port is 4660.
IP Filter: Only the designated IP address will be able to access the COM port if this option is enabled. This
option is disabled by default.
TCP Keep-Alive: Specify the interval in the
“Idle Time Before Sending TCP Alive Packet” to force
SE5001 to send TCP Keep-Alive packets in the set interval to prevent disconnection from the client. Note
that this field has a multiplier of 10, so the default value 4 means to send Keep-Alive packets every 40
seconds.
TCP Inactivity Timeout: Specify the value in
“TCP Inactivity Time Before Disconnect” to force SE5001
actively close a TCP connection after some specific inactivity time (no packets). The default value is 0,
which means the SE5001 would never close an established connection.
Scroll to the bottom of the page and c
lick on “Save Configuration” button to save the changes.
Go to the Application Configuration section starting from
to apply Virtual COM, Pair Connection, or
Reverse Telnet application if applicable. Otherwise go to the COM Configuration (section
) for serial
settings directly.