Installation instruc tio ns – Poison Spyder JK ROCKBRAWLER II REAR BUMPER WITH TIRE CARRIER User Manual
Page 6
INSTALLATION INSTRUC
TIO
NS
©2014 POISON SPYDER CUSTOMS, INC. • 951-849-5911 • WWW.POISONSPYDER.COM
Poison Spyder Customs • JK ROCKBRAWLER II REAR BUMPER
Page 6
37. Once the entire bumper is mounted
and tested for proper operation, remove
and disassemble the bumper for paint or
powder coat. If painting yourself, careful
preparation will make a big difference in the
quality and longevity of your paint job, even
using “rattle can” aerosol paints. Begin by
thoroughly cleaning the bumper with solvent
or de-greaser, then make sure all residue is
removed. Even if you use cheap paint, try to
use a good quality primer. “Etching” primers
are best to use on bare, unpainted metal.
Allow it to properly dry before painting, and
between paint coats. Note that the Spyder
Web Gusset Detail is detachable so that it may
be painted or powder coated a contrasting
color from the rest of the bumper.
If powder coating, make sure the entire bumper
and tire carrier are completely disassembled first.
Make sure the bearings, races and grease seal
are not yet installed. Make sure your powder-
coater understands that the hinge spindle must
be masked off (not coated).
38. Once the bumper has been painted or
powder coated, re-install by repeating the
above steps.
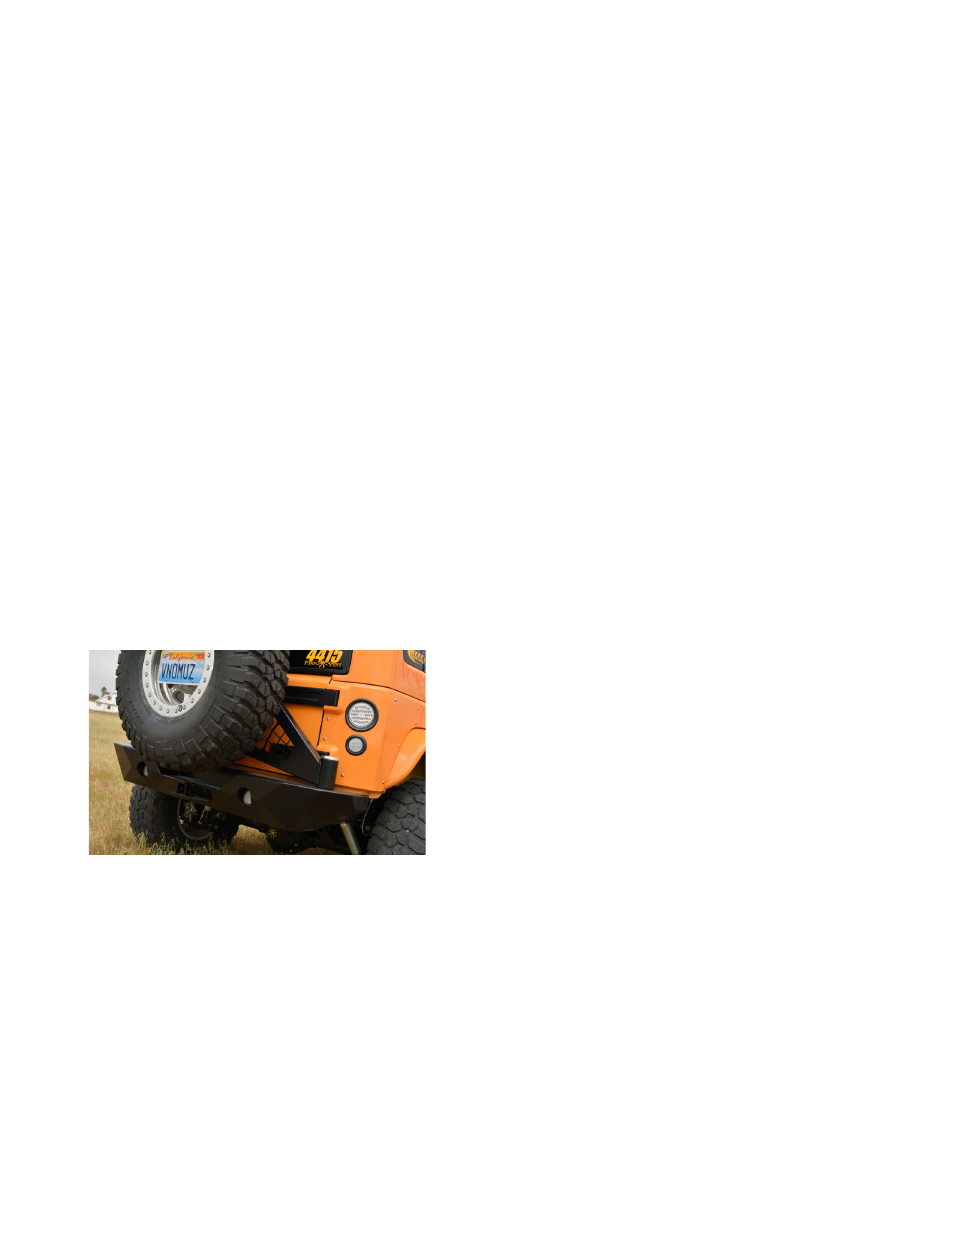
FIGURE 10
Congratulations, you have completed installation
of your RockBrawler™ II Rear Bumper and Tire
Carrier!