Setting up 08 – Pioneer KRP-600A User Manual
Page 42
Setting up
08
42
En
Using Colour Management
1
Repeat steps 1 to 5 provided for Using Colour Temp.
2
Select “Colour Management” (
/ then ENTER).
3
Select an item to be adjusted (
/ then ENTER).
4
Select the desired level (
/).
To perform adjustment for another item, press RETURN, and then
repeat steps 3 and 4.
You may press
/ to immediately change an item to be adjusted.
5
Press HOME MENU to exit the menu.
Eliminating noise from images
1
Repeat steps 1 to 4 provided for Using Colour Temp.
2
Select “Noise Reduction” (
/ then ENTER).
3
Select an item to be adjusted (
/ then ENTER).
You can select “3DNR”, “Field NR”, “Block NR” or “Mosquito NR”.
4
Select the desired parameter (
/ then ENTER).
5
Press HOME MENU to exit the menu.
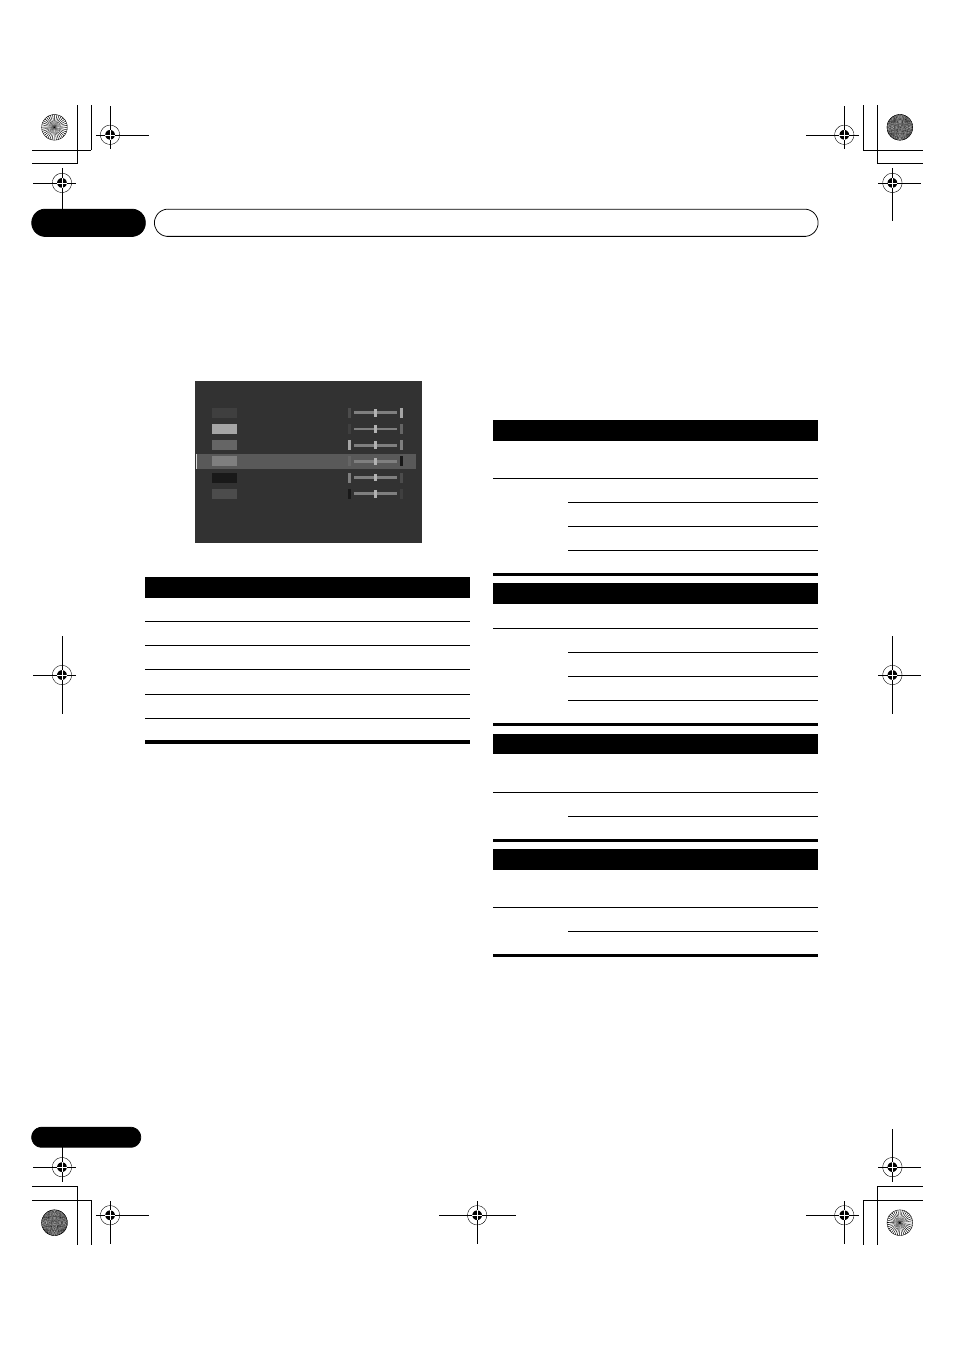
Item
button
button
R
Closer to magenta
Closer to yellow
Y
Closer to red
Closer to green
G
Closer to yellow
Closer to cyan
C
Closer to green
Closer to blue
B
Closer to cyan
Closer to magenta
M
Closer to blue
Closer to red
R
0
Y
0
G
0
C
0
B
0
M
0
Colour Management
3DNR
Eliminates video noise for clear, crisp images. 3DNR stands for 3-
dimensional Noise Reduction.
Selections
Off
Deactivates 3DNR
High
Enhanced 3DNR
Mid
Standard 3DNR
Low
Moderate 3DNR
Field NR
Removes glimmer for more natural images
Selections
Off
Deactivates Field NR
High
Enhanced Field NR
Mid
Standard Field NR
Low
Moderate Field NR
Block NR
Reduces noise such as blocks appearing in digitally compressed
sources on DVD and in digital broadcasting
Selections
Off
Deactivates Block NR
On
Activates Block NR
Mosquito NR
Reduces noise in contoured portions appearing in digitally
compressed sources on DVD and in digital broadcasting
Selections
Off
Deactivates Mosquito NR
On
Activates Mosquito NR
KRP-600A_500A.book Page 42 Monday, September 8, 2008 10:31 AM