4 specifying a destination, 1 specifying only one destination, 2 entering a fax number – Konica Minolta Bizhub 215 User Manual
Page 33: Specifying a destination -7, Specifying only one destination -7, Entering a fax number -7
bizhub 215
3-7
3.4
Specifying a destination
3
3.4
Specifying a destination
3.4.1
Specifying only one destination
The following methods are provided to specify only one destination.
-
Entering a dial number
-
One-touch Dial
-
Speed dial
-
Group dial
-
Program dial
-
Address Book
This example shows a procedure to send a fax using the ADF.
3.4.2
Entering a fax number
1
Press the Fax key to change to the fax mode.
2
Load the original.
% For details on how to load the original, refer to page 3-4.
3
When necessary, specify a desired option for [QUALITY].
% For details on [QUALITY], refer to page 3-6.
4
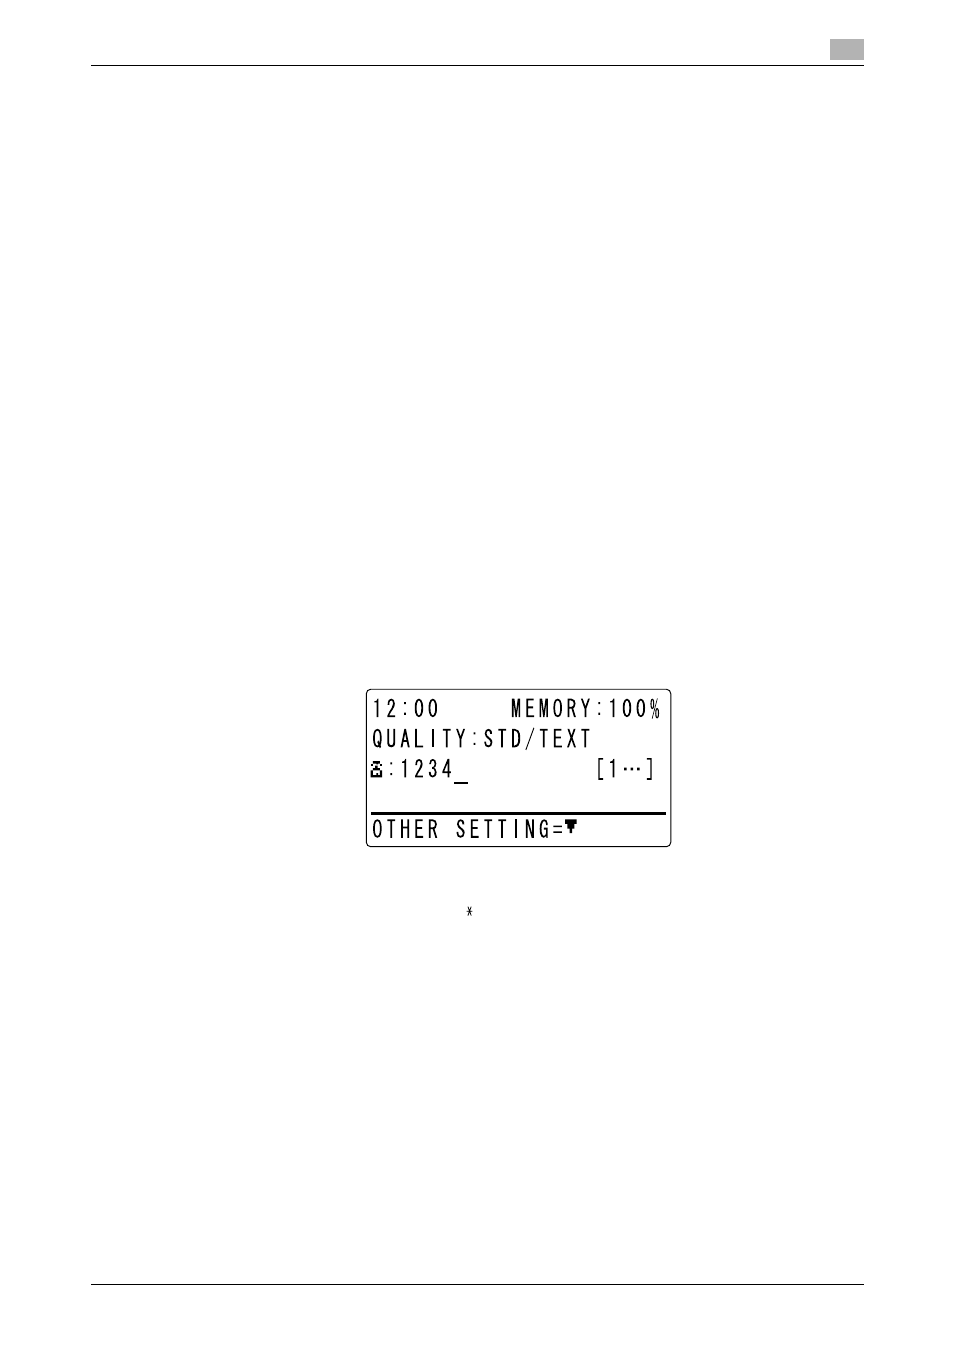
Enter a destination fax number using the Keypad.
% If the screen appears to prompt you to re-enter a fax number, type the same fax number again.
% When necessary, you can configure a setting to enter a fax number twice, preventing a fax number
entry error. For details, refer to page 7-21.
% A fax number can be specified with up to 30 digits.
% Available characters: Digits (0 to 9),
, #, space, and pause.
% If you press the Redial/Pause key while entering a fax number, you can take a pause for approxi-
mately 3 seconds. [P] appears in the Display screen.
% When a target outside line number is registered in the communication line settings while this ma-
chine is connected to a PBX communication line, you can type in [#] to recall the outside line
number. For details on the communication line settings, refer to page 2-15.
% When necessary, you can enter an F code such as SUB or SID. For details on the F code, refer to
5
Press the Start key.
This starts scanning and sending.