4 specifying the number of rings, 5 configuring the print reduction, 6 configuring the rx printing – Konica Minolta Bizhub 215 User Manual
Page 123: 7 configuring the rx mode, Specifying the number of rings -24, Configuring the print reduction -24, Configuring the rx printing -24, Configuring the rx mode -24
bizhub 215
7-24
7.5
Fax RX setting
7
7.5.4
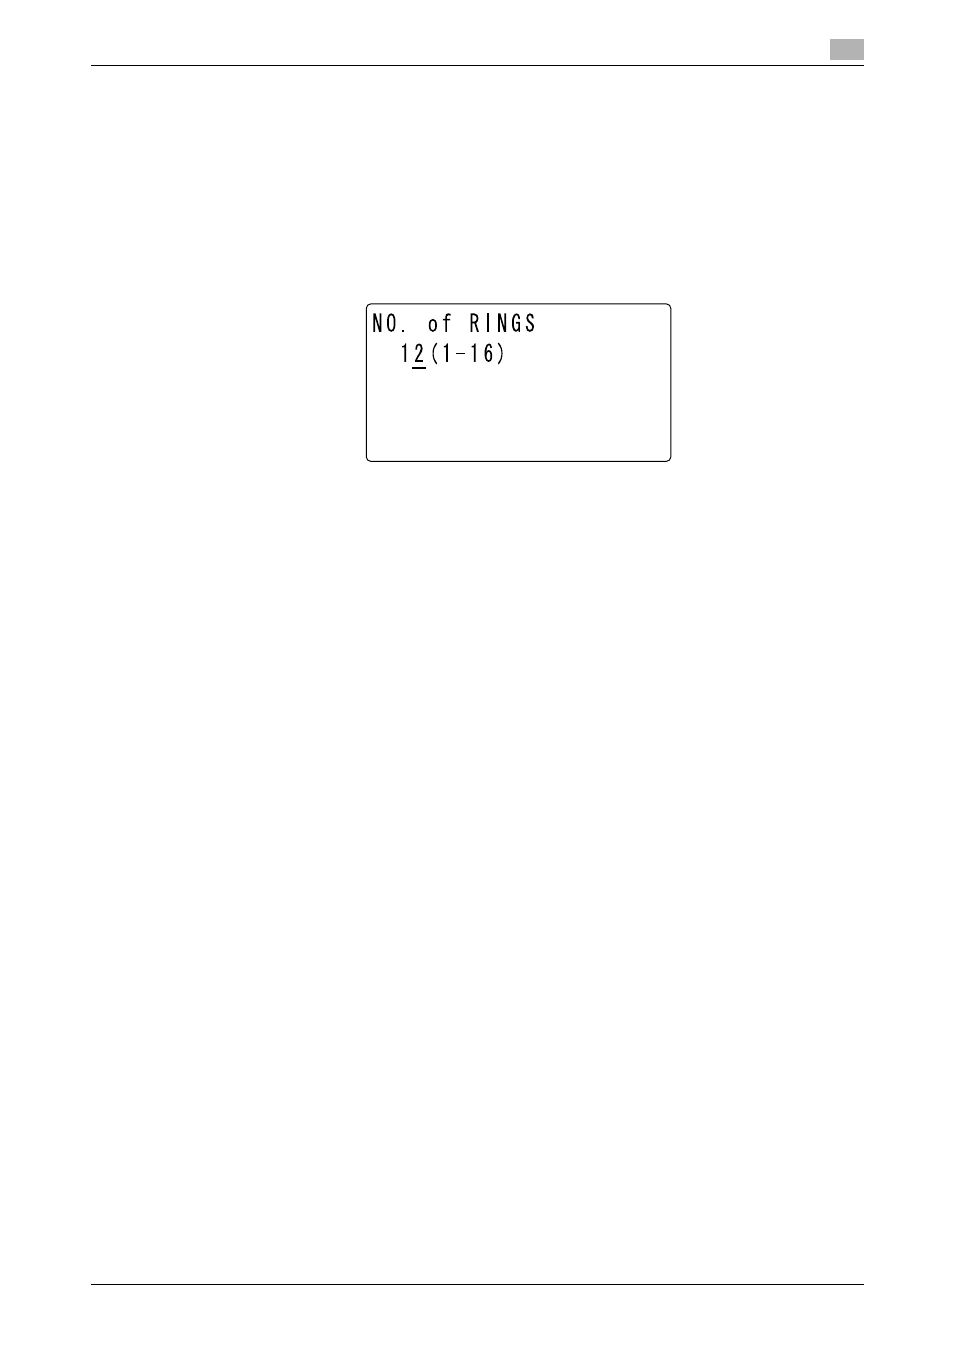
Specifying the number of rings
1
Press the Utility key.
2
Use +, to select [FAX RX OPERATION], and press the OK key.
3
Use +, to select [NO. of RINGS], and press the OK key.
4
Enter the number of rings using the Keypad, and press the OK key.
% For the number of rings, specify a numeric value between 1 and 16.
This returns to the fax RX settings screen.
7.5.5
Configuring the print reduction
1
Press the Utility key.
2
Use +, to select [FAX RX OPERATION], and press the OK key.
3
Use +, to select [REDUCTION RX], and press the OK key.
4
Use +, to select [OFF], [ON], or [CUT], and press the OK key.
This returns to the fax RX settings screen.
7.5.6
Configuring the RX printing
1
Press the Utility key.
2
Use +, to select [FAX RX OPERATION], and press the OK key.
3
Use +, to select [RX PRINT], and press the OK key.
4
Use +, to select [MEMORY RX] or [PRINT RX], and press the OK key.
This returns to the fax RX settings screen.
7.5.7
Configuring the RX mode
1
Press the Utility key.
2
Use +, to select [FAX RX OPERATION], and press the OK key.
3
Use +, to select [RX MODE], and press the OK key.
4
Use +, to select [AUTO RX] or [MANUAL RX], and press the OK key.
This returns to the fax RX settings screen.