Align the rotor – Goulds Pumps 3600 - IOM User Manual
Page 83

Maintenance
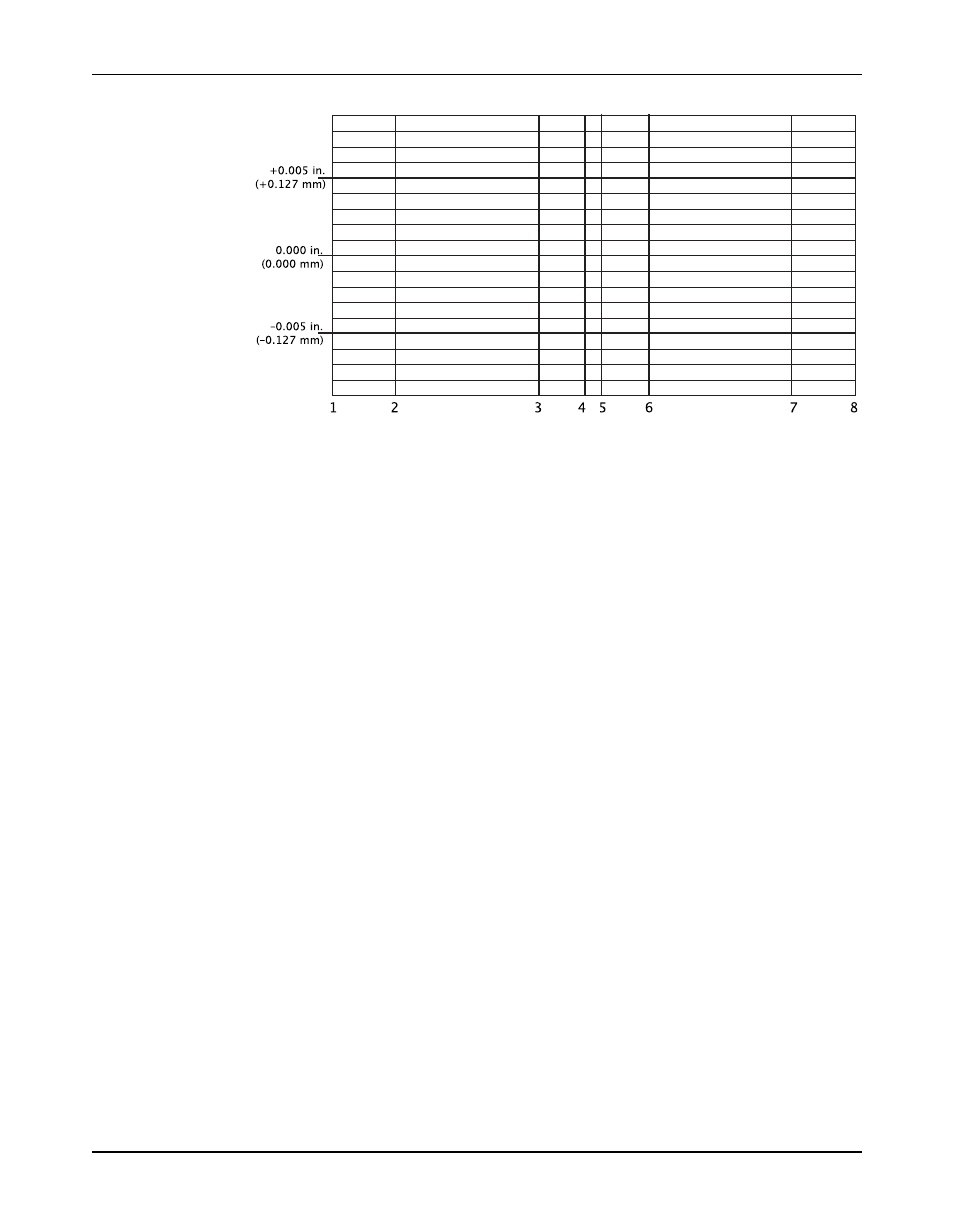
4. Plot the "Difference" points on the chart.
5. Draw a straight line from point 1 to point 8.
This is the seal chamber centerline.
6. Draw a trend line through points 2 through 7 and investigate any deviations greater than
0.002 in. (0.051 mm).
This is the casing ring centerline.
7. Adjust the nominal 0.005 in. (0.127 mm) thickness of the center case shim by the difference
between the seal chamber centerline and the ring bore centerline at points 4 and 5.
• If the seal chamber centerline is above the ring bore centerline, then increase the shim
thickness.
• If the seal chamber centerline is below the ring bore centerline, then decrease the shim
thickness.
8. Check and confirm that the separation between the seal chamber center and the rotor
center is 0.005 in. (0.127 mm) or less.
If the separation is greater than 0.005 in. (0.127 mm), then contact your ITT representative
for assistance.
Align the rotor
Before you align the rotor, you must qualify the casing bores. See Qualify the casing bores.
The purpose of this procedure is to align the center of the bearing housing bores with the
center of the casing bore. This ensures that the rotor is straight through all the bores during
operation.
1. Temporarily place two one-inch square shims in the bottom of each center case bushing
bore. The thickness of the shim must be determined during the casing bore qualification
procedure. These shims remove the sag, or bend, from the rotor by compensating for the
misalignment between the center bushing clearance and the casing bore.
2. Place the rotor in the lower half of the casing. Make sure that the dowel in the center case
bushing is at the 12 o'clock position.
3. Mount the tool bearings on the shaft.
Tool bearings are used for rotor alignment purposes only. The bore diameter of the inner
race has been increased so that it is a slip fit onto the shaft.
4. Mount the bearing housings. Hand-tighten the mounting nuts to allow for adjustment.
5. Install two dial indicators on the shaft, one in each seal chamber bore.
6. Set each indicator to zero on the same side of the casing. Adjust the bearing housings
vertically and horizontally to achieve a TIR less than 0.0015 in. (0.0381 mm).
Make sure that the indicator is reading on a machined surface and not on a hand-filed
surface, which is sometimes necessary near the parting flange.
Model 3600, API 610 8th, 9th, 10th & 11th Editions (ISO 13709) Installation, Operation, and Maintenance Manual
81
