2 sample data entry workflow, Sample data entry workflow – HID Asure ID 7.5 User Guide User Manual
Page 27
July 2014
Page 27 of 44
Asure ID PLT-01485 Rev 2.0
4.2
Sample Data Entry Workflow
The following section provides an overview of how to effectively manage and print card records
within Asure ID. We start by adding a record with a photo and printing the cards.
4.2.1 Add and Print a Record with Data and Photo Fields
Step
Procedure
1
To add a record, begin by clicking Add record.
2
When capturing a photo from a digital camera (or similar) Click the Application icon.
Click Options and then Devices.
Select Camera Type, TWAIN or WIA. Click the camera from the list of capture devices, when
completed click OK to close the Options dialog.
3
Right-click in the Photo field to select Capture Image, Load Image from File, Edit Image, Delete
Image or Save Image to File.
Select Capture Image if working with a digital camera. The Select Source dialog may appear.
Choose the camera and click Select to close the dialog.
Take the photo and then click and drag the Crop tool, redraw the rectangle around the image and
click OK to close the Edit Image dialog.
4
Enter data for the remainder of the data fields.
5
Click Save within the Records group. When the Save button is selected, the fields with the Preview
are prefilled. To see a larger preview of the card, press Ctrl + F2.
6
Repeat Steps 3 - 5 to create all records.
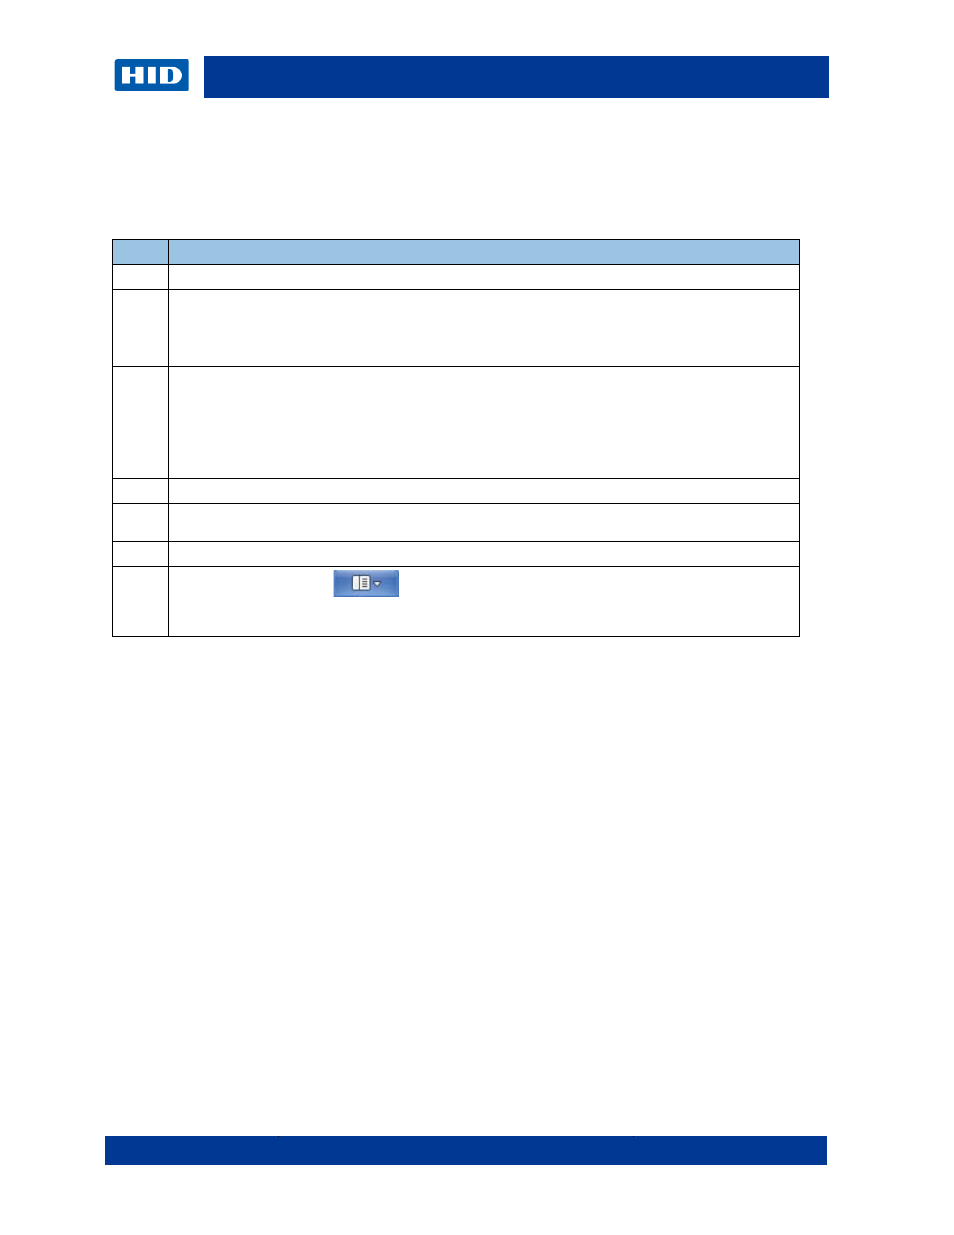
7
Click the application icon
and select the Print button.
If information is read or written to a smart card during the print process, select the encoder in the
Printer Properties Selection window.