Scan and upload – Kenwood TM-D710GE User Manual
Page 63
59
EchoLink 07
When the software was configured via the Setup Wizard as a Computer User, only your callsign (without -L or R at end
of callsign) is shown to represent a single user. Confirm the callsign is selected (small black circle to left of callsign).
This callsign becomes the validation object. Enter your email address and click the “Request Validation” button.
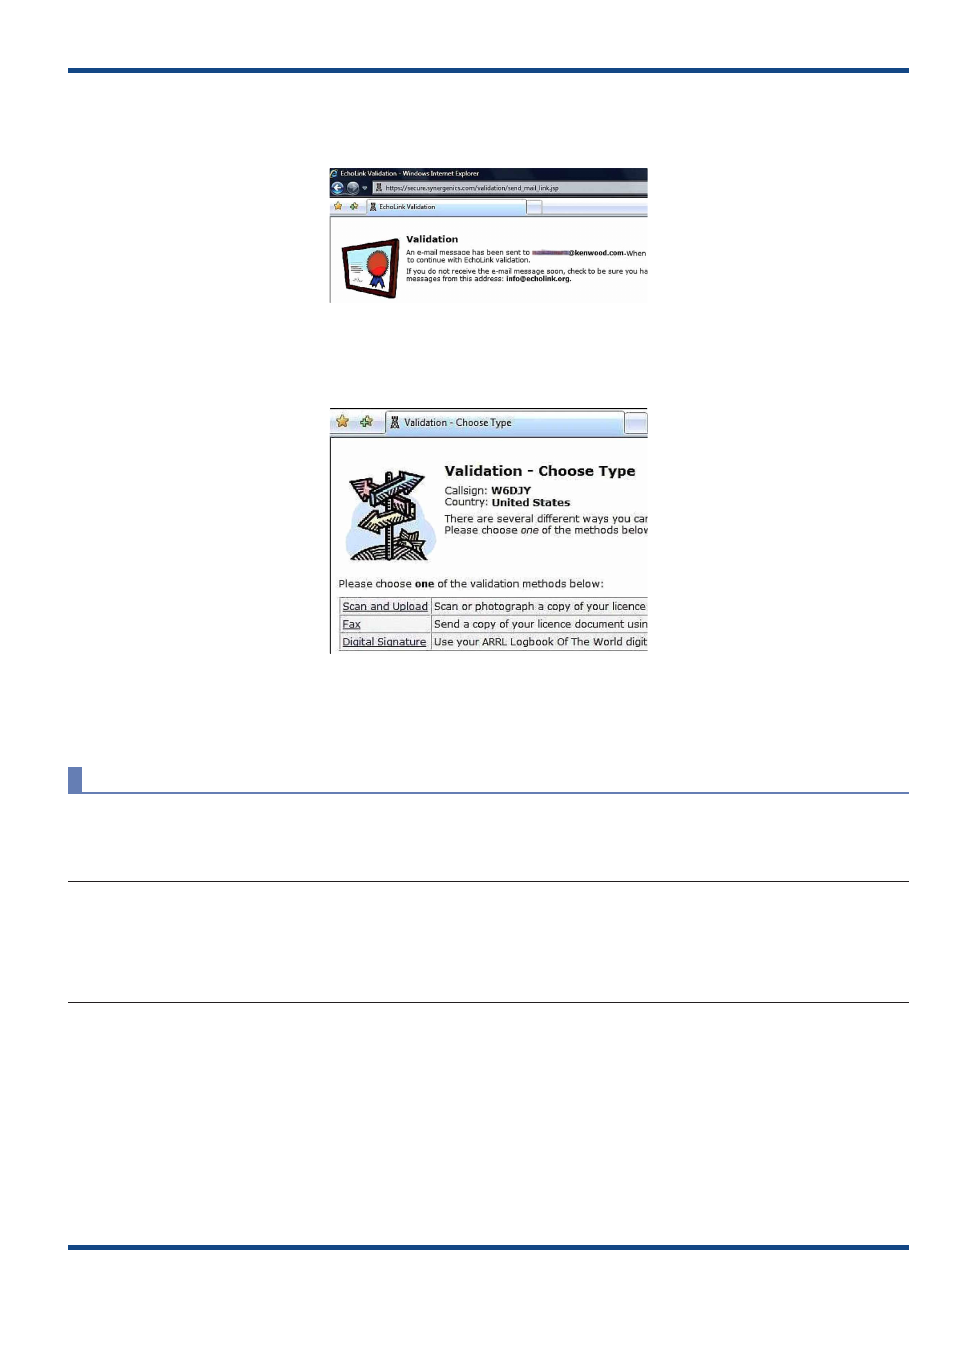
Fig. 7-17 Confirmation of Sending the Validation Procedure
The message in Fig. 7‑18 License Submission Page will appear and the URL that has the Validation procedure for your
callsign will be sent to the email address you enter. Click the URL in the email that you receive.
Fig. 7-18 License Submission Page
Click the method that you want to use to validate your callsign. A valid amateur radio license is mandatory to complete
the validation.
Scan and Upload
Use a digital camera or scanner to create a graphics file of your license. Click “Scan and Upload”. Enter the necessary
information and upload the license file.
Note:
◆ Be sure to follow the tips below:
• File must be .jpg, .gif, .png or .tiff format.
• Size of file must be less than 5 MB.
• Callsign and other information on the license image must be legible.
When upload completes, a screen indicating “Validation‑Upload” appears. Another message appears (“Processing...
Your validation request will now...”) that indicates the request for validation has been accepted.
The process for validation is done by a support team of volunteers. When the validation process is completed, you will
receive an email that contains the notice of approval of validation. The email will indicate “Validation approved for...”.
Typically, the validation process usually completes within 24 hours.