Mark waypoint (tm‑d710ga/ge only), Target point (tm‑d710ga/ge only), Mark waypoint (tm-d710ga/ge only) – Kenwood TM-D710GE User Manual
Page 27: Target point (tm-d710ga/ge only)
23
GPS 03
Mark Waypoint (TM-D710GA/GE only)
You can register the current location as a Mark Waypoint on the TM‑D710GA/GE. A Mark Waypoint includes data of
latitude, longitude, altitude, time, name and icon, and up to 100 points can be registered. To register a Mark Waypoint,
press and hold the [MARK] key. If there is no GPS data positioned by GPS, you cannot register a Mark Waypoint. After
the registration of a Mark Waypoint, the registration screen appears for approximately 10 seconds. Press the [EDIT] key
in the registration screen to edit the name and icon data. You can also edit name and icon information afterward.
Fig. 3-25 Registration Screen
The registered Mark Waypoint can be viewed in the Mark Waypoint list. Press the [MARK] key to display the Mark
Waypoint list.
Fig. 3-26 Mark Waypoint List Screen
Press the [CLR] key to delete the Mark Waypoint in the Mark Waypoint list.
Pressing the [EDIT] key opens the Mark Waypoint menu screen where you can edit the name and icon.
Pressing the [COPY] key copy the displayed Mark Waypoint to the Target Point.
Target Point (TM-D710GA/GE only)
Registering a Target Point allows you to know the distance and direction from your current location to the Target Point.
The direction display can be switched between North Up and Heading Up. Up to 5 Target Points can be registered. The
registration of a Target Point can be made in two ways: entering latitude and longitude manually in the menu and copying
an existing Mark Waypoint.
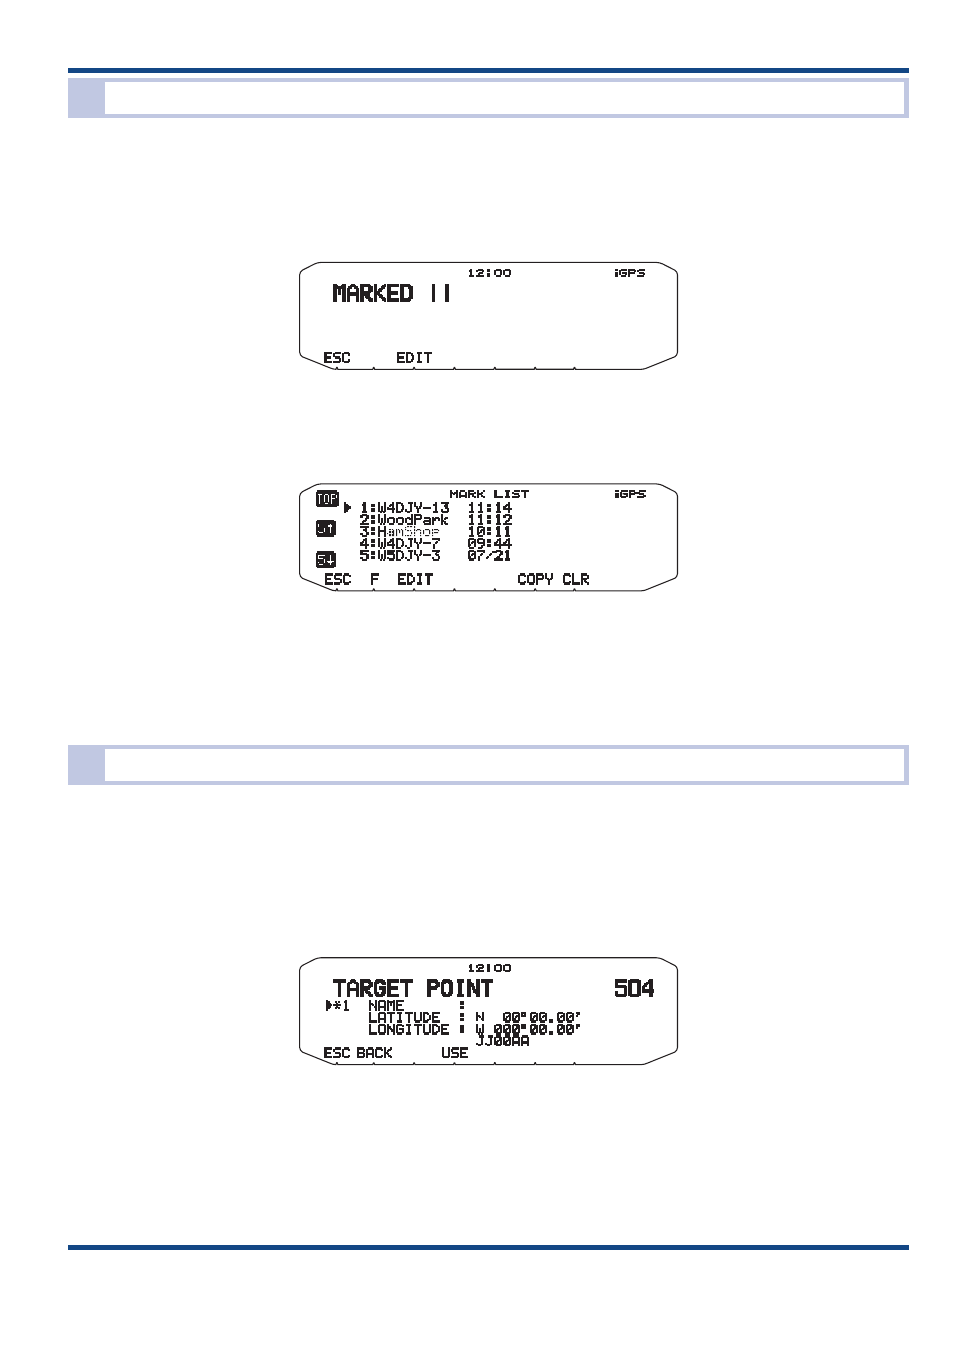
To make a registration in a menu, select Menu 504 (GPS ‑ TARGET POINT). Selecting the TARGET POINT number and
pressing the [USE] key displays “*”mark next to the number. Then, enter a Target Point name, latitude and longitude.
Fig. 3-27 Menu 504 (TARGET POINT)
The information with a Mark Waypoint can be registered as a Target Point. For example, registering a rest area on the
highway as a Mark Waypoint will be useful to know, on the return trip, within how much time or distance you can reach
the rest area. To copy a Mark Waypoint to a Target Point, go to the menu in the Mark Waypoint list. The distance from the
current location to the Target Point can be confirmed in the Target Point screen. Target Point display is the first page from the
Latitude longitude, Time, Altitude, Travel direction, Speed,Grid square locator, PTT frequency display reached by repeatedly
pressing the [→] key. Pressing the [N/H] key in the Target Point screen toggles between North Up and Heading Up.