Schedule data collection – HP SAN User Manual
Page 41
1.
Click Data Collection from the navigation area of the SAN Visibility GUI. The Data Collection
window opens, as shown in Figure 21 Data Collection window.
2.
Select a component group from the Select a component group for data collection dropdown list,
or select Collect data for all component groups check box if you want to initiate data collection
for all the component groups.
3.
Select Schedule data collection check box if you want to schedule data collection. When you
select this option, the Schedule button is enabled. To schedule data collection, do the following:
a.
Click Schedule.
The Schedule Data Collection window is displayed.
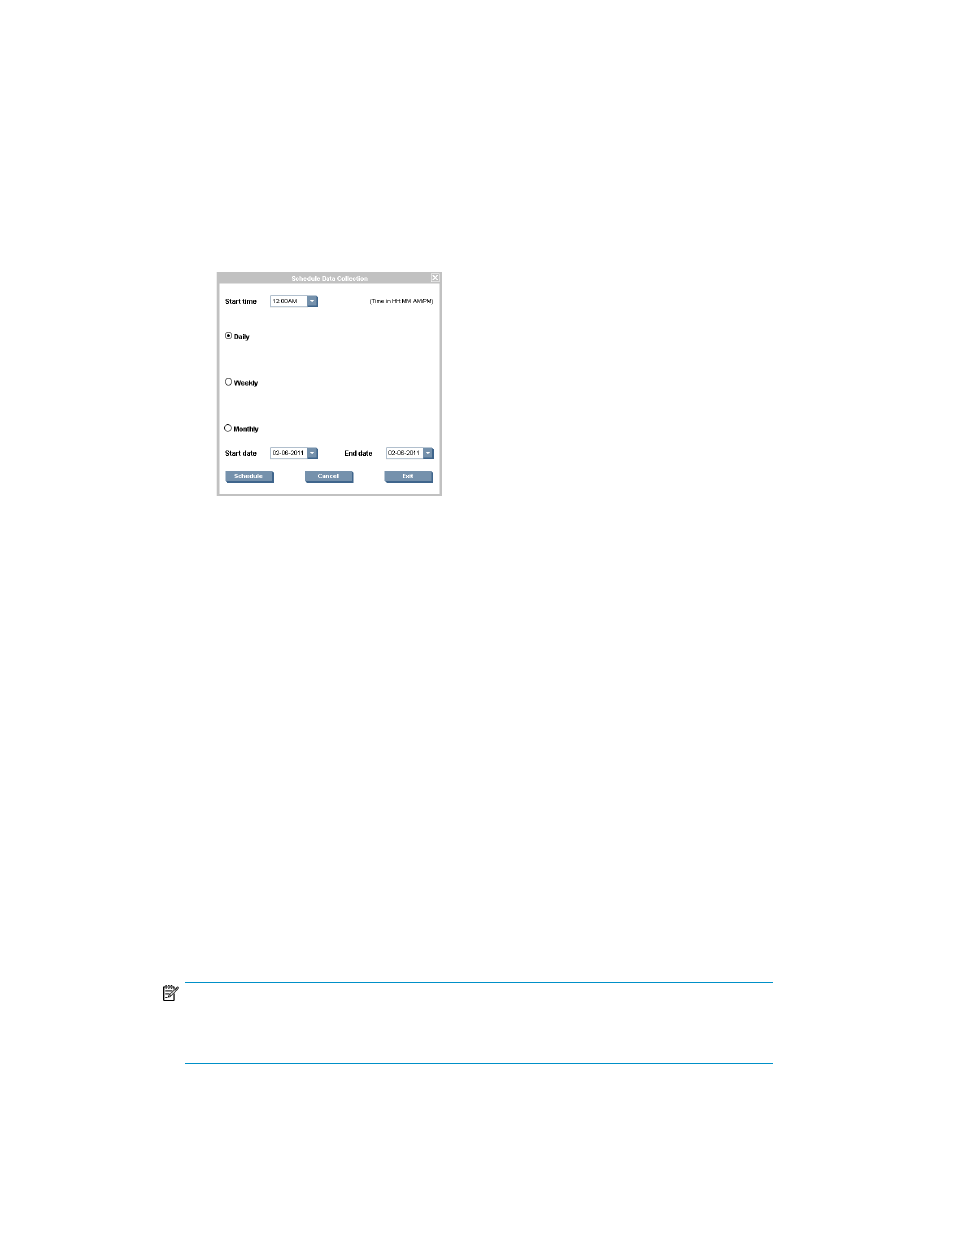
Figure 22 Schedule Data Collection
.
b.
Select the Start time.
By default, the start time is displayed as 12:00 AM.
c.
Select an option to schedule data collection. You can schedule data on a daily, weekly, or
monthly basis.
d.
Select the start date and end date to schedule data collection.
By default, the current date is displayed as the start date and end date.
e.
Click Schedule to schedule data collection.
f.
Click Cancel to cancel the scheduled data collection.
g.
Click Exit to exit from the Schedule Data Collection window.
After the scheduled data collection is complete, you will receive a raw data file (.hp
extension
) of the scheduled data collected report by email to the mail id specified in the
Customer Details window.
h.
Email the raw data file to
with the following subject line:
HP StorageWorks SAN Visibility 5.1 Report Request
4.
Select Capture Performance data check box if you want to capture the performance data for all
the component groups in the SAN.
NOTE:
Selecting Capture Performance data may increase the total time for the data collection. The
performance charts are available in the SAN Visibility report only if this option is chosen.
HP StorageWorks SAN Visibility 5.1 User Guide
41