Modifying switch details, Removing a switch, 19 removing a switch – HP SAN User Manual
Page 19: Brocade ag mode switch example
f.
Repeat steps a-e if you want to add multiple switches.
• Subnet: If you want to find all the valid switches in a given range of IP addresses.
a.
Enter the starting IP address in the Start at IP Address box.
b.
Enter the limiting IP address in the Stop at IP Address box.
c.
Enter the access information, as required, to initiate data capture for the selected switch.
NOTE:
The Brocade switch requires login and password.
d.
Click Discover Switch to discover valid switches.
NOTE:
SAN Visibility queries each IP address in the specified range to determine if it is a valid
and supported switch. Time taken depends on the IP address range given. During host
discovery, a subnet scan will timeout after 30 minutes.
e.
Select a component group from the Select Component Group drop-down list, and click
Add. The selected switch is added under the switch node of the selected component
group.
f.
Repeat steps a-e if you want to add multiple switches.
3.
Click Next to enter the customer details.
The detected switches are added to the specified component group, and the details are displayed
in the message area.
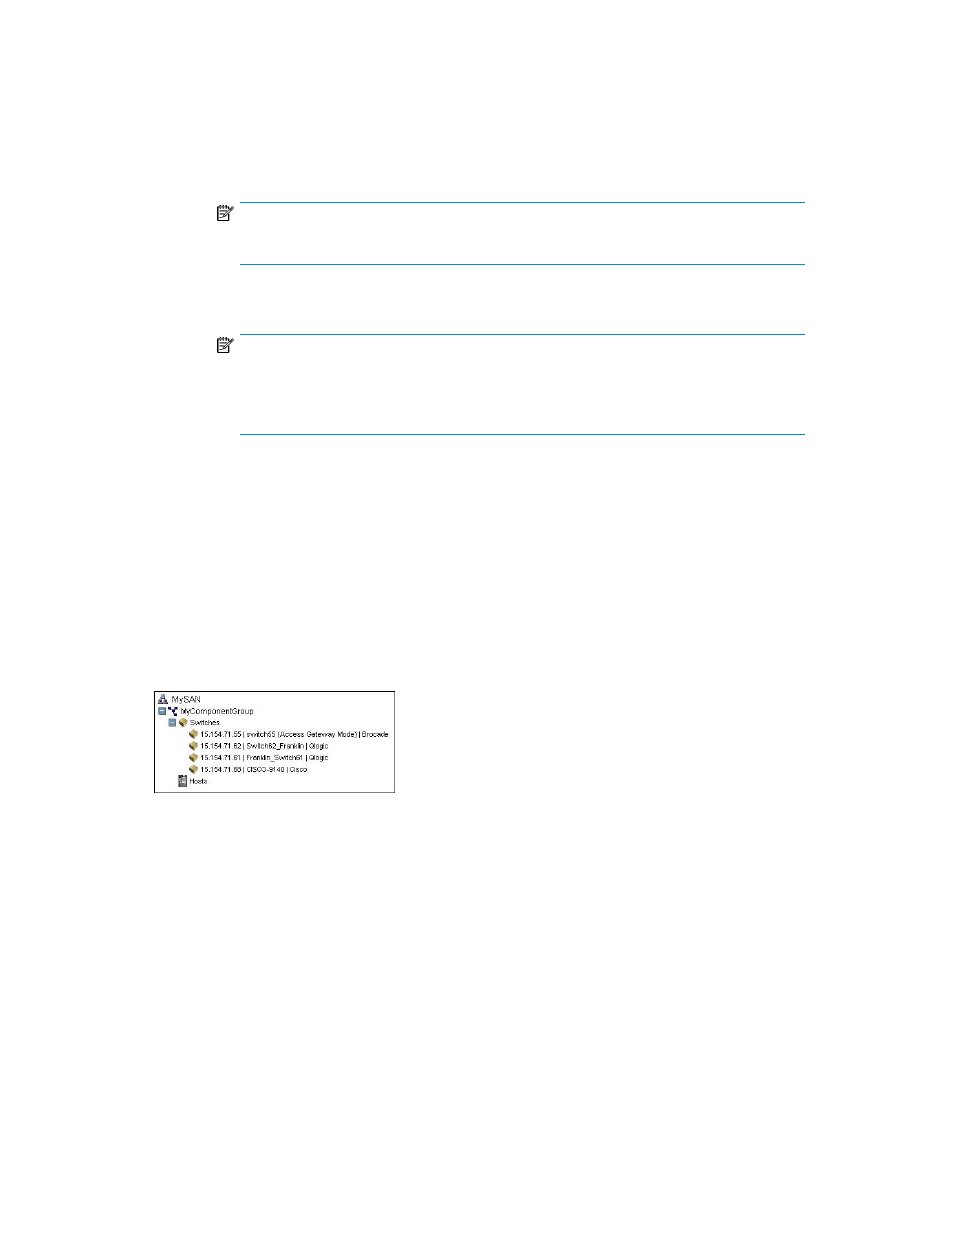
For a Brocade AG (Access Gateway mode) switch in your SAN environment, the switch name is
updated with “Access Gateway Mode” information in the SAN explorer area to specifically identify
that the switch is running in AG mode.
displays the Brocade AG mode switch example.
Figure 5 Brocade AG mode switch example
.
Modifying switch details
To modify switch details, complete the following steps:
1.
Select the switch you want to modify from the SAN explorer area to view its details.
2.
Modify the switch details as required.
3.
Click Update to save the modified switch details.
Removing a switch
To remove a switch from the component group, complete the following steps:
HP StorageWorks SAN Visibility 5.1 User Guide
19