Downloading trace files using the fd dump tool, Downloading trace files using the fd – HP XP20000XP24000 Disk Array User Manual
Page 110
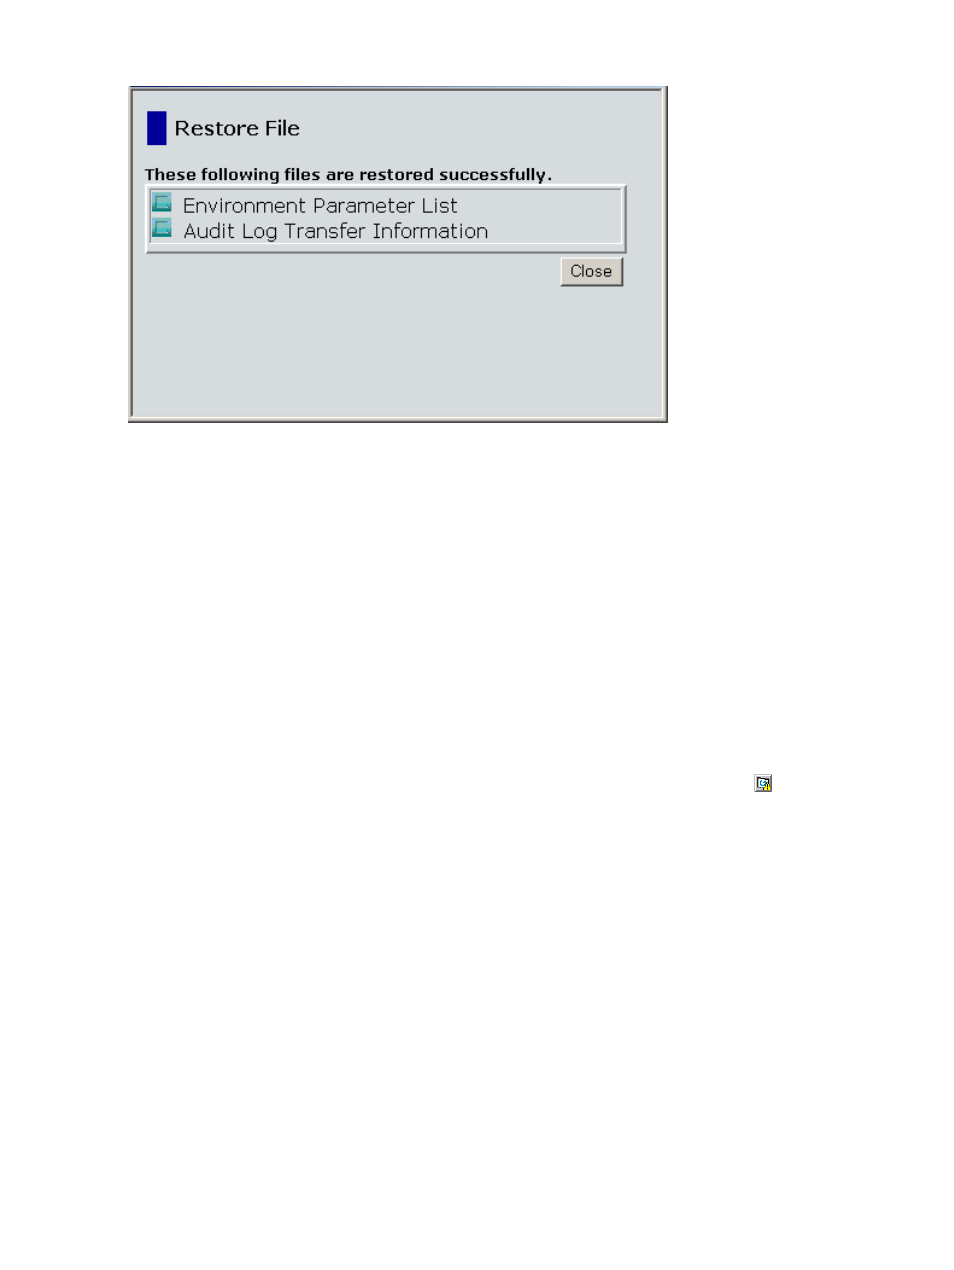
Figure 56 Restore File Dialog Box
Downloading Trace Files Using the FD Dump Tool
Remote Web Console supports the FD Dump Tool. The FD Dump Tool is available to only storage
administrators, and allows them to download the Remote Web Console configuration information
from the SVP either onto a floppy disk or onto a hard disk drive. The downloaded information
(trace files) can be used by HP service representatives to diagnose problems related to Remote
Web Console operations for troubleshooting purposes.
Only storage administrators can use the FD Dump Tool. However, if a user ID or password includes
a symbol, this storage administrator may not be able to use the FD Dump Tool. In addition, if
another user (including an SVP user) is using the FD Dump Tool, or a maintenance operation is
being performed, you cannot download trace files using the FD Dump Tool.
If you are unable to resolve an error condition, copy the Remote Web Console configuration
information onto floppy disks using the FD Dump Tool. Contact HP technical support (see
HP Technical Support” (page 138)
), and give the information on the floppy disks to the HP service
representative.
To download trace files to see the configuration information, select the Refresh All ( ) command
from the menu bar of Remote Web Console first to refresh the configuration information, and then
use the FD Dump Tool to perform the downloading operation.
To download the Remote Web Console configuration information (trace files) from the SVP:
1.
On the Tool Panel of the Remote Web Console computer, click Download Trace Files to open
the Download Trace Files dialog box. The Login dialog box is displayed.
2.
Enter the user ID and password, and click Login. The Download Trace Files dialog box is
displayed (see
).
If the SVP is set to support SSL-encrypted communication, security messages might appear.
For details, see
“Using SSL-Encrypted Communication” (page 39)
.
3.
Click Normal Trace.
4.
Click Next >>. A message appears confirming the execution of compression of the trace files.
5.
Click OK. The file compression processing starts (see
). When the file is
compressed, the Download Trace Files dialog box (see
) opens for starting
the download.
6.
Click Download. The File Download dialog box is displayed.
7.
On the File Download dialog box, click Save this file to disk, and then click OK. The Save As
dialog box is displayed.
110
Performing Remote Web Console Operations