Printing a self test – AMT Datasouth AMTACCEL-5350 User Manual
Page 40
User's Guide
2-10 Set Up
Printing a Self Test
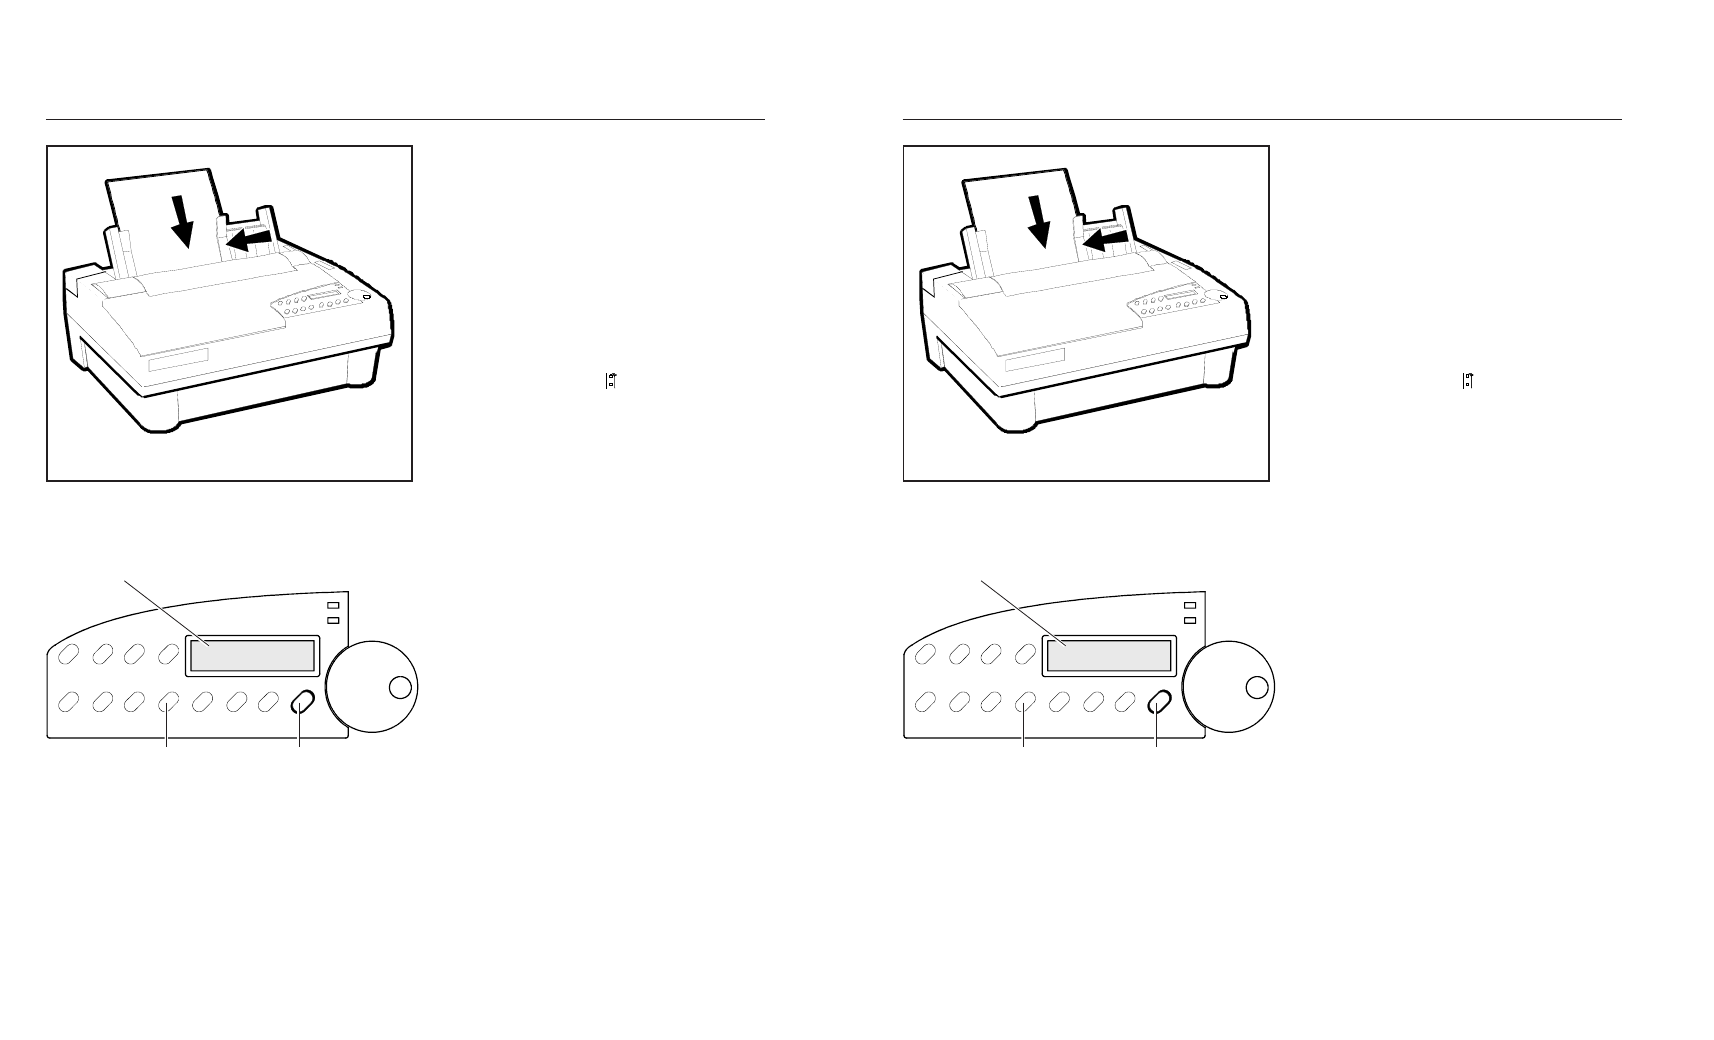
Figure 2-11. Loading a Cut Sheet
Self test lets you verify normal printing
operation and inspect print quality. Print a
test after installing the printer, after mainte-
nance, after periods of inactivity, and
during troubleshooting when applicable.
To print a self test, perform this procedure:
1. With the paper support raised, squeeze
the rear clip on the left paper edge guide
and position the guide so that it aligns
with the "0" mark ( ) on the ruler.
2. Set a sheet of paper between the paper
edge guides, as shown in figure 2-11.
Squeeze the rear clip of the right paper
edge guide and position it against the
right side of the paper.
3. To print an 8-inch-wide test, press the
Test button, as shown in figure 2-12.
(Or, to print a test as wide as the
WIDTH parameter setting on the Setup
menu, press the Test button twice.) The
paper will feed into the printer, the
TEST message will blink, and the self
test will begin printing.
4. While printing, move the form thickness
indicator to optimize the print quality.
5. To stop, press the Ready button. The
printer will complete the current line
and the PAUSE message will appear.
6. Inspect the printout. Make sure that the
characters are dark and crisp. If the
quality is unacceptable, install a new
ribbon cartridge and try again.
Figure 2-12. Printing a Self Test
DISPLAY
TEST
BUTTON
COURIER LQ TEST
READY
BUTTON
User's Guide
2-10 Set Up
Printing a Self Test
Figure 2-11. Loading a Cut Sheet
Self test lets you verify normal printing
operation and inspect print quality. Print a
test after installing the printer, after mainte-
nance, after periods of inactivity, and
during troubleshooting when applicable.
To print a self test, perform this procedure:
1. With the paper support raised, squeeze
the rear clip on the left paper edge guide
and position the guide so that it aligns
with the "0" mark ( ) on the ruler.
2. Set a sheet of paper between the paper
edge guides, as shown in figure 2-11.
Squeeze the rear clip of the right paper
edge guide and position it against the
right side of the paper.
3. To print an 8-inch-wide test, press the
Test button, as shown in figure 2-12.
(Or, to print a test as wide as the
WIDTH parameter setting on the Setup
menu, press the Test button twice.) The
paper will feed into the printer, the
TEST message will blink, and the self
test will begin printing.
4. While printing, move the form thickness
indicator to optimize the print quality.
5. To stop, press the Ready button. The
printer will complete the current line
and the PAUSE message will appear.
6. Inspect the printout. Make sure that the
characters are dark and crisp. If the
quality is unacceptable, install a new
ribbon cartridge and try again.
Figure 2-12. Printing a Self Test
DISPLAY
TEST
BUTTON
COURIER LQ TEST
READY
BUTTON