HT instruments SOLAR300N User Manual
Page 15
SOLAR300 - SOLAR300N
EN - 13
5.1.2. Date/Time
settings
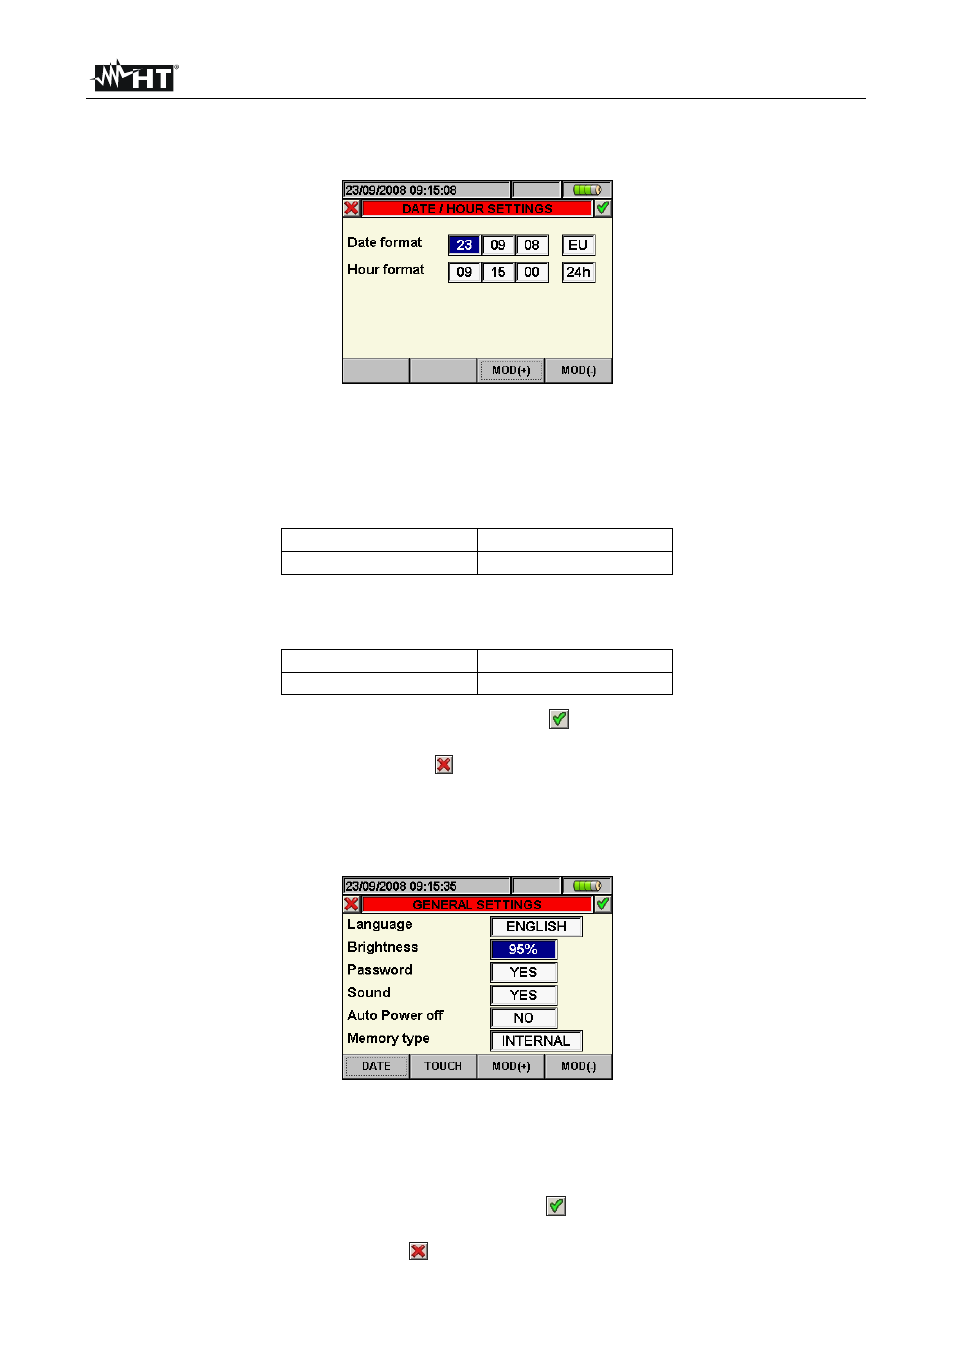
1. Press the F1 key (or touch DATE at display) on screen of Fig. 9. The below screen is
shown by meter:
Fig. 10: Date/Time settings screen
2. Move the cursor using arrows keys on field relative to “Date format” and “Time format”,
marked with blue background.
3. Using F3 or F4 keys (or touch MOD(+) o MOD(-)) for Date setting choosing between
the two possible formats (European EU or American US):
DD:MM:YY
Option EU
MM:DD:YY
Option US
4. Using F3 or F4 keys (alternatively touch MOD(+) o MOD(-)) for Time setting choosing
between two possible format (24 hours or 12 hours):
HH:MM:SS
Option 24h
HH:MM:AM(PM)
Option 12h
5. Press SAVE or ENTER keys (or the smart icon
) to save the selected option and
confirm by “Ok”. This selected parameter will be present also the turning off of meter.
6. Pressing ESC key (or the smart icon ) to exit by screen without saving any modify.
5.1.3. Display brightness adjust
1. Move the cursor using arrows keys on the field relative to “Brightness”, marked with
blue background:
Fig. 11: Adjust brightness screen
2. Using F3 or F4 keys (alternatively touch MOD(+) o MOD(-)) for adjustment of display
brightness percentage. The meter increases or decreases this value in step of 5% for
each pressure of key.
3. Press SAVE or ENTER key (or the smart icon
) to save the selected option and
confirm by “Ok”. This selected parameter will be present also the turn off of meter.
4. Press ESC key (or the smart icon ) to quit without saving any modification.