Logging points along a line – Spectra Precision ProMark Field Software User Manual
Page 43
Engl
ish
37
• Taking care to keep the pole upright and the antenna
unmasked, go to the first point of your project.
• Tap
Log. This opens the Attributes tab on the logging
screen.
With a csv job open, in the
Site ID field, type the name of
that point. If you use a purely numerical value for this
field, then ProMark Field will automatically increment the
Site ID name after each site occupation. Optionally, add a
description in the field underneath. This may be one of
the feature codes you defined earlier.
With an shp job open, ProMark Fied lists the attributes
defined for the job. You should enter a value for each of
them, describing the point you are about to log.
A warning message will be displayed at this stage if the
position accuracy does not meet your acceptance criteria
(see
Tolerances tab in Setting General Parameters on
• On the
Antenna tab, you may also check the antenna
height and type entered previously and make last-minute
changes.
• On the
Settings tab, preset the time required on each point
during which you should stay static (default: 5 seconds;
max.: 3600 seconds).
•
Offset tab: See Line Offset on page 50.
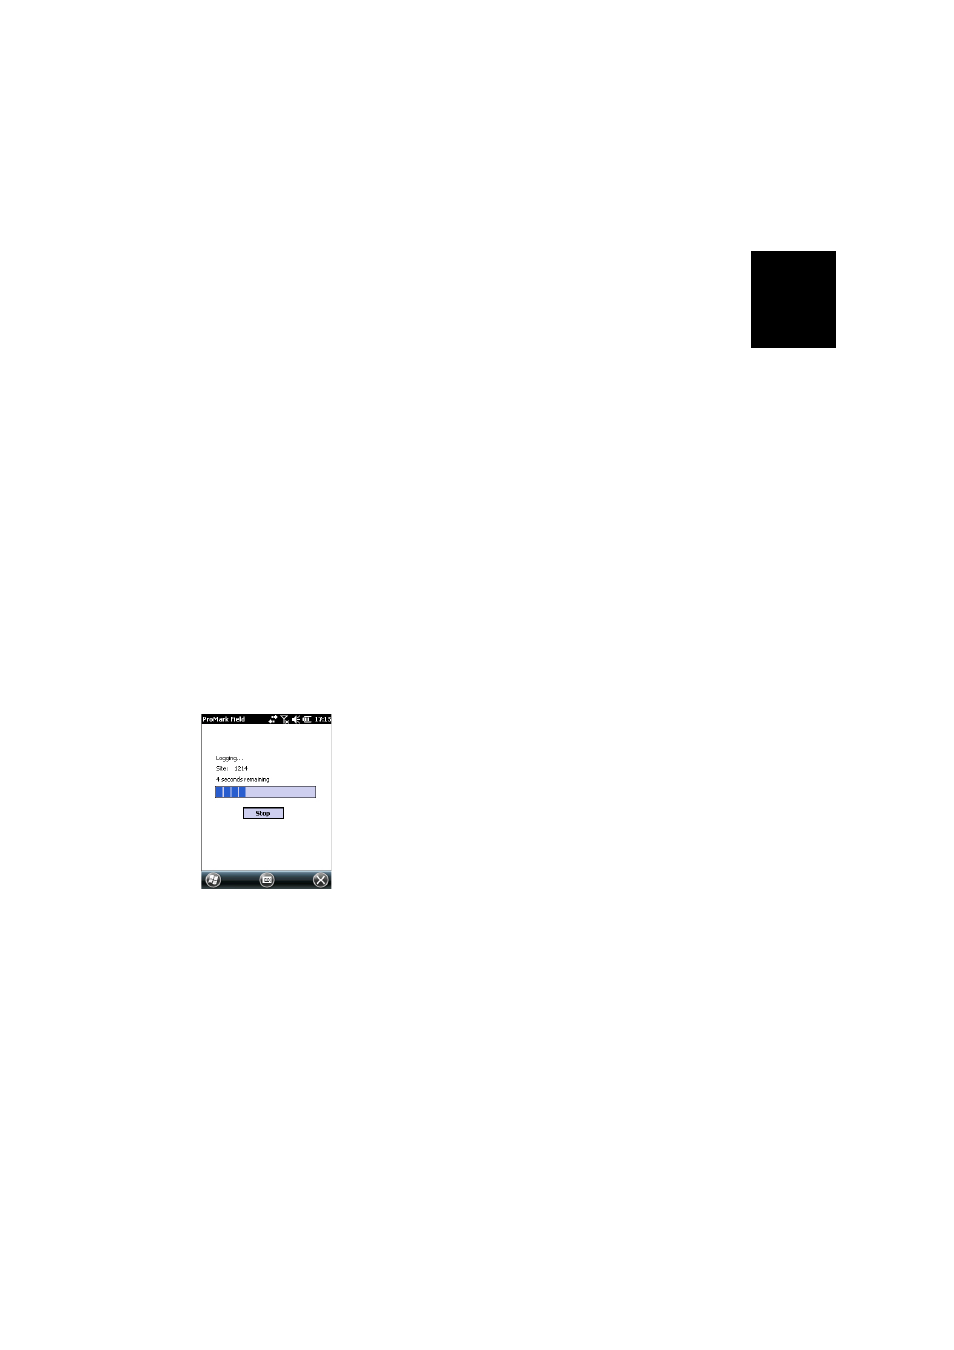
• Tap
OK to start logging the point position. Countdown is
started on the point. Stay static until the time is up.
The screen then shows the properties of the logged point
(the real-time position is averaged over the occupation
time). A warning message will be displayed at this stage if
the position accuracy does not meet your acceptance
criteria (see
Tolerances tab in Setting General Parameters
• Tap
OK to close the window. The logged point is now
visible on the screen.
You may log as many points as necessary in the same job.
You can later read the properties of each point pertaining
to the job by tapping on it on the map screen.
• When you are finished with the job, select
Menu, Exit to
close the job and quit ProMark Field.
Logging Points
along a Line