Spectra Precision ProMark Field Software User Manual
Page 15
Engl
ish
9
2. Tap on the
Units tab located at the bottom of the screen
and select the distance (linear) units you wish to use.
Choose between “kilometers/meters”, “miles/feet” and
“miles/US feet”.
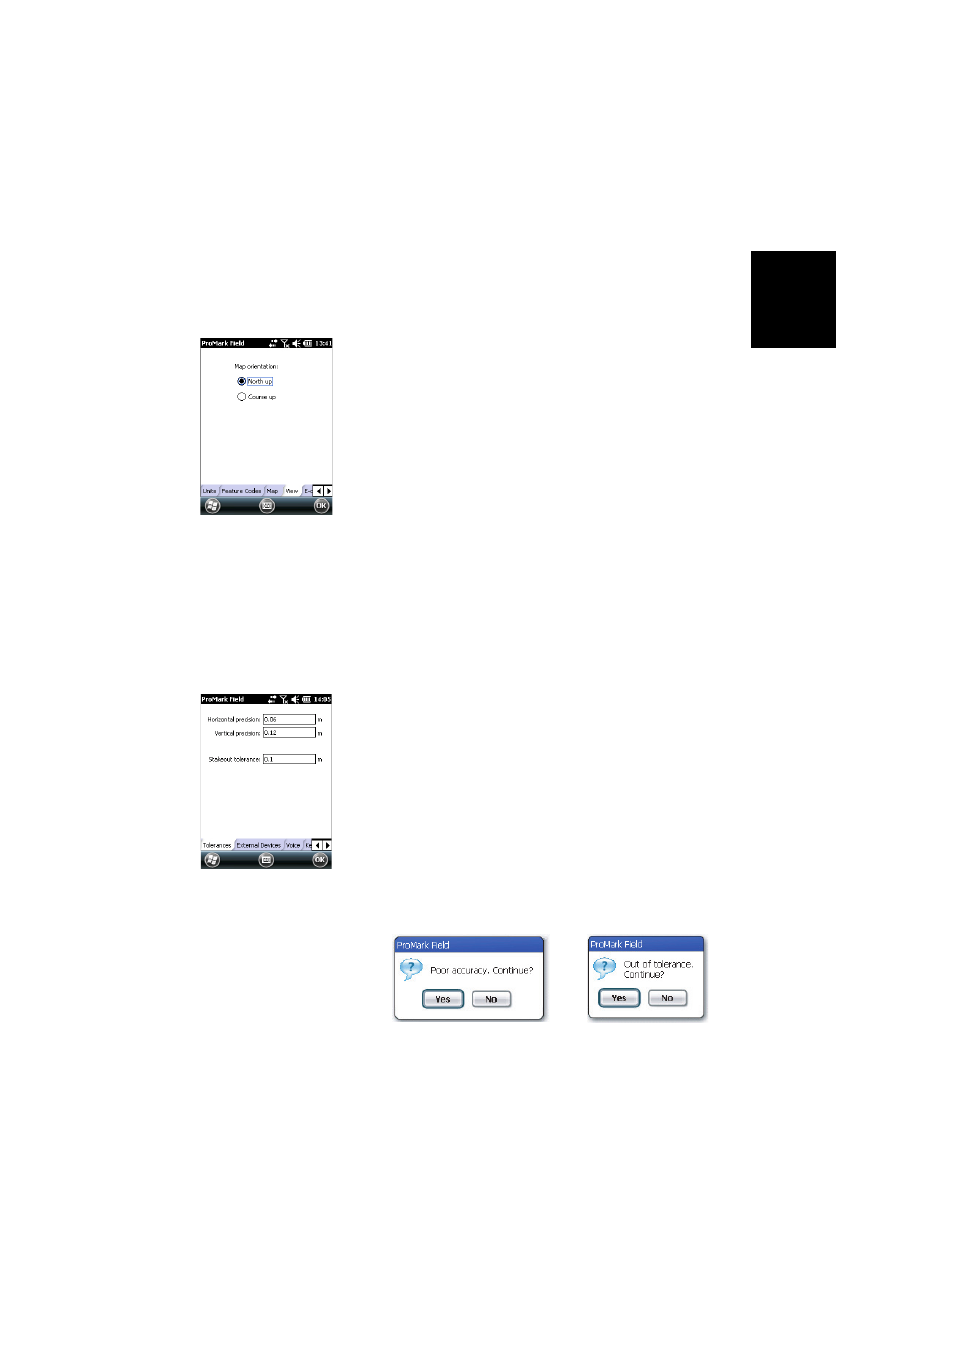
3. Tap on the
View tab and choose one of the two available
options to orientate the map:
•
North Up: Map orientation is fixed. The top of the map
screen will always give the North direction.
•
Course Up: Map orientation will change as you walk.
The map will rotate in order to have your course always
orientated upward on the map screen. This option
cannot be used if a georeferenced background map is
displayed.
4. Tap on the
Feature Codes tab. Use this tab to name all
types of points you will be surveying with your receiver
(e.g. pavement, fence, etc.). Then as you work in the field,
it will be easy for you to associate a feature code with each
of the points you will be surveying.
Tap on the
Add button to add a new feature code and then
tap
OK to validate the new entry. Repeat this operation as
many times as necessary. Feature codes are stored in a
separate file, independently of jobs, and so are available
for use in any new job you create.
5. Tap on the
Tolerances tab. Use this tab to set the upper
limits of error on the position solution, both along the
horizontal and vertical axes. There is a third field allowing
you to set separately the tolerated horizontal error for all
staked points.
In practice, tolerance settings will trigger error messages
whenever you try to log a point with current HRMS and
VRMS values higher than the set tolerances. Error
message [1] will appear in this case (see below). In
addition, error message [2] (see below) will appear if you
attempt to stake out a point that is not found within the
acceptance circle (stakeout tolerance).
6. Tap on the
Voice tab. Use this tab to enable or disable the
voice guidance function.
[1]
[2]