Yokogawa Data Acquisition with PID Control CX2000 User Manual
Page 31
4-4
SM 04L31A01-01E
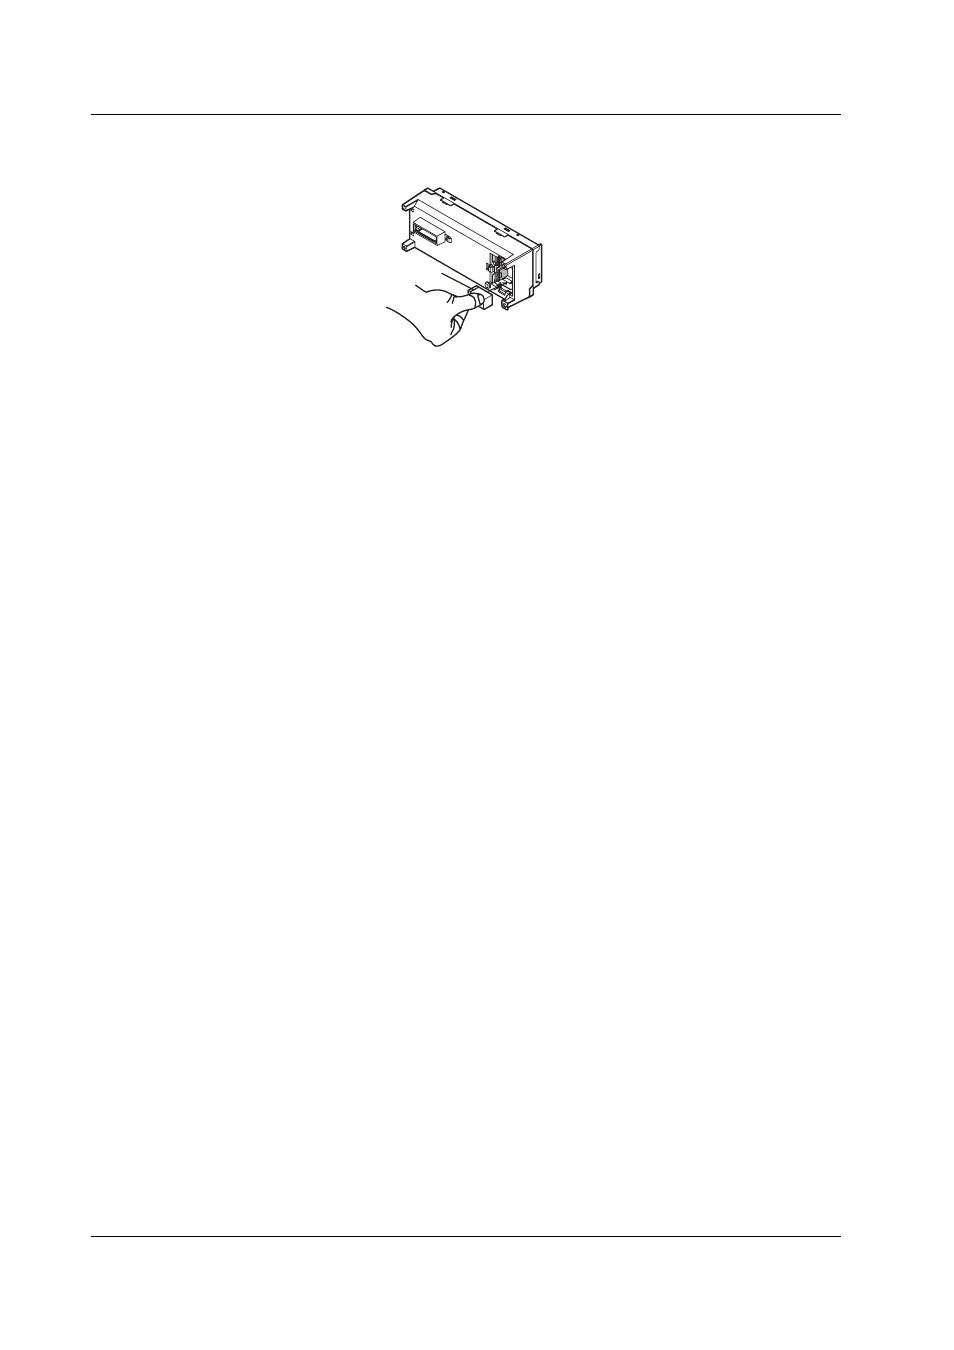
6 .
Insert the relay into the socket by hand, with the line on the top of the
relay facing to the left.
This line faces left
7 .
Close the back lid of the terminal block.
8 .
Check the angle of the terminal block, install it on the main unit, and then
fasten by tightening the terminal block attachment screws.
9 .
Install the terminal cover, and fasten with the terminal cover screws.
1 0 . Confirm that the instrument functions properly, then perform a
withstanding voltage test on the contact output terminal to protective
ground of each control relay.
4.1 Replacement of the Control Output Terminal Block (Module)
See also other documents in the category Yokogawa Sensors:
- EJA120A (47 pages)
- EJA120A (79 pages)
- EJA130A (2 pages)
- EJA130A (4 pages)
- EJA120A (31 pages)
- EJA130A (47 pages)
- EJA120A (40 pages)
- EJA438 (5 pages)
- EJA120A (6 pages)
- EJA115 (85 pages)
- EJA210A (70 pages)
- EJA130A (4 pages)
- EJA430A (78 pages)
- EJA210E (52 pages)
- EJA210E (89 pages)
- EJA210E (170 pages)
- EJX120A (4 pages)
- EJA210E (9 pages)
- EJX115A (55 pages)
- EJA210E (41 pages)
- EJA210E (96 pages)
- EJX910A (9 pages)
- EJX910A (103 pages)
- FlowNavigator Software (163 pages)
- EJX910A (55 pages)
- EJX910A (175 pages)
- EJX910A (83 pages)
- EJA530A (67 pages)
- EJA120A (83 pages)
- EJX530A (52 pages)
- EJA110E (4 pages)
- EJA110E (85 pages)
- EJX120A (85 pages)
- EJA118 (76 pages)
- EJX118A (64 pages)
- EJA438 (72 pages)
- EJA430E (85 pages)
- EJX430A (76 pages)
- EJA430E (7 pages)
- EJX430A (6 pages)
- EJX430A (40 pages)
- EJA430E (41 pages)
- EJA430E (96 pages)
- EJX438A (10 pages)
- ADMAG AXR (194 pages)