Teledyne LeCroy PETracer Summit and Summit T2-16 PCIe User Manual User Manual
Page 33
Summit User Manual
Chapter 3: Installation and Setup
Teledyne
LeCroy
25
3.2 Setting Up the Summit T2-16 Analyzer using an
Ethernet Connection
Step 1 Remove the Analyzer from its shipping container.
Step 2 Connect the Analyzer to a 100-volt to 240-volt, 50 Hz to 60 Hz,
120 W power outlet using the provided power cord.
Note: The Analyzer is capable of supporting supply voltages between 100 volts
and 240 volts, 50 Hz or 60 Hz, thus supporting all known supply voltages around
the world.
Step 3 Connect the Ethernet cable between the Ethernet port on the back of the
Analyzer and a Ethernet port (hub, switch or wall) in your local network.
Continue with Step 4 below.
Note on USB: To connect using USB, see “Setting Up the Summit T2-16
Analyzer using a USB Connection” on page 28.
Step 4 Turn on the rear power switch and the front power switch.
Note: At power-on, the Analyzer initializes itself in approximately five seconds
and performs an exhaustive self-diagnostic that lasts about forty seconds. The
results are reflected by messages on the Summit T2-16 LCD display (see
“Summit T2-16 Front Panel Description” on page 10). If the LCD display indicates
failure, call Teledyne LeCroy Customer Support for assistance.
Connecting to a Summit T2-16 Analyzer in the
Local Network
After you have installed the PETracer application software, perform the following
procedure to connect to a Summit T2-16 analyzer in the local network.
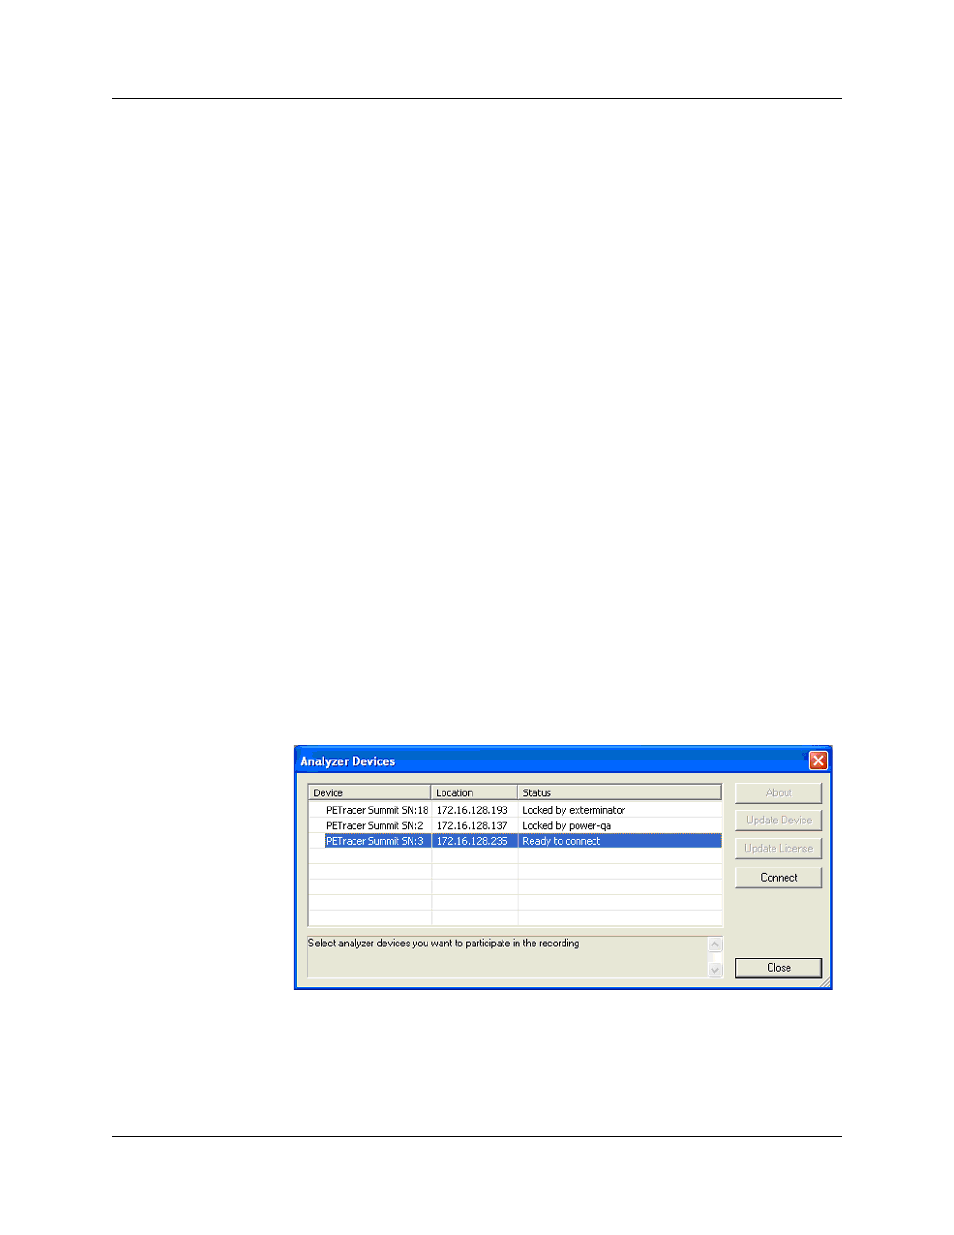
Step 1 Select the Setup > All connected devices… menu in the PETracer
application to display the Analyzer Devices dialog.