Ransburg, Rpm-4 and rpm-5 (57mm), Aerobell - maintenance – Ransburg Aerobell (Std.) Rotary Atomizer A12381 User Manual
Page 52
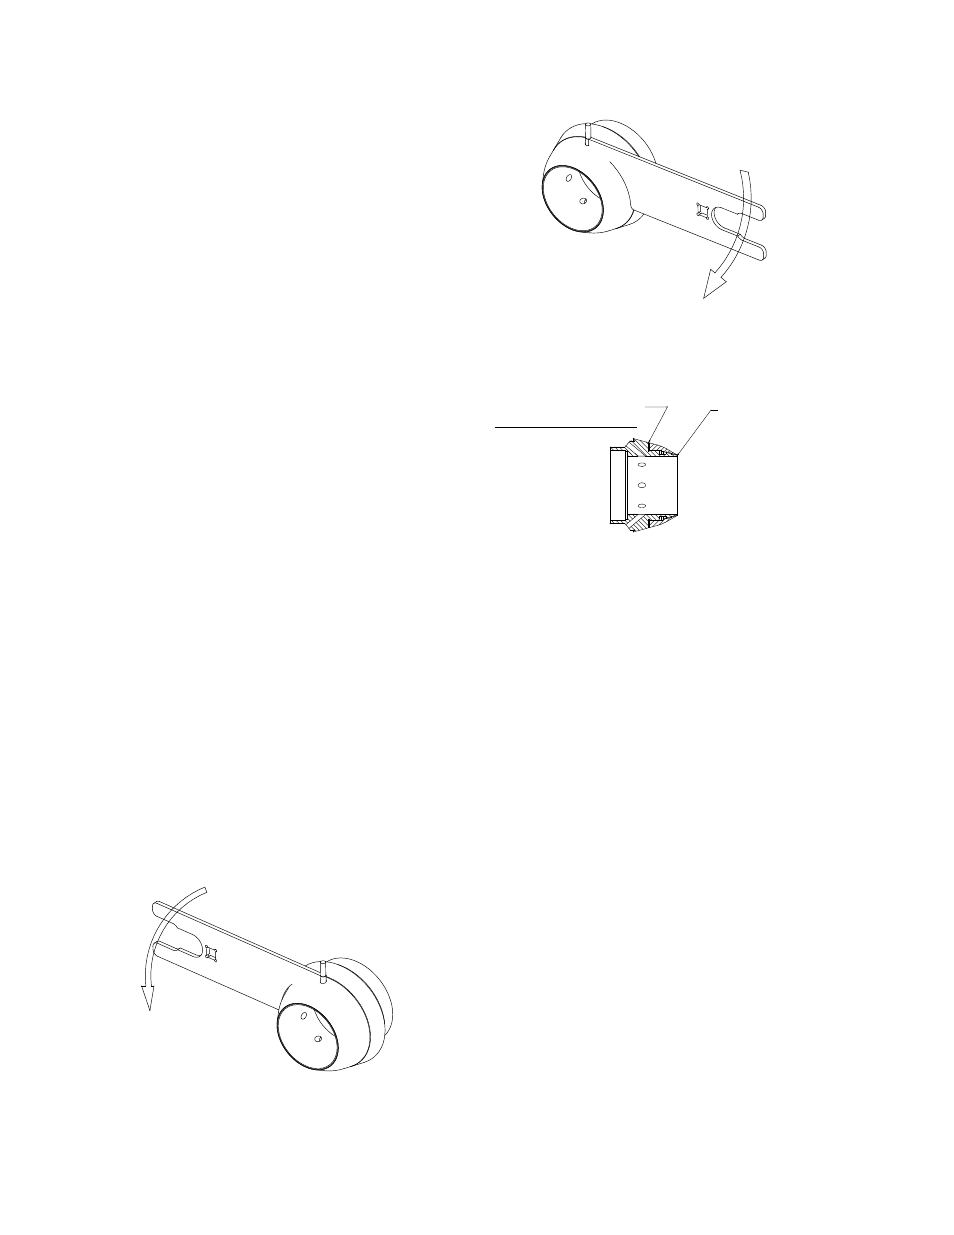
RPM-4 and RPM-5 (57mm)
Remove the shaping air cap and shaping air ring
from the atomizer with the RPM-419 wrench.
Insert the pin end of the wrench into the hole
of the shaping air ring and remove by turning
counter-clockwise.
Separate shaping air cap from the shaping air ring
by using the RPM-419 wrench. Install the pin end
of the wrench into the hole of the shaping air cap
and shaping air ring. Remove the shaping air cap
by turning counter-clockwise.
Clean all parts to remove debris or build-up. Use
a soft bristle brush to clean the slots of the shaping
air ring. Dry all parts before reassembly. Inspect
front edges of both parts. Replace parts if any
damage is seen. Damaged areas will create a
distortion in the spray pattern.
To reassemble, install the shaping air cap onto
the shaping air ring with the RPM-419 wrench
until the face of the shaping air cap is flush with
the shaping air ring.
DO NOT ORVERTIGHTEN!
Inspect parts at the front, the shaping air annulus
must be visually even all the way around the entire
part. Uneven annulus will cause the spray pattern
to be distorted.
Reinstall the assembly onto the shaping air
manifold. When tightening into place, it will become
tight after approximately 2 1/2 turns. At this point,
use the RPM-419 wrench to tighten further. The
RPM-4 will break free and become loose again
and can be tightened down fully until it bottoms
against the RPM-3 shroud.
Figure 14: RPM-4 and RPM-5
Disassembly (57mm)
Figure 15: RPM-4 and RPM-5
Assembly (57mm)
Figure 16: 78297-00 and 78298-00 Assembly
(57mm)
RPM-79 and RPM-80 (30mm)
Remove the shaping air cap and shaping air ring
from the atomizer with the RPM-419 wrench.
Insert the pin end of the wrench into the hole
of the shaping air ring and remove by turning
counter-clockwise.
Separate shaping air cap from the shaping air ring
by using two (2) RPM-419 wrenches. Install the
pin end of the wrench into the hole of the shaping
air cap and ring and remove the shaping air cap
by turning counter-clockwise.
Clean all parts to remove debris or build-up. Use
a soft bristle brush to clean the slots of the shaping
air ring. Dry all parts before reassembly. Inspect
front edges of both patrs and replace parts if any
damage is seen. Damaged areas will create a
distortion in the spray parttern.
PARTS MUST BE FLUSH
WITH EACH OTHER
GAP ALLOWED
DO NOT OVER TIGHTEN!
Aerobell - Maintenance
48
LN-9264-08.2
Ransburg